Zabbix部署
环境:Centos7.6 64
IP:192.168.122.10
zabbix版本:
1.关闭selinux和firewalld
#setenforce 0 (永久关闭,可修改配置文件/etc/selinux/conf,将SELINUX=enforcing改为SELINUX=disabled,然后重启)
#systemctl stop firewalld.service
#systemctl disable firewalld.service
安装一些软件包慢的换,可以更换成国内的源,例如阿里
wget -o /etc/yum.repos.d/Centos-Base.repo http://mirrors.aliyun.com/repo/Centos-7.repo
wget -o /etc/yum.repos.d/epel.repo http://mirrors.aliyun.com/repo/epel-7.repo
2.安装zabbix yum源
#rpm -Uvh https://repo.zabbix.com/zabbix/3.0/rhel/7/x86_64/zabbix-release-3.0-1.el7.noarch.rpm
# yum clean all
# yum makecache
3.安装zabbix程序、数据库、agent
# yum install -y mariadb-server zabbix-server-mysql zabbix-web-mysql zabbix-agent
4.启动数据库并添加开机启动。
# systemctl start mariadb
# systemctl enable mariadb
# mysqladmin -uroot password 123456 #设置数据库密码
5.登录数据库
# mysql -uroot -p
6.创建数据库实例,并授权
create database zabbix character set utf8 collate utf8_bin;
grant all privileges on zabbix.* to zabbix@'%' identified by '123456';
grant all privileges on zabbix.* to zabbix@localhost identified by '123456';
grant all privileges on zabbix.* to zabbix@localhost.localdomain identified by '123456';
7.导入初始架构和数据
# cd /usr/share/doc/zabbix-server-mysql-3.0.26/
# zcat create.sql.gz |mysql -uroot -p zabbix
8.修改配置文件 vim /etc/zabbix/zabbix_server.conf
DBHost=localhost
DBName=zabbix
DBUser=zabbix # 用户名
DBPassword=123456 # 密码
9.启动服务并设置开机启动
# systemctl start zabbix-server
# systemctl enable httpd
# systemctl start zabbix-agent
# systemctl enable zabbix-agent
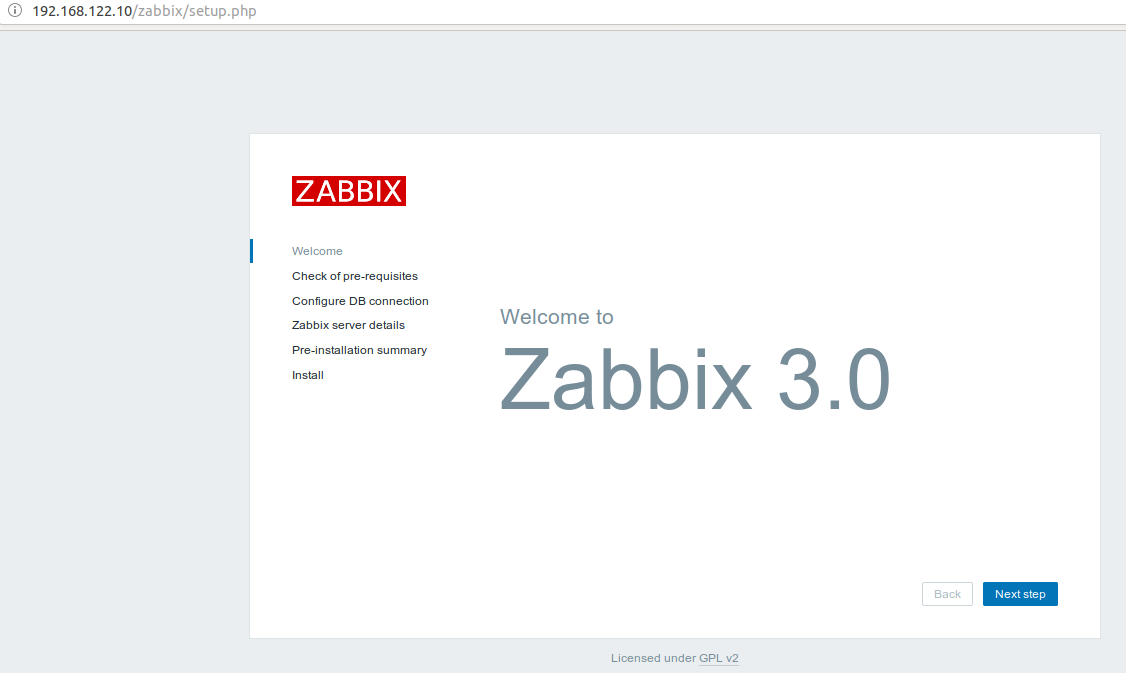
10.web登录 http://192.168.122.10/zabbix/setup

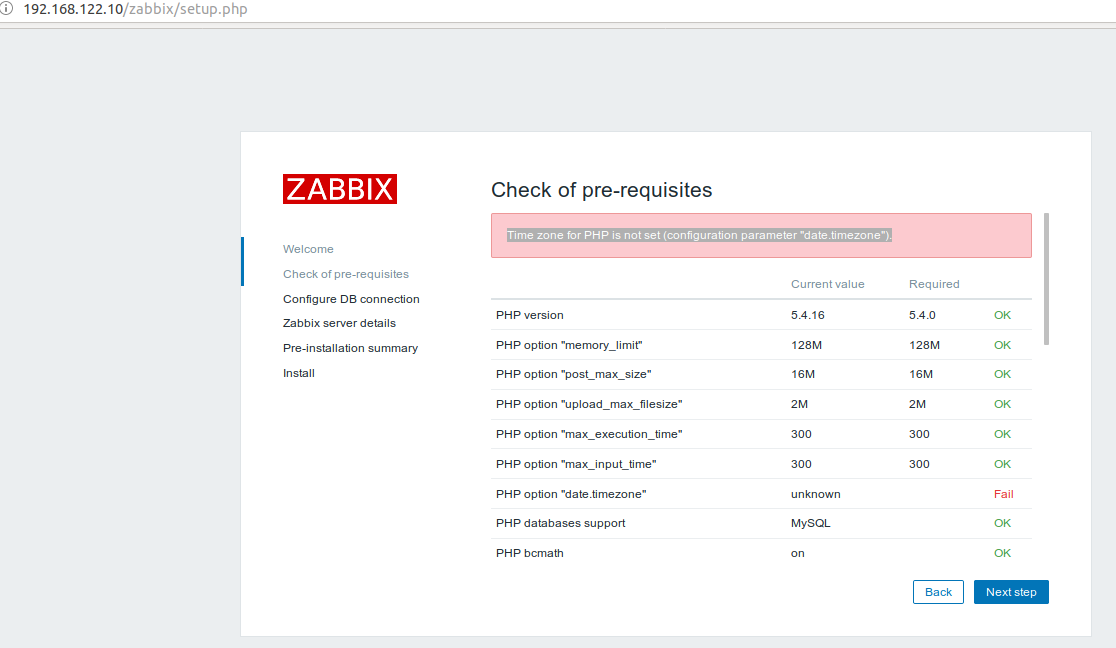
点击Next,检查前期的条件设置,有个错误,这个php的时区没有设置,设置下
(vim /etcp/php.ini 改成date.timezone = Asia/Shanghai)
(vim /etc/httpd/conf.d/zabbix.conf 修改时区 )重启httpd服务 systemctl restart httpd,如上类似

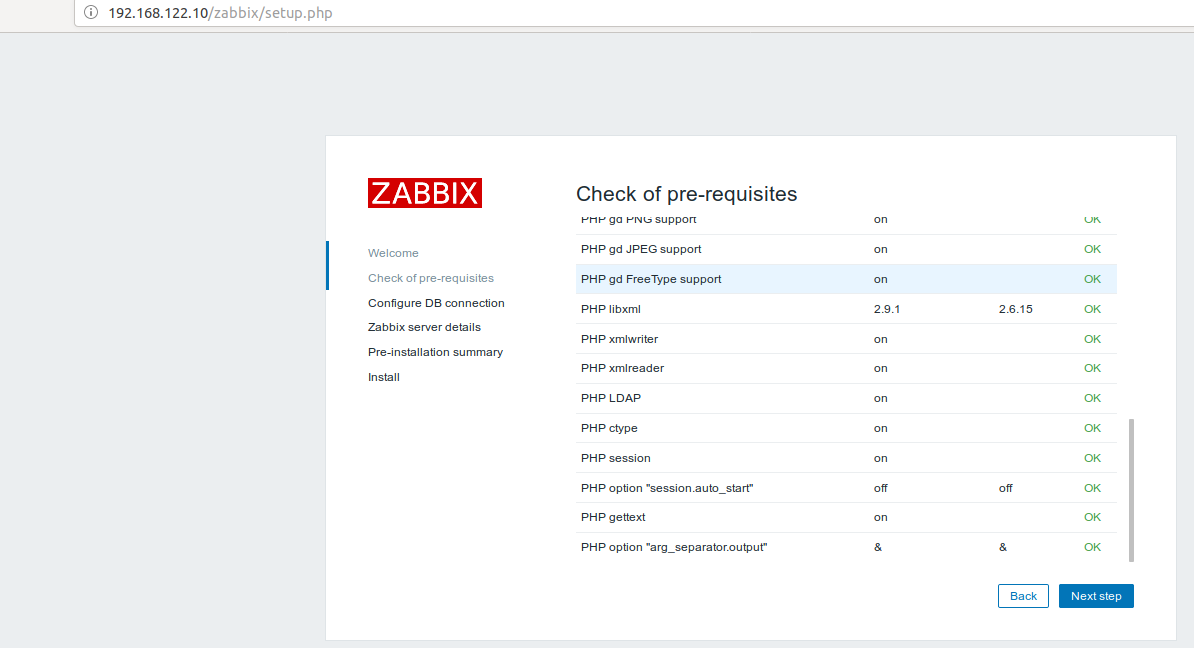
再次检查下

没有问题了,进行下一步数据库的设置

继续下一步,设置zabbix的描述信息

下一步,安装汇总信息概览

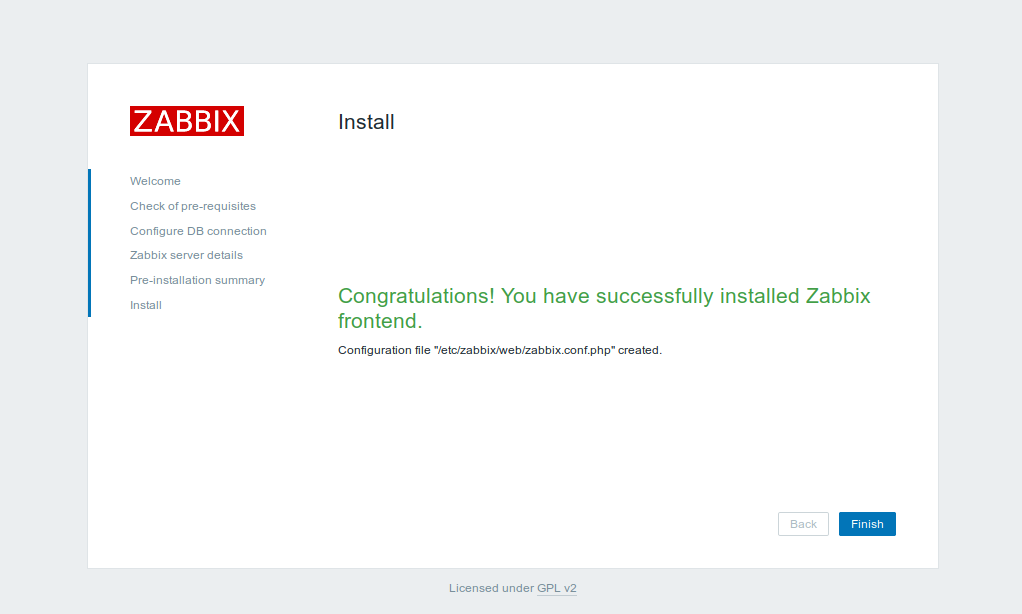
下一步,完成安装

进入登录界面 默认登录账号Admin 密码zabbix


 浙公网安备 33010602011771号