

简单绘制圆角背景图和矢量图的使用
刚开始写代码的你还在各种切图吗?简单的圆角背景图,或是固定大小的圆其实可以自己简单的绘制出来,并且代码比图片占中的内存少多了,附上代码:
只需在drawable下新建xml文件如:circle_back.xml
代码如下:
<?xml version="1.0" encoding="utf-8"?>
<shape xmlns:android="http://schemas.android.com/apk/res/android"
    android:shape="rectangle" >
    <!--(angle值:0,90,180从左到右渐变,270从上到下渐变)-->
    <gradient
        android:angle="0"
        android:startColor="#ffffff"
        android:endColor="#ffffff" />
    <!-- 设置一个黑色边框 -->
    <stroke
        android:width="2px"
        android:color="#000000" />
  <!-- 设置4个圆角 -->

<corners
android:bottomLeftRadius="10dp"
android:bottomRightRadius="10dp"
android:topLeftRadius="10dp"
android:topRightRadius="10dp" />
 </shape>
startColor与endColor分别为开始颜色与结束颜色,中间为渐变效果,颜色一样时即为纯色。
调用方式:
android:background="@drawable/circle_back"
<corners标签下定义的为四个角的圆角大小
绘制圆形
<?xml version="1.0" encoding="utf-8"?>
<shape android:shape="oval" xmlns:android="http://schemas.android.com/apk/res/android">
    <solid android:color="#3F51B5" />
    <size android:width="30dp" android:height="30dp"/>
</shape>
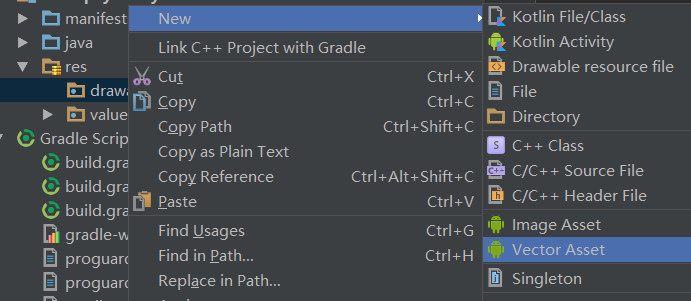
矢量图的创建导入
之后从自己路径找到下载的.svg图片,修改命名即可

最后附上马爸爸的图标地址
//转载请注明出处哦
