KubeKey搭建Kubernetes、KubeSphere
准备一台有网的Linux虚拟机
环境准备
yum源配置
curl -o /etc/yum.repos.d/CentOS-Base.repo https://mirrors.aliyun.com/repo/Centos-7.repo
yum install -y yum-utils device-mapper-persistent-data lvm2
yum-config-manager --add-repo https://mirrors.aliyun.com/docker-ce/linux/centos/docker-ce.repo
sed -i -e '/mirrors.cloud.aliyuncs.com/d' -e '/mirrors.aliyuncs.com/d' /etc/yum.repos.d/CentOS-Base.repo

cat <<EOF > /etc/yum.repos.d/kubernetes.repo
[kubernetes]
name=Kubernetes
baseurl=https://mirrors.aliyun.com/kubernetes/yum/repos/kubernetes-el7-x86_64/
enabled=1
gpgcheck=1
repo_gpgcheck=1
gpgkey=https://mirrors.aliyun.com/kubernetes/yum/doc/yum-key.gpg https://mirrors.aliyun.com/kubernetes/yum/doc/rpm-package-key.gpg
EOF
同步时间
yum install ntpdate
ln -sf /usr/share/zoneinfo/Asia/Shanghai /etc/localtime
echo 'Asia/Shanghai' >/etc/timezone
ntpdate time2.aliyun.com
关闭防火墙、swap、selinux、dnsmasq
# 关闭防火墙
systemctl stop firewalld && systemctl disable firewalld

# 关闭swap 在所有的节点上 包括主节点和woker节点
# 切记一定要关闭 不然 kubelet启动失败 血的教训
swapoff -a
# 禁止swap开机启动
sed -i '/swap/s/^\(.*\)$/#\1/g' /etc/fstab

# 关闭selinux
setenforce 0
sed -i 's#SELINUX=enforcing#SELINUX=disabled#g' /etc/sysconfig/selinux
sed -i 's#SELINUX=enforcing#SELINUX=disabled#g' /etc/selinux/config
getenforce ##检查selinux状态

# 关闭dnsmasq(否则可能导致docker容器无法解析域名)
systemctl stop dnsmasq && systemctl disable dnsmasq
安装必备组件
yum install wget jq psmisc vim net-tools telnet yum-utils device-mapper-persistent-data lvm2 git ntpdate keepalived haproxy conntrack socat -y
配置参数
vim /etc/security/limits.conf
* soft nofile 655360
* hard nofile 131072
* soft nproc 655350
* hard nproc 655350
* soft memlock unlimited
* hard memlock unlimited

vim /etc/modules-load.d/ipvs.conf
ip_vs
ip_vs_lc
ip_vs_wlc
ip_vs_rr
ip_vs_wrr
ip_vs_lblc
ip_vs_lblcr
ip_vs_dh
ip_vs_sh
ip_vs_fo
ip_vs_nq
ip_vs_sed
ip_vs_ftp
ip_vs_sh
nf_conntrack
ip_tables
ip_set
xt_set
ipt_set
ipt_rpfilter
ipt_REJECT
ipip

cat <<EOF > /etc/sysctl.d/k8s.conf
net.ipv4.ip_forward = 1
net.bridge.bridge-nf-call-iptables = 1
net.bridge.bridge-nf-call-ip6tables = 1
fs.may_detach_mounts = 1
vm.overcommit_memory=1
vm.panic_on_oom=0
fs.inotify.max_user_watches=89100
fs.file-max=52706963
fs.nr_open=52706963
net.netfilter.nf_conntrack_max=2310720

net.ipv4.tcp_keepalive_time = 600
net.ipv4.tcp_keepalive_probes = 3
net.ipv4.tcp_keepalive_intvl =15
net.ipv4.tcp_max_tw_buckets = 36000
net.ipv4.tcp_tw_reuse = 1
net.ipv4.tcp_max_orphans = 327680
net.ipv4.tcp_orphan_retries = 3
net.ipv4.tcp_syncookies = 1
net.ipv4.tcp_max_syn_backlog = 16384
net.ipv4.ip_conntrack_max = 65536
net.ipv4.tcp_max_syn_backlog = 16384
net.ipv4.tcp_timestamps = 0
net.core.somaxconn = 16384
EOF
CentOS7.x系统自带的3.10.x内核存在一些Bugs,导致运行的Docker、kubernetes不稳定,建议升级内核,容器使用的坑会少很多,升级内核到4.19.12
wget http://193.49.22.109/elrepo/kernel/el7/x86_64/RPMS/kernel-ml-devel-4.19.12-1.el7.elrepo.x86_64.rpm
wget http://193.49.22.109/elrepo/kernel/el7/x86_64/RPMS/kernel-ml-4.19.12-1.el7.elrepo.x86_64.rpm
yum localinstall -y kernel-ml*

grub2-set-default  0 && grub2-mkconfig -o /etc/grub2.cfg
grubby --args="user_namespace.enable=1" --update-kernel="$(grubby --default-kernel)"

# 设置完成 执行重启
reboot
安装Docker-ce 19.03,镜像加速地址去自己的阿里云帐号申请
yum install docker-ce-19.03.15-3.el7 docker-ce-cli-19.03.15-3.el7 -y
cat > /etc/docker/daemon.json <<EOF
{
  "exec-opts": ["native.cgroupdriver=systemd"],
  "registry-mirrors": ["https://******.mirror.aliyuncs.com"]
}
EOF
systemctl enable docker && systemctl restart docker
KubeKey
curl -sfL https://get-kk.kubesphere.io | VERSION=v1.1.1 sh -
为 kk 添加可执行权限:
chmod +x kk
指定k8s和kubesphere版本
./kk create cluster --with-kubernetes v1.19.9 --with-kubesphere v3.1.1
KubeKey 将检查安装环境,结果显示在一张表格中。输入 yes 继续安装流程。
出现以下,表示安装已经完成
#####################################################
###              Welcome to KubeSphere!           ###
#####################################################

Console: http://192.168.80.51:30880
Account: admin
Password: P@88w0rd

NOTES:
  1. After you log into the console, please check the
     monitoring status of service components in
     "Cluster Management". If any service is not
     ready, please wait patiently until all components
     are up and running.
  2. Please change the default password after login.

#####################################################
https://kubesphere.io             2021-08-24 22:20:31
#####################################################
INFO[22:20:40 CST] Installation is complete.
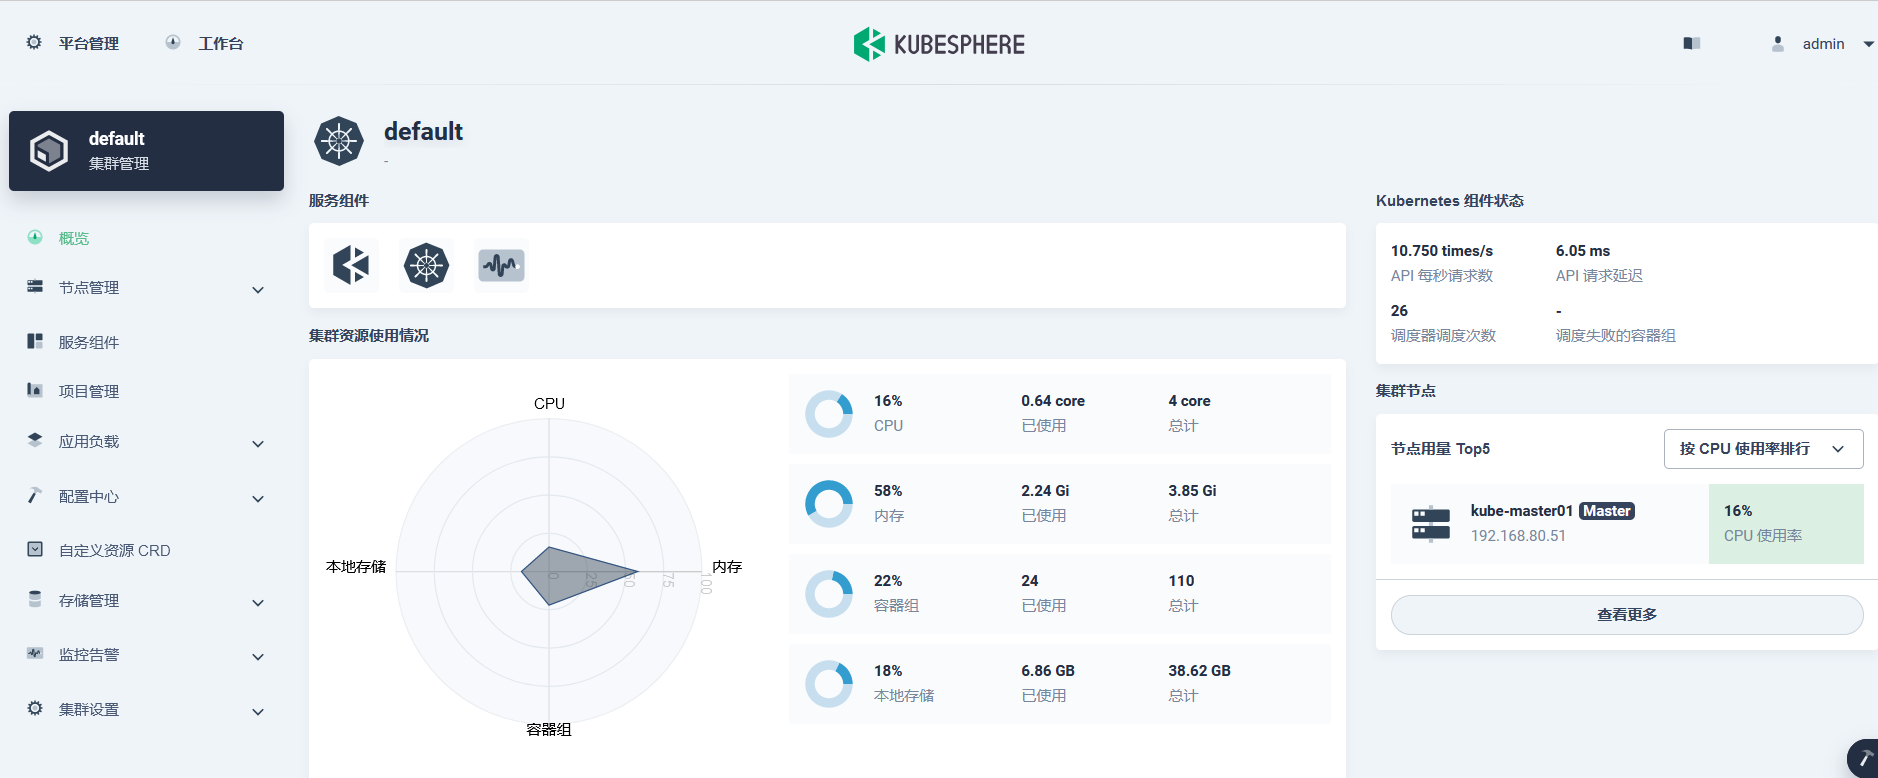
检查安装结果
kubectl logs -n kubesphere-system $(kubectl get pod -n kubesphere-system -l app=ks-install -o jsonpath='{.items[0].metadata.name}') -f
通过Web控制台地址登录
每个人都有潜在的能量,只是很容易被习惯所掩盖,被时间所迷离,被惰性所消磨~

 浙公网安备 33010602011771号