搭建ctfd练习平台和解决搭建中的相关问题分析
搭建ctfd平台:
我搭建是通过大佬的博客,和参考《ctf安全竞赛》(介绍一下这本书不错,是一本比较不错的入门书籍。)
搭建方式与大佬的博客没有太大的区别。
搭建环境:
- Ubuntu 18.0.4
- Python 3.+
- git
首先看一下Ubuntu原来的Python环境,应该是Python 2.7+,这个环境在安装时会出现有些东西不能安装的问题

这里补充一下,要是想找命令存在不,可以用which
which python一般命令是在/usr/bin 目录下面
/usr/bin我们先把Python换一下,换成3.+的一般Ubuntu上自带有py3.5就不用下了
ln -s /usr/bin/python3.5 /usr/bin/python要是想对Python进行升级的话可以用下面这个命令,Ubuntu 官方 apt 库中还未收录 python 3.9,这里使用 deadsnakes PPA 库安装。
#安装依赖包
$ sudo apt update
$ sudo apt install software-properties-common

#添加 deadsnakes PPA 源
$ sudo add-apt-repository ppa:deadsnakes/ppa
Press [ENTER] to continue or Ctrl-c to cancel adding it.(直接按enter)

#安装python3.9
$ sudo apt install python3.9
$ python3.9 -V(查看版本)
Python 3.9.7

#将 python 各版本添加到 update-alternatives
$ which python3.9
/usr/bin/python3.9
$ sudo update-alternatives --install /usr/bin/python3 python3 /usr/bin/python3.9 1
$ which python3.6
/usr/bin/python3.6
$ sudo update-alternatives --install /usr/bin/python3 python3 /usr/bin/python3.6 2

#配置 python3 默认指向 python3.9
$ sudo update-alternatives --config python3

There are 2 choices for the alternative python3 (providing /usr/bin/python3).

 Selection Path  Priority Status
------------------------------------------------------------
* 0  /usr/bin/python3.6 2  auto mode
 1  /usr/bin/python3.6 2  manual mode
 2  /usr/bin/python3.9 1  manual mode

Press <enter> to keep the current choice[*], or type selection number: 2
#最后测试一下
Python3 -v

#pip升级
#apt-get install python3-pip(没安装的话用这个命令)
pip3 install --upgrade pip

#如果上面的方法不行,我们就直接点
cd /usr/bin
rm -rf python3
rm -rf pip3
ln -s /usr/bin/python3.9 /usr/bin/python3
#如果起先安装了pip3,要先删除安装包才行
apt autoremove python3-pip
apt install python3-pip
把py环境改为高版本后应该没有什么问题了,在搭建的时候有这下面两个命令,建议都执行一下,先用后面的命令在用前的命令,有个问题就是,
我安装的是pip3,在perpare.sh中是pip,直接用gedit perpare.sh编辑一下换成pip3,就行了;
./prepare.sh 和 pip3 install -r requirements.txt差不多问题都解决了可以进行安装了
#安装git
apt-get install git
#下载ctfd
git clone https://github.com/CTFd/CTFd.git
#安装flask
pip3 install Flask
#到 CTFd的路径下,运行prepare.sh
./prepare.sh
#运行CTFd目录下的serve.py
python serve.py

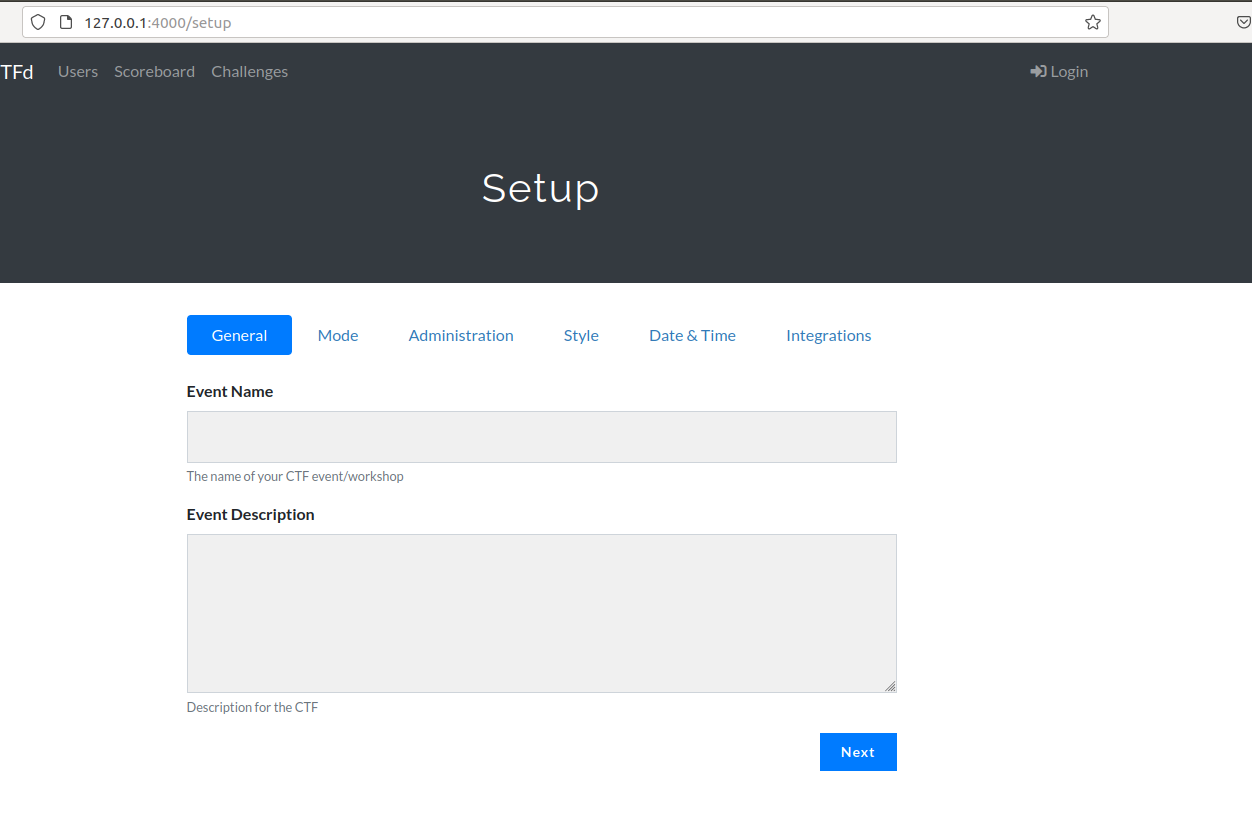
这个样子差不多就行了,在浏览器里访问相应的端口ID
127.0.0.1:4000
这个样子差不多就完成了;
参考:
https://www.jb51.net/article/182392.htm
https://blog.csdn.net/weixin_39616045/article/details/111060984
《CTF安全竞赛入门》


