Quarkus系列——集成Redis(四)
前言
reids是我们在进行后端开发的时候常用到的一个中间件,常用于实现分布式缓存,分布式锁。我们在SpringBoot中可以很方便的通过stater来集成redis。在Quarkus中官方为我们提供了redis的client虽然比起Spring用起来略显简陋但是稍微改造下也能满足我们日常需要。
准备
我们继续之前的项目开发,我们需要在pom文件中引入相关的依赖。
 				<dependency>
            <groupId>io.quarkus</groupId>
            <artifactId>quarkus-redis-client</artifactId>
        </dependency>
配置
我们首先需要在配置文件中配置redis相关的配置信息。
quarkus.redis.hosts=redis://ip:port
quarkus.redis.password=password
编解码器
我们这里需要用到一个编解码器,我们直接把redisson的JsonJacksonCodec拿来用。++这里简单的说一下为啥不直接用redisson。redisson虽然也出了quarkus的相关jar包,在jvm模式下是可以正常使用的但是当我们尝试打成native镜像的时候会直接失败。++
public class JsonJacksonCodec{
    public static final JsonJacksonCodec INSTANCE = new JsonJacksonCodec();
    @JsonIdentityInfo(generator= ObjectIdGenerators.IntSequenceGenerator.class, property="@id")
    @JsonAutoDetect(fieldVisibility = JsonAutoDetect.Visibility.ANY,
            getterVisibility = JsonAutoDetect.Visibility.PUBLIC_ONLY,
            setterVisibility = JsonAutoDetect.Visibility.NONE,
            isGetterVisibility = JsonAutoDetect.Visibility.NONE)
    public static class ThrowableMixIn {
    }
    protected final ObjectMapper mapObjectMapper;
    public JsonJacksonCodec() {
        this(new ObjectMapper());
    }
    public JsonJacksonCodec(ObjectMapper mapObjectMapper) {
        this.mapObjectMapper = mapObjectMapper.copy();
        init(this.mapObjectMapper);
        initTypeInclusion(this.mapObjectMapper);
    }
    protected void initTypeInclusion(ObjectMapper mapObjectMapper) {
        TypeResolverBuilder<?> mapTyper = new ObjectMapper.DefaultTypeResolverBuilder(ObjectMapper.DefaultTyping.NON_FINAL) {
            @Override
            public boolean useForType(JavaType t) {
                switch (_appliesFor) {
                    case NON_CONCRETE_AND_ARRAYS:
                        while (t.isArrayType()) {
                            t = t.getContentType();
                        }
                        // fall through
                    case OBJECT_AND_NON_CONCRETE:
                        return (t.getRawClass() == Object.class) || !t.isConcrete();
                    case NON_FINAL:
                        while (t.isArrayType()) {
                            t = t.getContentType();
                        }
                        // to fix problem with wrong long to int conversion
                        if (t.getRawClass() == Long.class) {
                            return true;
                        }
                        if (t.getRawClass() == XMLGregorianCalendar.class) {
                            return false;
                        }
                        return !t.isFinal(); // includes Object.class
                    default:
                        // case JAVA_LANG_OBJECT:
                        return t.getRawClass() == Object.class;
                }
            }
        };
        mapTyper.init(JsonTypeInfo.Id.CLASS, null);
        mapTyper.inclusion(JsonTypeInfo.As.PROPERTY);
        mapObjectMapper.setDefaultTyping(mapTyper);
    }
    protected void init(ObjectMapper objectMapper) {
        objectMapper.setSerializationInclusion(JsonInclude.Include.NON_NULL);
        objectMapper.setVisibility(objectMapper.getSerializationConfig()
                .getDefaultVisibilityChecker()
                .withFieldVisibility(JsonAutoDetect.Visibility.ANY)
                .withGetterVisibility(JsonAutoDetect.Visibility.NONE)
                .withSetterVisibility(JsonAutoDetect.Visibility.NONE)
                .withCreatorVisibility(JsonAutoDetect.Visibility.NONE));
        objectMapper.disable(DeserializationFeature.FAIL_ON_UNKNOWN_PROPERTIES);
        objectMapper.enable(JsonGenerator.Feature.WRITE_BIGDECIMAL_AS_PLAIN);
        objectMapper.disable(SerializationFeature.FAIL_ON_EMPTY_BEANS);
        objectMapper.enable(MapperFeature.SORT_PROPERTIES_ALPHABETICALLY);
        objectMapper.addMixIn(Throwable.class, ThrowableMixIn.class);
    }
    /**
     * 解碼器
     * @param val
     * @return
     */
    public Object decoder(String val){
        try {
            ByteBuf buf = ByteBufAllocator.DEFAULT.buffer();
            try (ByteBufOutputStream os = new ByteBufOutputStream(buf)) {
                os.write(val.getBytes());
            }
            return mapObjectMapper.readValue((InputStream) new ByteBufInputStream(buf), Object.class);
        } catch (IOException e) {
            e.printStackTrace();
        }
        return null;
    }
    /**
     * 編碼器
     * @param obj
     * @return
     */
    public String encoder(Object obj){
        ByteBuf out = ByteBufAllocator.DEFAULT.buffer();
        try {
            ByteBufOutputStream os = new ByteBufOutputStream(out);
            mapObjectMapper.writeValue((OutputStream) os, obj);
            return os.buffer().toString(StandardCharsets.UTF_8);
        } catch (IOException e) {
            out.release();
        }
        return null;
    }
}
项目使用
我这里用redis作为我们查询时候的缓存做为示例,我们这里提供一个新增,带过期时间的新增,以及一个删除方法。
@Singleton
public class Cache {


    @Inject
    RedisClient redisClient;


    JsonJacksonCodec codec = JsonJacksonCodec.INSTANCE;

    public <T> void setValue(String key, T value) {

        redisClient.set(Arrays.asList(key, codec.encoder(value)));
    }

    public <T> void setNxValue(String key, T value,Long time) {

        redisClient.set(Arrays.asList(key, codec.encoder(value),time+""));

    }

    public <T> T getValue(String key) {
        final Response response = redisClient.get(key);
        if (response != null) {
            String value = response.toString();
            return (T) codec.decoder(value);

        }
        return null;
    }

    public boolean delete(String key) {
        return redisClient.del(List.of(key)).toBoolean();
    }
}
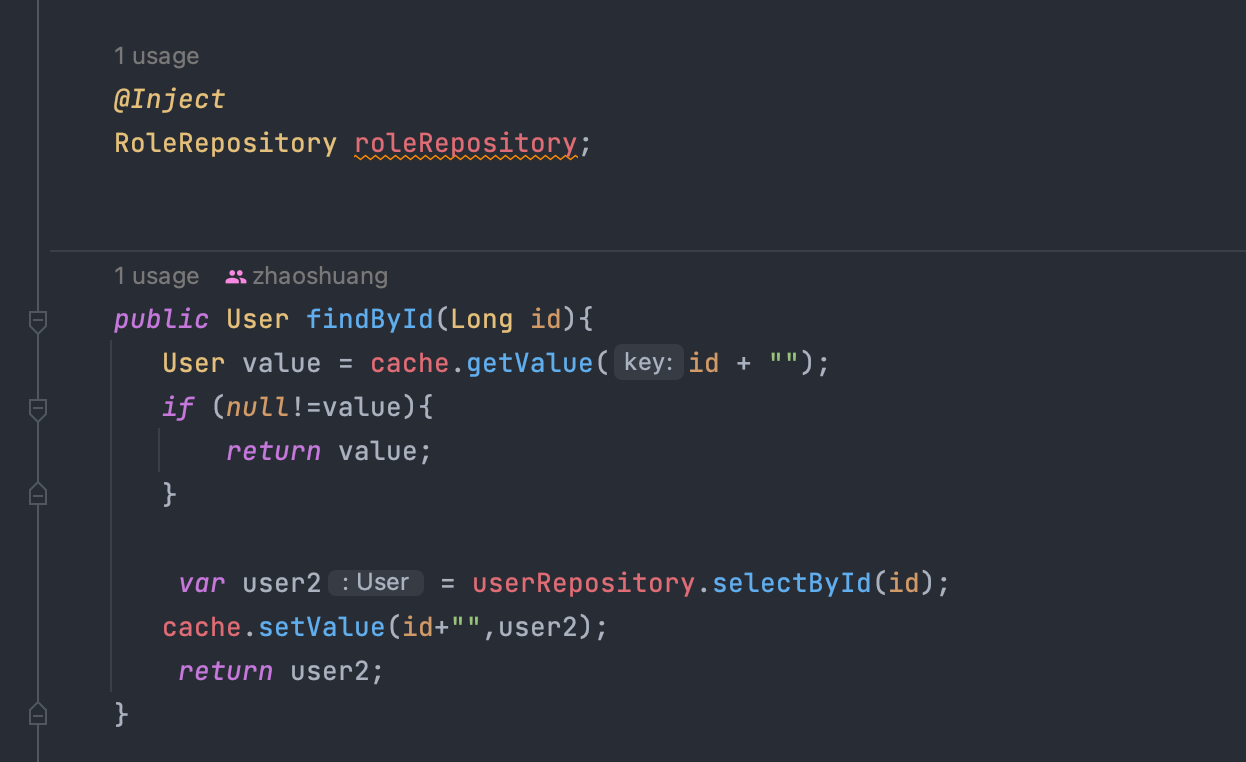
我们直接在UserService中使用

这里仅简单的做个示例,不考虑在并发情况下缓存不一致的问题。
打包运行
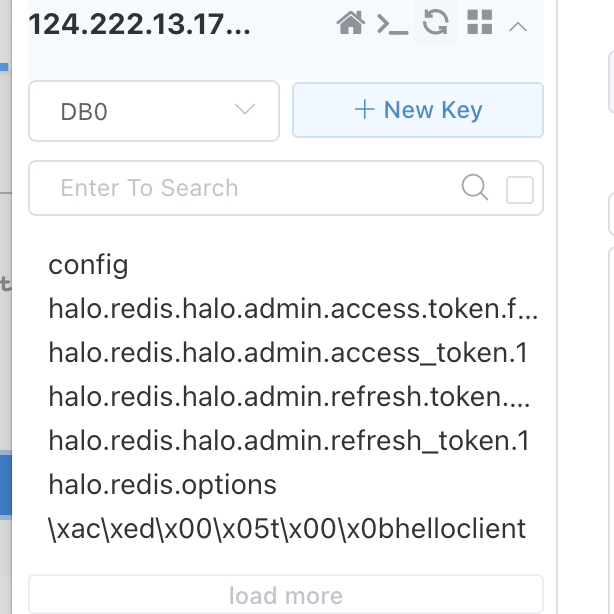
首先我们先连接到我们的redis中看到当前数据库中是没有我们需要的数据的,然后查询。

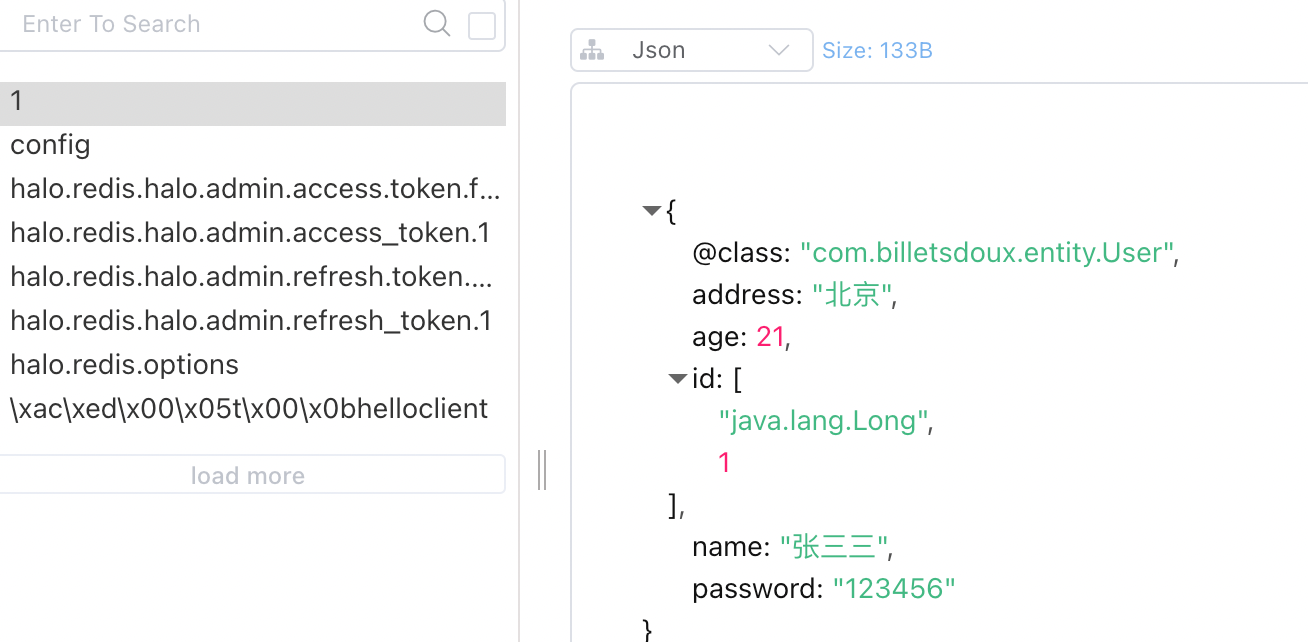
这里可以看到我们已经把id为1的用户放到redis中了,查询也是没有问题的。这里我们就已经完成了reids的集成。

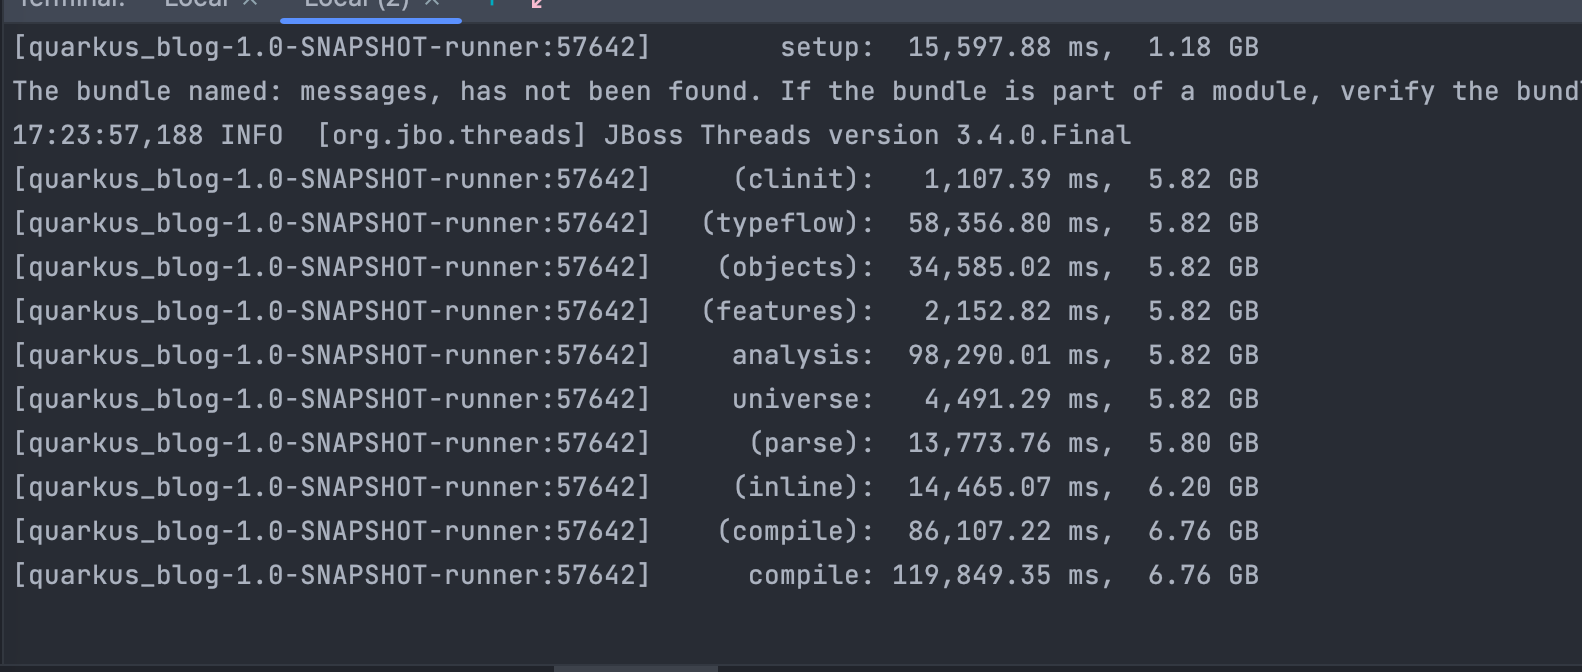
我们最后再测试一下打包成native镜像看看。

然后运行也是没有问题的。
后记
quarkus为我们提供的redis的client虽然比较简陋但是还是能够实现基本的功能,redisson提供的功能虽然强大但是在native模式下无法使用。所以我们在使用的时候需要根据自己的需求来选择适合自己的方式。


【推荐】编程新体验,更懂你的AI,立即体验豆包MarsCode编程助手
【推荐】抖音旗下AI助手豆包,你的智能百科全书,全免费不限次数
【推荐】轻量又高性能的 SSH 工具 IShell:AI 加持,快人一步
· 全网最简单!3分钟用满血DeepSeek R1开发一款AI智能客服,零代码轻松接入微信、公众号、小程
· .NET 10 首个预览版发布,跨平台开发与性能全面提升
· 《HelloGitHub》第 107 期
· 全程使用 AI 从 0 到 1 写了个小工具
· 从文本到图像:SSE 如何助力 AI 内容实时呈现?(Typescript篇)