浅记 ctf linux内核程序逆向
这里以ACTF的一道题为例
题目是给出了这三个文件

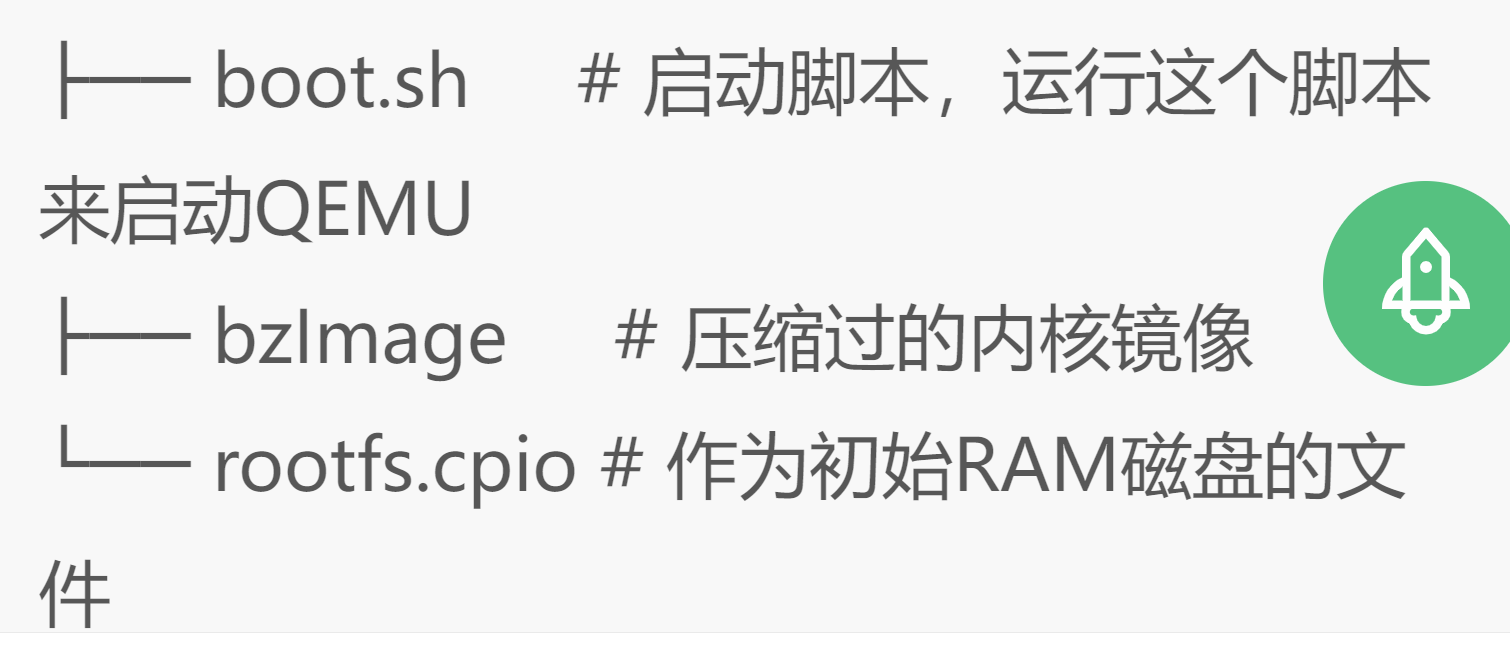
1、bzImage文件
1、文件bzImage是压缩编译的内核镜像文件
2、有的题目会直接给出vmlinux文件(未被压缩的镜像文件),主要目的就是找gadget。。。vmlinux是一个包含linux kernel的静态链接的可执行文件,文件类型是linux接受的可执行文件格式之一(ELF、COFF或a.out)。
3、我们也可以直接从bzImage.sh脚本中直接提取出vmlinux文件
sh脚本如下:


#!/bin/sh
# SPDX-License-Identifier: GPL-2.0-only
# ----------------------------------------------------------------------
# extract-vmlinux - Extract uncompressed vmlinux from a kernel image
#
# Inspired from extract-ikconfig
# (c) 2009,2010 Dick Streefland <dick@streefland.net>
#
# (c) 2011      Corentin Chary <corentin.chary@gmail.com>
#
# ----------------------------------------------------------------------

check_vmlinux()
{
    # Use readelf to check if it's a valid ELF
    # TODO: find a better to way to check that it's really vmlinux
    #       and not just an elf
    readelf -h $1 > /dev/null 2>&1 || return 1

    cat $1
    exit 0
}

try_decompress()
{
    # The obscure use of the "tr" filter is to work around older versions of
    # "grep" that report the byte offset of the line instead of the pattern.

    # Try to find the header ($1) and decompress from here
    for    pos in `tr "$1\n$2" "\n$2=" < "$img" | grep -abo "^$2"`
    do
        pos=${pos%%:*}
        tail -c+$pos "$img" | $3 > $tmp 2> /dev/null
        check_vmlinux $tmp
    done
}

# Check invocation:
me=${0##*/}
img=$1
if    [ $# -ne 1 -o ! -s "$img" ]
then
    echo "Usage: $me <kernel-image>" >&2
    exit 2
fi

# Prepare temp files:
tmp=$(mktemp /tmp/vmlinux-XXX)
trap "rm -f $tmp" 0

# That didn't work, so retry after decompression.
try_decompress '\037\213\010' xy    gunzip
try_decompress '\3757zXZ\000' abcde unxz
try_decompress 'BZh'          xy    bunzip2
try_decompress '\135\0\0\0'   xxx   unlzma
try_decompress '\211\114\132' xy    'lzop -d'
try_decompress '\002!L\030'   xxx   'lz4 -d'
try_decompress '(\265/\375'   xxx   unzstd

# Finally check for uncompressed images or objects:
check_vmlinux $img

# Bail out:
echo "$me: Cannot find vmlinux." >&2
之后直接 xxx.sh '/home/tlsn/Desktop/ACTF/bzImage' > vmlinux 即可
2、launch.sh启动脚本
文件打开后如下
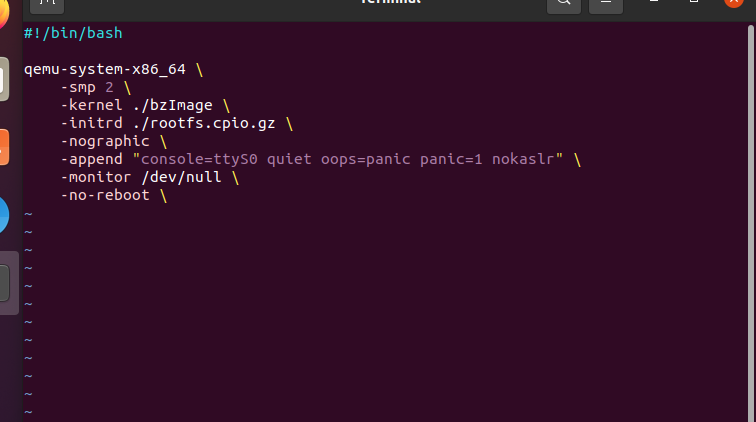
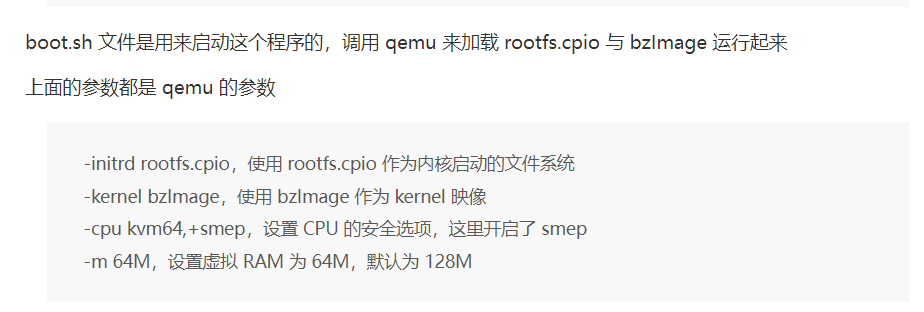
类似于这样的文件功能如下
#!/bin/bash qemu-system-x86_64 \ -initrd rootfs.cpio \ # 指定使用rootfs.cpio作为初始RAM磁盘。可以使用cpio 命令提取这个cpio文件,提取出里面的需要的文件,比如init脚本和babydriver.ko的驱动文件。提取操作的命令放在下面的操作步骤中 -kernel bzImage \ # 使用当前目录的bzImage作为内核镜像 -append 'console=ttyS0 root=/dev/ram oops=panic panic=1' \ # 使用后面的字符串作为内核命令行 -enable-kvm \ # 启用加速器 -monitor /dev/null \ # 将监视器重定向到字符设备/dev/null -m 64M \ # 参数设置RAM大小为64M --nographic \ # 参数禁用图形输出并将串行I/O重定向到控制台 -smp cores=1,threads=1 \ # 参数将CPU设置为1核心1线程 -cpu kvm64,+smep # 参数选择CPU为kvm64,开启了smep保护,无法在ring 0级别执行用户代码
3、.cpio文件
这是初始化的文件系统,我们可以解压得到文件系统
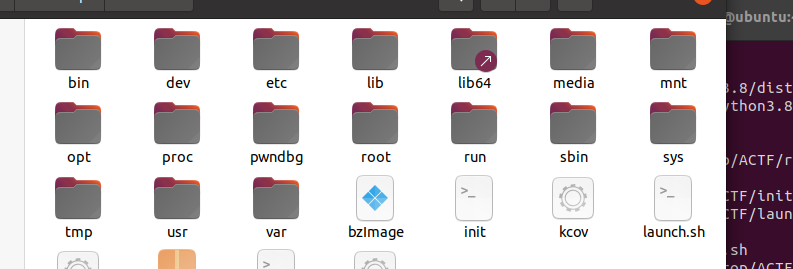
其中得到的Init文件
4、Init文件
它决定启动哪些程序,比如执行某些脚本和启动shell
命令如下:
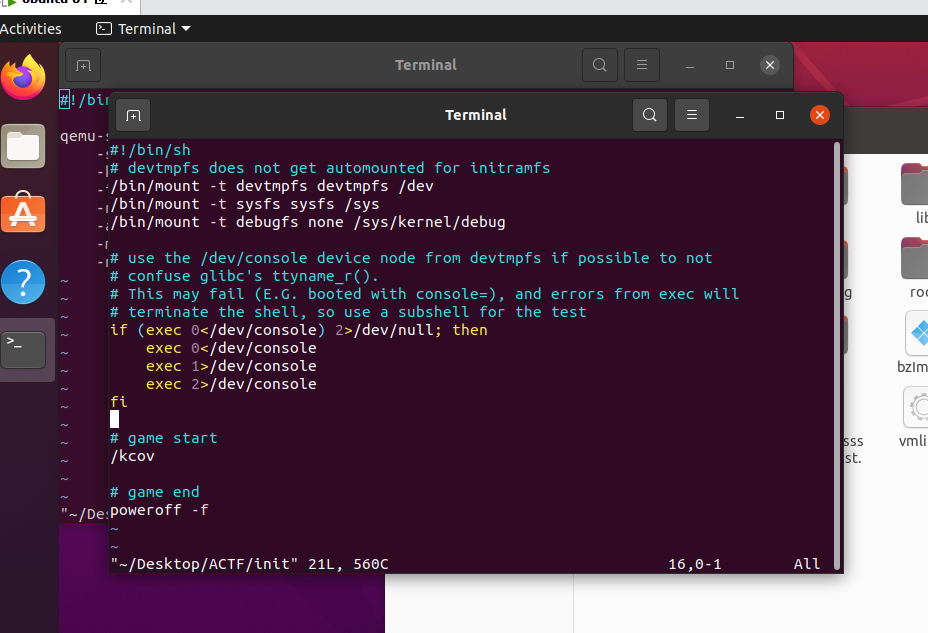
一般的init文件都会加载一个.ko的驱动文件,pwn手的主要战场就在那里


