vue-props配置
1.props作用
props主要用于组件实例对象之间传递参数,比如我们前面创建的student组件,我们在组件中让他显示一些信息,比如下面这样:

Student组件如下:
|
1
2
3
4
5
6
7
8
9
10
11
12
13
14
15
16
17
18
19
20
|
<template> <div> <h1>{{ msg }}</h1> <h2>姓名:{{name}}</h2> <h2>年龄:{{age}}</h2> </div></template><script>export default { name: "Student", data() { return { msg: "我是学生组件", name:'张三', age:'12', }; },};</script> |
然后我们在APP组件中引用就能显示上面的图
|
1
2
3
4
5
6
7
8
9
10
11
12
13
14
15
16
17
18
19
20
21
22
23
24
25
26
27
28
29
30
31
32
33
34
35
36
|
<template> <div id="app"> <img alt="Vue logo" src="./assets/logo.png"> <Student></Student> </div></template><script>import Student from './components/Student'export default { name: 'App', components: { Student }, data() { return { msg:'欢迎' } },}</script><style>#app { font-family: Avenir, Helvetica, Arial, sans-serif; -webkit-font-smoothing: antialiased; -moz-osx-font-smoothing: grayscale; text-align: center; color: #2c3e50; margin-top: 60px;}</style> |
问题是,如果我每次使用Student组件,他显示的名字都是张三,这在实际开发中肯定不合适,在实际开发中,我们一般需要将姓名年龄等作为参数传入到组件中,然后显示出具体的实例化对象后的内容。
那么就需要用到我们今天介绍的props属性
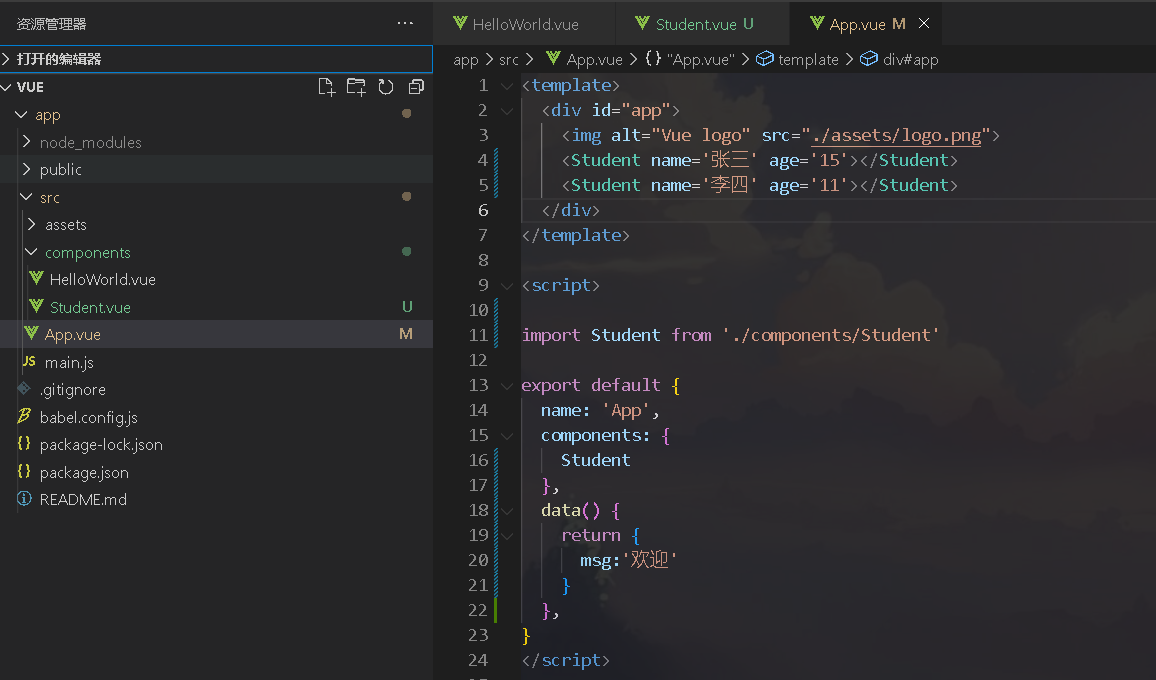
我们把App.vue改造成下面这样:

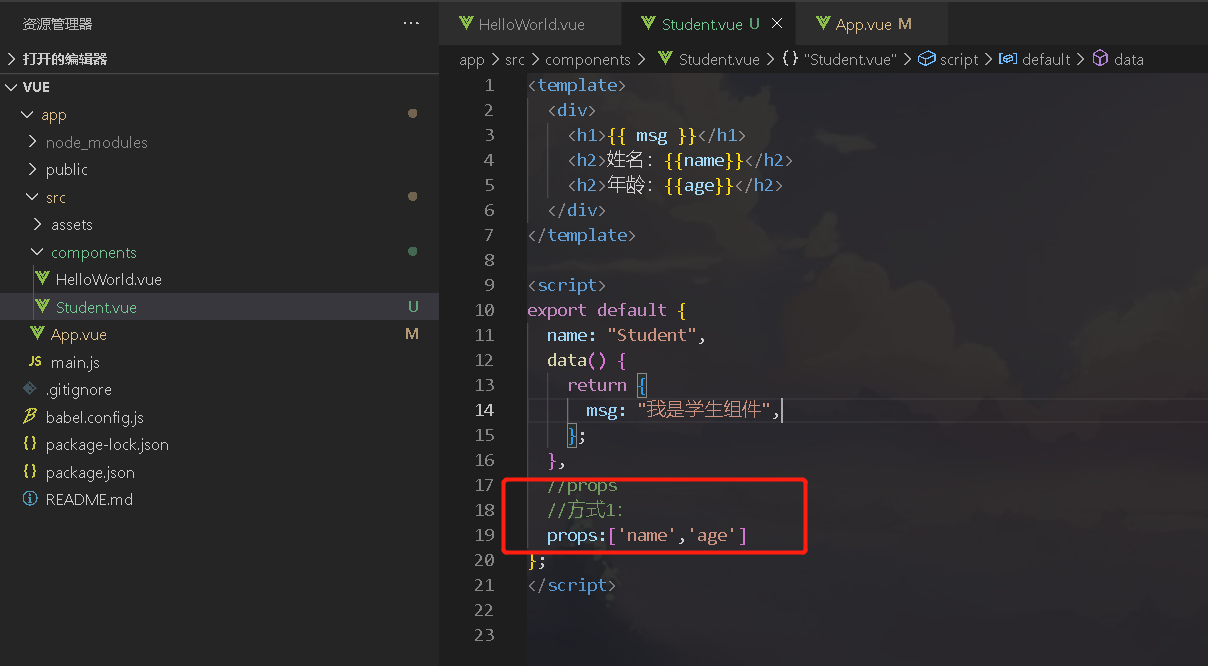
我们在Student组件中通过 name=’张三’这种形式传值,然后在Student组件中接收数据

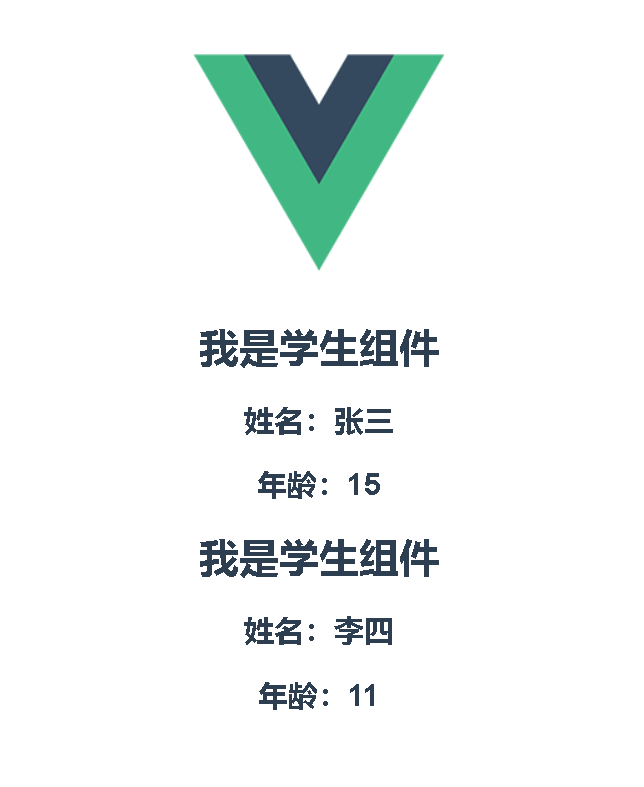
通过这样的配置,就能显示不同的信息了

2.props的形式
props配置项有几种形式,第一种就是上面数组形式:
|
1
|
props:['name','age'] |
这种形式的问题很简单,就是默认传递数据是原值,一般不能修改,比如我们想把传的年龄加2,如果写成{{age+2}} ,那么输出的就是字符串,而不是表达式,为了解决这个小问题,可以在调用的时候,加入冒号,比如下面这样:
APP.vue
|
1
2
3
4
5
6
7
8
9
10
11
12
13
14
15
16
17
18
19
20
21
22
23
24
25
26
27
28
29
30
31
32
33
34
35
|
<template> <div id="app"> <img alt="Vue logo" src="./assets/logo.png"> <Student name='张三' :age='15'></Student> <Student name='李四' age='11'></Student> </div></template><script>import Student from './components/Student'export default { name: 'App', components: { Student }, data() { return { msg:'欢迎' } },}</script><style>#app { font-family: Avenir, Helvetica, Arial, sans-serif; -webkit-font-smoothing: antialiased; -moz-osx-font-smoothing: grayscale; text-align: center; color: #2c3e50; margin-top: 60px;}</style> |
Student.vue
|
1
2
3
4
5
6
7
8
9
10
11
12
13
14
15
16
17
18
19
20
21
|
<template> <div> <h1>{{ msg }}</h1> <h2>姓名:{{name}}</h2> <h2>年龄:{{age+1}}</h2> </div></template><script>export default { name: "Student", data() { return { msg: "我是学生组件", }; }, //props //方式1: props:['name','age']};</script> |
效果如下:

第二种:
|
1
2
3
4
|
props:{ name:String, age:Number,} |
这种方式可以写成对象类型,这种方式可以提示类型,如果传的类型不一致就会报错。
第三种:
|
1
2
3
4
5
6
7
8
9
10
|
props:{ name:{ type:String, //类型 required:true, //表示是否必须的 }, age:{ type:number, default:50, //如果没传时的默认值 } } |
3.修改参数的值
vue并不希望我们去直接修改参数的值,但是我们可以间接去修改。比如下面这样:
|
1
2
3
4
5
6
7
8
9
10
11
12
13
14
15
16
17
18
19
20
21
22
23
24
25
26
27
28
29
30
31
32
33
34
|
<template> <div> <h1>{{ msg }}</h1> <h2>姓名:{{myName}}</h2> <h2>年龄:{{age+1}}</h2> </div></template><script>export default { name: "Student", data() { return { msg: "我是学生组件", myName:this.name }; }, //props //方式1: // props:['name','age'] //方式2 props:{ name:{ type:String, //类型 required:true, //表示是否必须的 }, age:{ type:Number, default:50, //如果没传时的默认值 } }};</script> |
我们在data中通过myName接收了传过来的参数,有了myName后,就可以随便修改了。


【推荐】国内首个AI IDE,深度理解中文开发场景,立即下载体验Trae
【推荐】编程新体验,更懂你的AI,立即体验豆包MarsCode编程助手
【推荐】抖音旗下AI助手豆包,你的智能百科全书,全免费不限次数
【推荐】轻量又高性能的 SSH 工具 IShell:AI 加持,快人一步
· 阿里最新开源QwQ-32B,效果媲美deepseek-r1满血版,部署成本又又又降低了!
· Manus重磅发布:全球首款通用AI代理技术深度解析与实战指南
· 开源Multi-agent AI智能体框架aevatar.ai,欢迎大家贡献代码
· 被坑几百块钱后,我竟然真的恢复了删除的微信聊天记录!
· AI技术革命,工作效率10个最佳AI工具