Xray安装及使用
下载:https://github.com/chaitin/xray/releases
文档:https://docs.xray.cool/#/
快速使用
- 使用基础爬虫爬取并对爬虫爬取的链接进行漏洞扫描
xray webscan --basic-crawler http://example.com --html-output vuln.html
- 使用 HTTP 代理进行被动扫描
xray webscan --listen 127.0.0.1:7777 --html-output proxy.html
设置浏览器 http 代理为 http://127.0.0.1:7777 ,就可以自动分析代理流量并扫描。
浏览器 -> xray
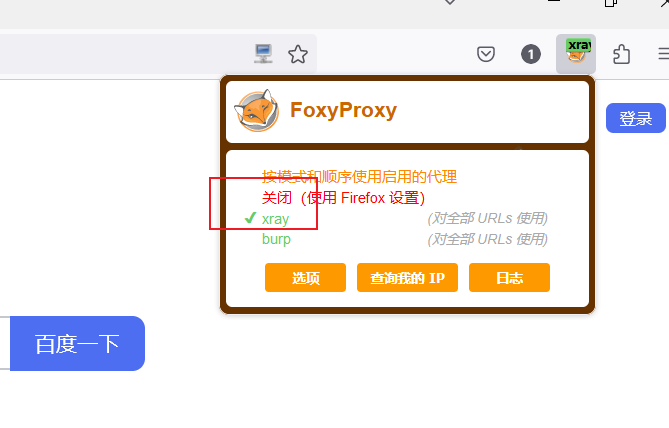
(1)Foxy proxy配置:
代理IP地址:xray所在的IP;
端口: xray监听端口
(2)xray webscan -- listen 0.0.0.0:7777 --html-output proxy.html
(3)浏览器导入 xray 证书
(4)配置要扫描的域名或IP
3. 只扫描单个url,不使用爬虫
xray webscan --url http://example.com/?a=b --html-output single-url.html
- 手动指定本次运行的插件
xray webscan --plugins cmd-injection,sqldet --url http://example.com
xray webscan --plugins cmd-injection,sqldet --listen 127.0.0.1:7777
- 指定输出文件的格式
xray webscan --url http://example.com/?a=b \
--text-output result.txt --json-output result.json --html-output report.html
正向扫描
.\xray_windows_amd64 webscan --basic-crawler http://testphp.vulnweb.com/ --html-output xray-crawler-testphp.html
反向扫描
.\xray_windows_amd64.exe genca
.\xray_windows_amd64.exe webscan --listen 127.0.0.1:7777 --html-output C4065_反向扫描.html

流量走向
代理模式下的基本架构为,扫描器作为中间人,首先原样转发流量,并返回服务器响应给浏览器等客户端,通讯两端都认为自己直接与对方对话,同时记录该流量,然后修改参数并重新发送请求进行扫描。
foxyproxy [ 配置文件中的指定地址 ]
本地浏览器 ----> 本地xray ----> 服务器
本地浏览器 ----> 阿里云服务器(xary) ----> 服务器
总结:
1.信息收集(googleHack\FoFa\Goby\Nmap)
2.工具的使用
3.漏洞信息(利用脚本、历史漏洞)
4.xray

