
设置更改root密码、连接mysql、mysql常用命令
6月19日任务
13.1 设置更改root密码
13.2 连接mysql
13.3 mysql常用命令
13.1 设置更改root密码
使用场景:例如长时间不用忘记了mysql的root密码,那么就需要去重新设置密码。
①检查mysql服务是否启动,如果没有启动,需要把mysql服务启动起来。
[root@jimmylinux-001 ~]# ps aux |grep mysql 如果mysql有启动就不需要重启服务了

②使用mysql -uroot
[root@jimmylinux-001 ~]# mysql -uroot
-bash: mysql: 未找到命令

[root@jimmylinux-001 ~]# ls /usr/local/mysql/bin/mysql/usr/local/mysql/bin/mysql

[root@jimmylinux-001 ~]# echo $PATH/usr/local/sbin:/usr/local/bin:/usr/sbin:/usr/bin:/root/bin

[root@jimmylinux-001 ~]# export PATH=$PATH:/usr/local/mysql/bin/

[root@jimmylinux-001 ~]# mysql -uroot
Welcome to the MySQL monitor.  Commands end with ; or \g.
Your MySQL connection id is 1
Server version: 5.6.36 MySQL Community Server (GPL)

Copyright (c) 2000, 2017, Oracle and/or its affiliates. All rights reserved.

Oracle is a registered trademark of Oracle Corporation and/or its
affiliates. Other names may be trademarks of their respective
owners.

Type 'help;' or '\h' for help. Type '\c' to clear the current input statement.

mysql>quit
Bye
如果想让变量永久生效,可以把这条命令export PATH=$PATH:/usr/local/mysql/bin/加入到/etc/profile最后面就可以了。
[root@jimmylinux-001 ~]# vim /etc/profile

最后面一行加入这条命令
export PATH=$PATH:/usr/local/mysql/bin/
假如没有先执行变量export PATH=$PATH:/usr/local/mysql/bin/,也不可以执行mysql -uroot,编辑完/etc/profile文件后需要执行source /etc/profile。
[root@jimmylinux-001 ~]# source /etc/profile
③默认mysql的root密码为空,直接mysql -uroot -p,提示输入密码直接回车即可。
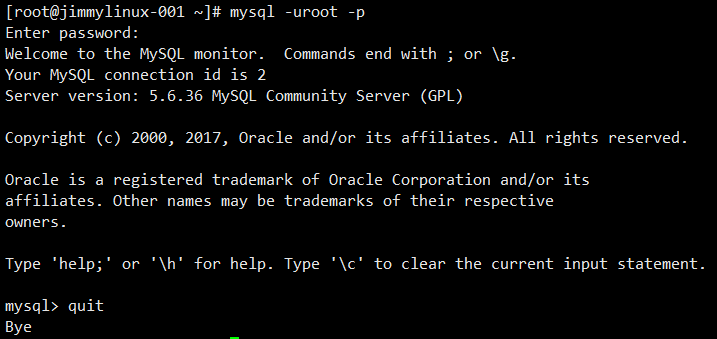
登录进去后就可以去操作关于一些mysql的行为
④如何设置mysql的root密码
[root@jimmylinux-001 ~]# mysqladmin -uroot password 'abcd1234';
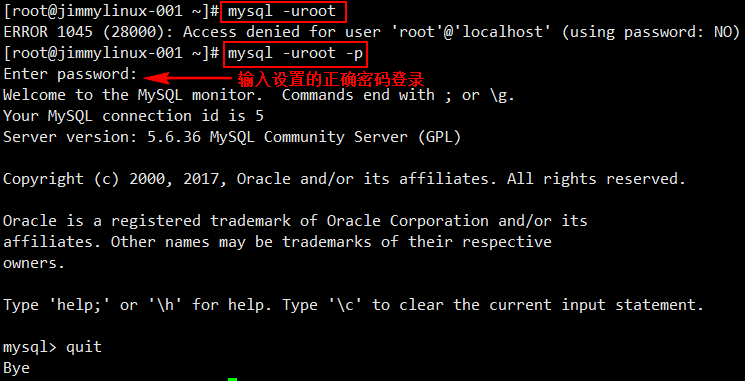
Warning: Using a password on the command line interface can be insecure. 这里不是报错,意思是说在当前的命令行显示了密码信息不太安全。
如果按照之前的mysql -uroot 就不能够登录了,需要加上-p,根据提示输入密码才可以正常登录。
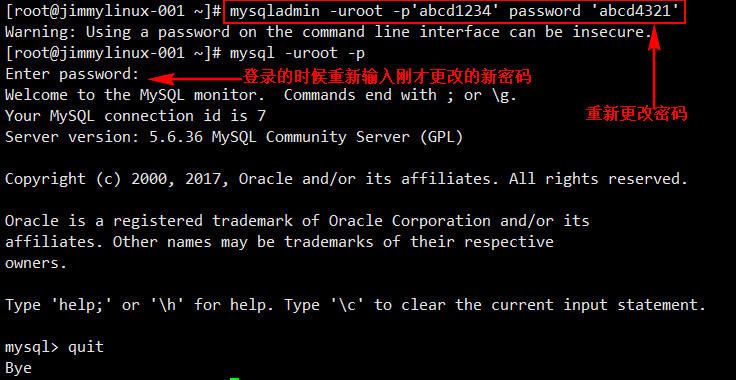
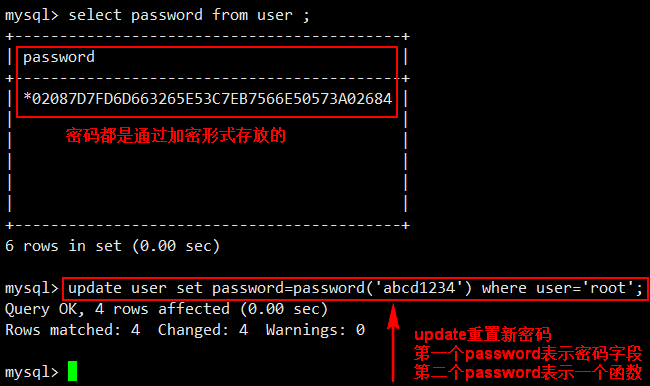
⑤知道密码的情况下,如何更改密码。
另外一种情况,不知道密码,如何重置?
①编辑/etc/my.cnf文件,增加skip-grant
[root@jimmylinux-001 ~]# vim /etc/my.cnf  编辑文件,在mysqld下面增加一行skip-grant。

[mysqld]
skip-grant  增加这一行,意思是指忽略授权,在登录mysql的时候不需要密码。
datadir=/data/mysql
socket=/tmp/mysql.sock
②重启mysql服务
[root@jimmylinux-001 ~]# /etc/init.d/mysqld restart
Shutting down MySQL.. SUCCESS!
Starting MySQL. SUCCESS!
③mysql -uroot 直接不用密码即可登录
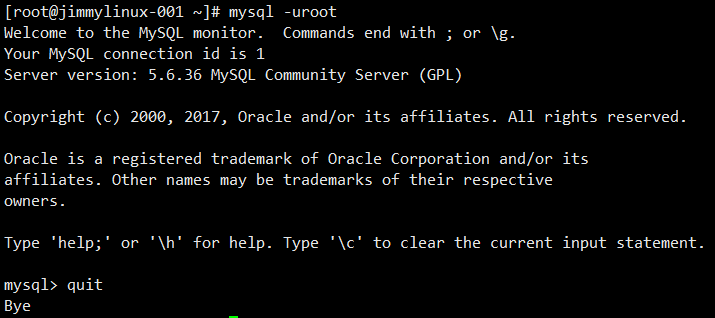
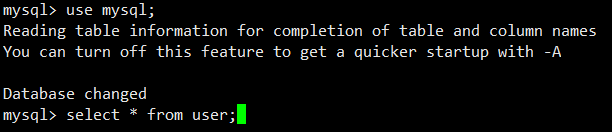
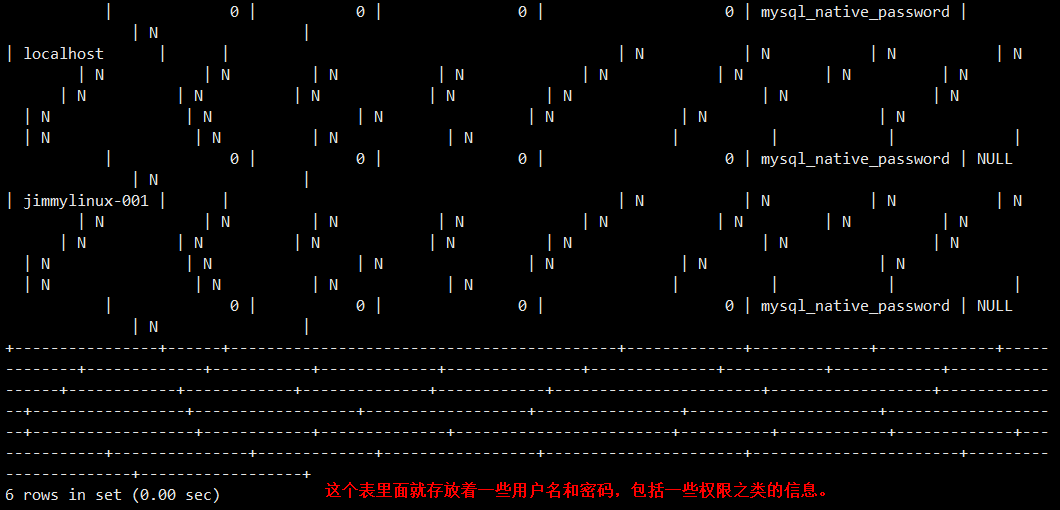
登录进来后需要去更改一个表,因为用户名和密码是存在mysql库里面。
④重新编辑/etc/my.cnf文件,删除刚才添加的skip-grant。
[root@jimmylinux-001 ~]# vim /etc/my.cnf    重新编辑文件删除刚才添加的skip-grant,如果一直保留,这样任何用户都可以不需要密码直接登录,非常不安全。

[mysqld]
datadir=/data/mysql
socket=/tmp/mysql.sock
⑤重启mysql服务
[root@jimmylinux-001 ~]# /etc/init.d/mysqld restart
Shutting down MySQL.. SUCCESS!
Starting MySQL. SUCCESS!
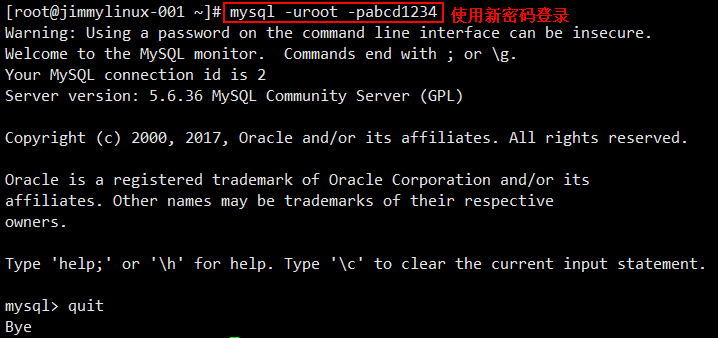
⑥使用新密码登录
13.2 连接mysql
常用的连接mysql的几种方式
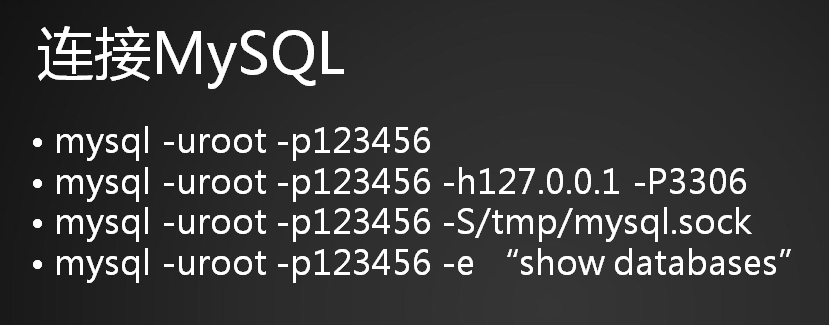
①mysql -uroot -p123456 连接本机mysql
②mysql -uroot -p123456 -h127.0.0.1 -P3306 连接远程,例如从A服务器,去连接B服务器的mysql,就需要输入IP和端口。
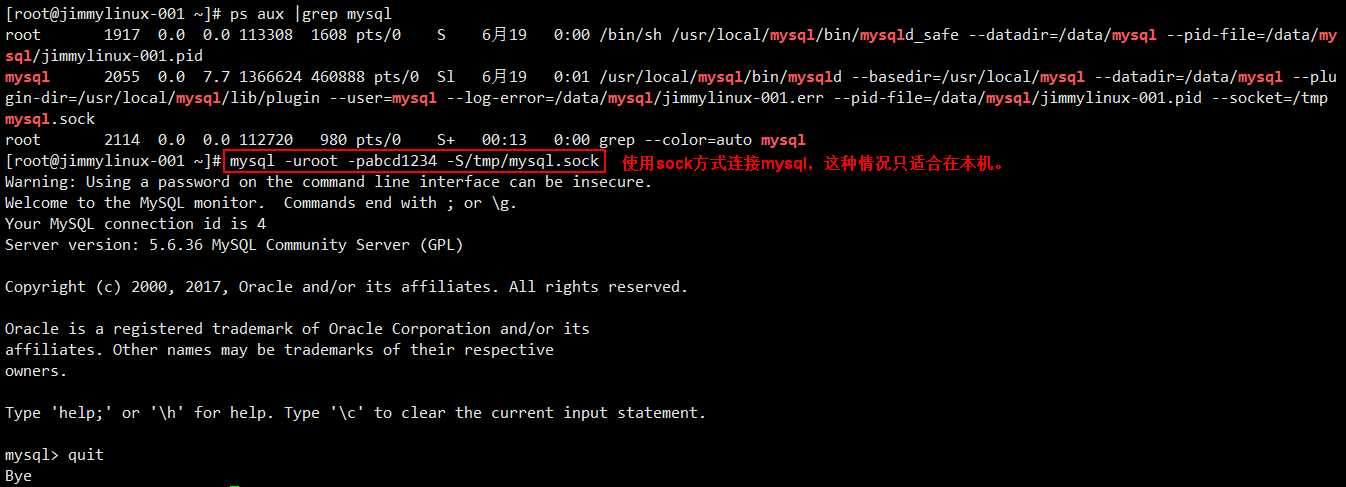
③mysql -uroot -p123456 -S/tmp/mysql.sock 使用sock方式连接mysql
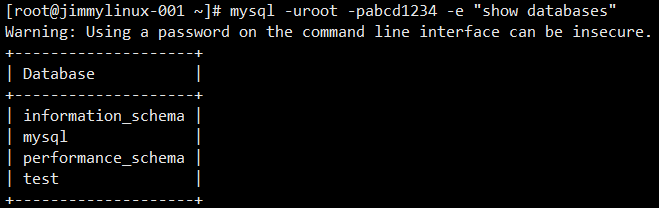
④mysql -uroot -p123456 -e "show databases" 连接mysql后操作一些命令,列出所有数据库,这种情况使用在shell脚本里。
连接远程的mysql

使用sock方式连接mysql,这种情况只适合在本机。
连接mysql后操作一些命令,列出所有数据库,这种情况使用在shell脚本里。
13.3 mysql常用命令
1、查询库 show databases;
2、切换库 use mysql;
3、查看库里的表 show tables;
4、查看表里的字段 desc tb_name;
5、查看建表语句 show create table tb_name\G;
6、查看当前用户 select user();
7、查看当前使用的数据库 select databsase();
8、创建库 create database db1;
9、创建表 use db1; create table t1(`id` int(4), `name` char(40));
10、查看当前数据库版本 select version();
11、查看数据库状态 show status;
12、查看各参数 show variables; show variables like 'max_connect%';
13、修改参数 set global max_connect_errors=1000;
14、查看队列 show processlist; show full processlist;

 浙公网安备 33010602011771号