Github+Hexo创建博客过程记录
下载node
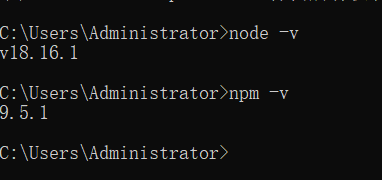
先下载node,然后打开终端,检查node和npm是否安装完成
安装git和密匙生成
直接去官网下载即可
在博客文件夹(自定义)中右键,git bash here
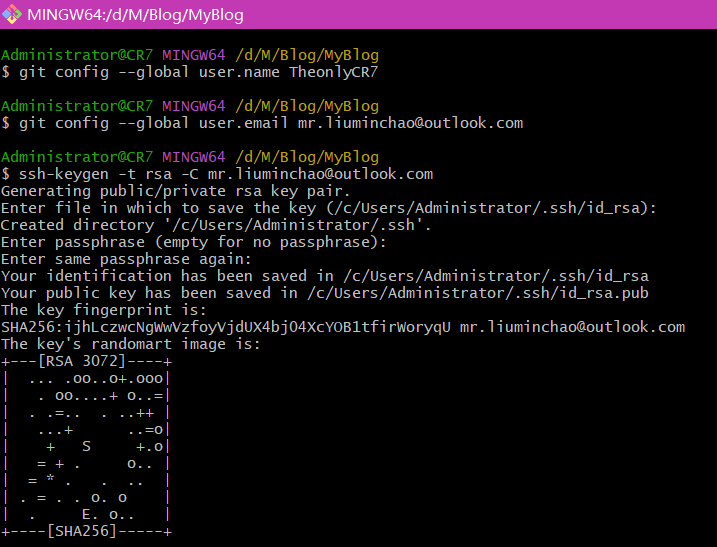
git config --global user.name "GitHub 用户名"
git config --global user.email "GitHub 邮箱"
输入
ssh-keygen -t rsa -C "GitHub 邮箱"

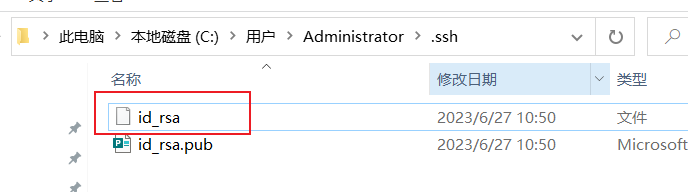
会在这里告知密匙生成位置,然后一路回车生成即可
进入指定的文件夹,用记事本打开,复制里面所有内容
登陆 GitHub ,进入 Settings 页面,选择左边栏的 SSH and GPG keys,点击 New SSH key。
Title 随便取个名字,粘贴复制的 id_rsa.pub 内容到 Key 中,点击 Add SSH key 完成添加。
如果出现报错,原因是格式错误
Key is invalid. You must supply a key in OpenSSH public key format
可以用subbmit打开id_rsa.pub 复制粘贴即可
成功如图

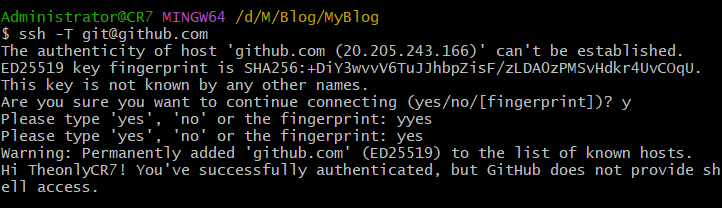
在git bash页面输入 ssh -T git@github.com 验证是否成功,出现Are you sure即可
创建博客仓库
在Github创建一个仓库,命名为用户名.github.io ,并勾选 Initialize this repository with a README
新建一个文件夹用来存放 Hexo 的程序文件,如 Hexo-Blog。打开该文件夹,右键 -> Git Bash Here
npm install -g hexo-cli  ## 安装Hexo客户端
hexo init ## 进行初始化
npm install ## 安装组件
输入下面命令,启动本地服务器进行预览:
hexo g # 生成页面
hexo s # 启动预览
访问 http://localhost:4000,出现 Hexo 默认页面,本地博客安装成功
部署博客到Github Page
安装 hexo-deployer-git
npm install hexo-deployer-git --save
然后修改 _config.yml 文件末尾的 Deployment 部分,修改成如下:
deploy:
  type: git
  repository: git@github.com:用户名/用户名.github.io.git
  branch: master
清理缓存,重新发布网站
hexo clean   # 清除缓存文件等
hexo g       # 生成页面
hexo s       # 启动预览
hexo d       # 上传
安装其他主题(以next为例)
- 进入blog目录,使用
npm install hexo-theme-next@latest来安装最新的NexT主题,主题会安装到node_modules中,然后将hexo-theme-next文件夹的内容复制到 themes/next中 - 将_config.yml中theme配置项修改为next
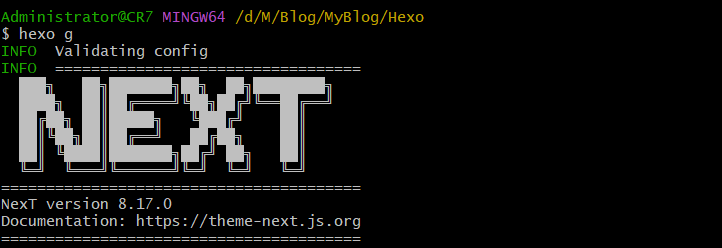
- 使用hexo c && hexo g && hexo s进行测试,查看主题是否应用成功。
首次生成页面会出现巨大的next logo
小问题
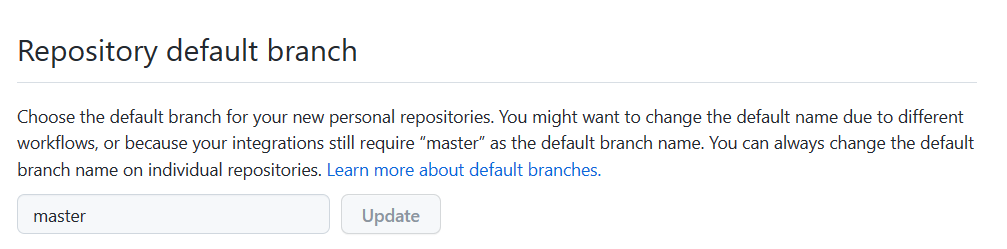
浏览器地址栏输入 用户名.github.io ,结果发现没有同步
原因是现在的github默认显示分支为main,而在配置文件中设置的上传分支为master
解决方法:Settings -> Repository,默认为main,改为master即可

 浙公网安备 33010602011771号