Linux DNS 分离解析

设置DNS分离解析可以对不同的客户端提供不同的域名解析记录。来自不同地址的客户机请求同一域名时,为其提供不同的解析结果。
安装 bind 包
[root@localhost ~]# yum install bind bind-utils -y
双网卡配置
两张网卡全部切换至仅主机模式。
[root@localhost ~]# cd /etc/sysconfig/network-scripts/
- 配置内网网关
IP地址
[root@localhost network-scripts]# vim ifcfg-ens33
TYPE=Ethernet
BOOTPROTO=static
DEVICE=ens33
ONBOOT=yes
IPADDR=192.168.100.1
NETMASK=255.255.255.0
- 配置外网网关
IP地址
[root@localhost network-scripts]# cp -p ifcfg-ens33 ifcfg-ens37
[root@localhost network-scripts]# vim ifcfg-ens37
TYPE=Ethernet
BOOTPROTO=static
DEVICE=ens37
ONBOOT=yes
IPADDR=12.0.0.1
NETMASK=255.255.255.0
- 重启网络服务
[root@localhost ~]# service network restart
Restarting network (via systemctl):                        [  OK  ]
[root@localhost ~]# ifconfig ens33
ens33: flags=4163<UP,BROADCAST,RUNNING,MULTICAST>  mtu 1500
        inet 192.168.100.1  netmask 255.255.255.0  broadcast 192.168.100.255
        inet6 fe80::20c:29ff:febc:ab96  prefixlen 64  scopeid 0x20<link>
        ether 00:0c:29:bc:ab:96  txqueuelen 1000  (Ethernet)
        RX packets 1056  bytes 299717 (292.6 KiB)
        RX errors 0  dropped 0  overruns 0  frame 0
        TX packets 180  bytes 22441 (21.9 KiB)
        TX errors 0  dropped 0 overruns 0  carrier 0  collisions 0

[root@localhost ~]# ifconfig ens37
ens37: flags=4163<UP,BROADCAST,RUNNING,MULTICAST>  mtu 1500
        inet 12.0.0.1  netmask 255.255.255.0  broadcast 12.0.0.255
        inet6 fe80::20c:29ff:febc:aba0  prefixlen 64  scopeid 0x20<link>
        ether 00:0c:29:bc:ab:a0  txqueuelen 1000  (Ethernet)
        RX packets 1010  bytes 301554 (294.4 KiB)
        RX errors 0  dropped 0  overruns 0  frame 0
        TX packets 106  bytes 16880 (16.4 KiB)
        TX errors 0  dropped 0 overruns 0  carrier 0  collisions 0
编辑主配置文件
[root@localhost ~]# vim /etc/named.conf
- 配置监听网段、允许查询网段
listen-on port 53 { any; };
allow-query     { any; };
- 删除根的配置部分,放到区域配置文件中。
zone "." IN {
  type hint;
  file "named.ca";
};
编辑区域配置文件
[root@localhost ~]# vim /etc/named.rfc1912.zones
删除所有已存在的配置,添加以下配置
view "lan" {
        match-clients { 192.168.100.0/24; };
        zone "yun.com" IN {
          type master;
          file "yun.com.lan";
        };
        zone "." IN {
          type hint;
          file "named.ca";
        };
};

view "wan" {
        match-clients { 12.0.0.0/24; };
        zone "yun.com" IN {
          type master;
          file "yun.com.wan";
        };
};
编辑区域数据配置文件
[root@localhost ~]# cd /var/named/
- 编辑
lan区域数据文件
[root@localhost named]# cp -p named.localhost yun.com.lan
[root@localhost named]# vim yun.com.lan
$TTL 1D
@	IN SOA	yun.com. admin.yun.com. (
					0	; serial
					1D	; refresh
					1H	; retry
					1W	; expire
					3H )	; minimum
	IN	NS	yun.com.
	IN	A	192.168.100.1
www	IN	A	192.168.100.10
ftp	IN	A	192.168.100.20
- 编辑
wan区域数据文件
[root@localhost named]# cp -p yun.com.lan yun.com.wan
[root@localhost named]# vim yun.com.wan
$TTL 1D
@	IN SOA	yun.com. admin.yun.com. (
					0	; serial
					1D	; refresh
					1H	; retry
					1W	; expire
					3H )	; minimum
	IN	NS	yun.com.
	IN	A	12.0.0.1
www	IN	A	12.0.0.1
ftp	IN	A	12.0.0.1
启动服务
[root@localhost ~]# systemctl start named
[root@localhost ~]# systemctl enable named
Created symlink from /etc/systemd/system/multi-user.target.wants/named.service to /usr/lib/systemd/system/named.service.
结果测试
两台客户机的网络为仅主机模式。
内网win10测试
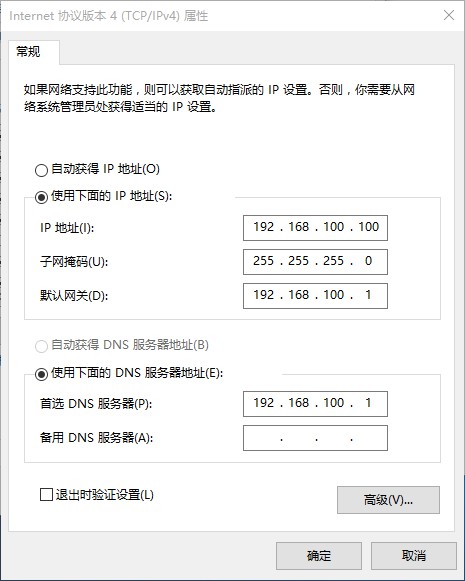
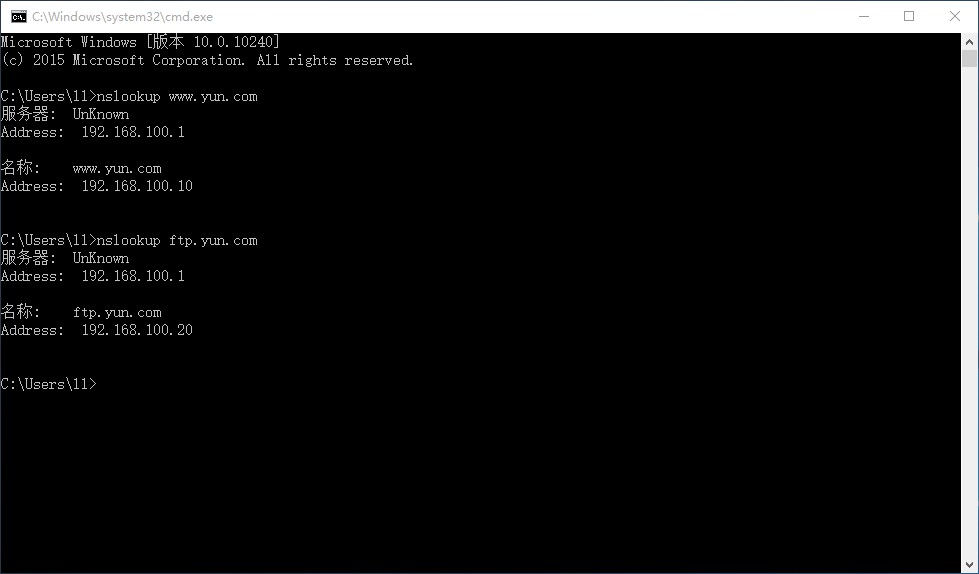
Microsoft Windows [版本 10.0.10240]
(c) 2015 Microsoft Corporation. All rights reserved.

C:\Users\ll>nslookup www.yun.com
服务器:  UnKnown
Address:  192.168.100.1

名称:    www.yun.com
Address:  192.168.100.10


C:\Users\ll>nslookup ftp.yun.com
服务器:  UnKnown
Address:  192.168.100.1

名称:    ftp.yun.com
Address:  192.168.100.20
外网win7测试
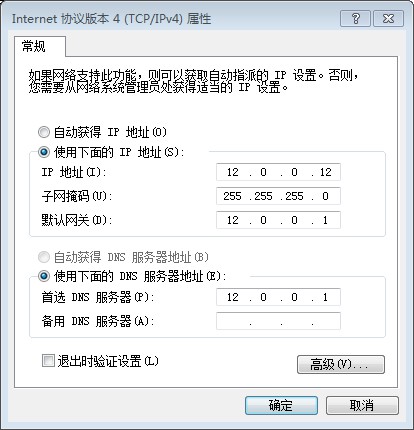
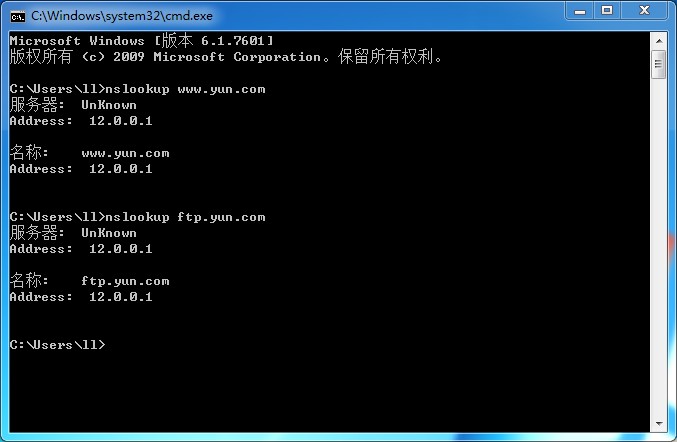
Microsoft Windows [版本 6.1.7601]
版权所有 (c) 2009 Microsoft Corporation。保留所有权利。

C:\Users\ll>nslookup www.yun.com
服务器:  UnKnown
Address:  12.0.0.1

名称:    www.yun.com
Address:  12.0.0.1


C:\Users\ll>nslookup ftp.yun.com
服务器:  UnKnown
Address:  12.0.0.1

名称:    ftp.yun.com
Address:  12.0.0.1

 浙公网安备 33010602011771号