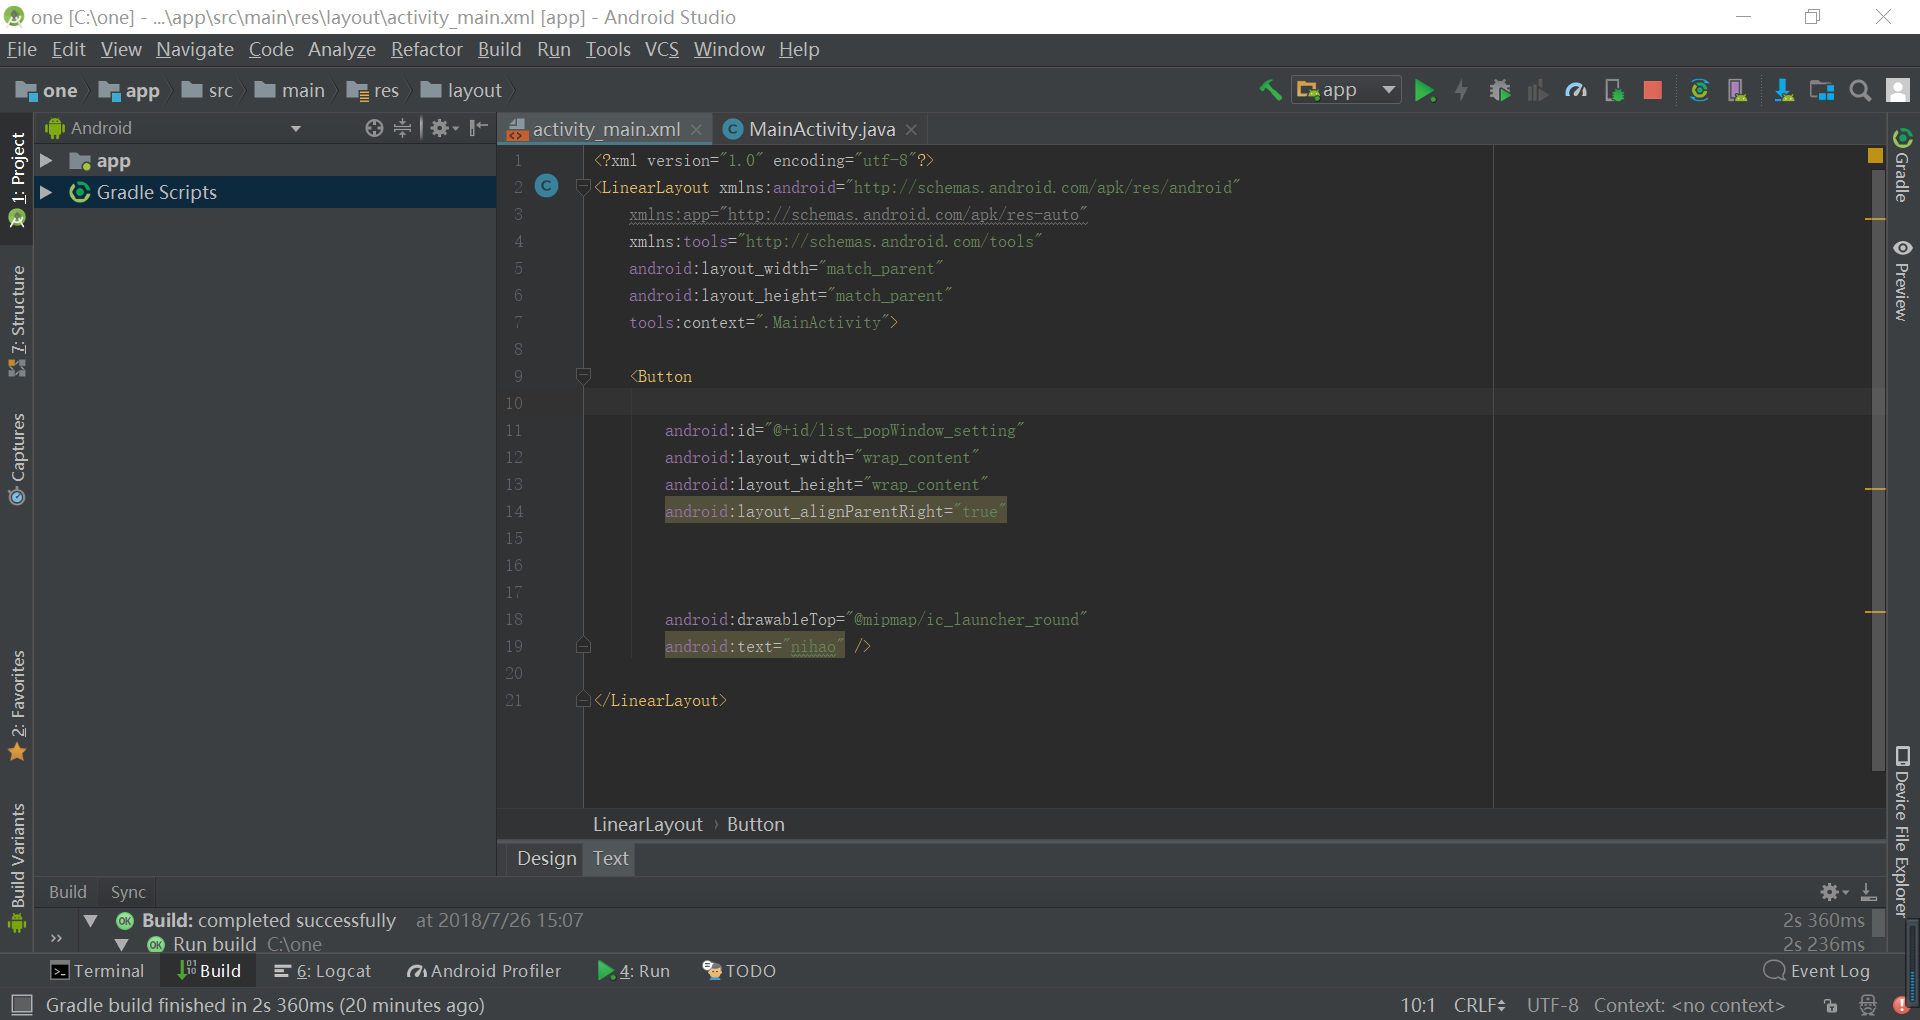
本人刚开始接触移动开发方面的知识,在很多方面都感觉寸步难行,移动开发这门课程应该是在我一年后学校才会开设,而移动开发所用到的java也是在我下个学期才开始正式学习。所以,现在的我很多地方,都非常的迷惑,都说好奇心会害死人,但对于遨游在知识海洋的我们来说,它是一个驱动器。因为有这个驱动器,我用了20天开始零基础的学习java,目前在本人看来,java和c++有着许多可以贯通的地方,最大的庆幸是java摈除了c++里的难点指针,这是有点欣慰的地方。但毕竟是一门独立的编程语言,存在既有他强大的地方和独特的地方,“万物存在皆有它之道理”,我相信学好任何一门语言的路都是艰辛的,路并不平坦。加油,一起同行的各位程序猿,在有一点java的基础上,我开始接触android,(自我感觉入手过快,只不过好奇心实在太强烈)。我不得不佩服android存在的强大,就光是android studio这款android开发环境就搞了我几天,这款开发环境是全英文的,(对于我这种English渣渣来说可谓是痛上加痛),对于这款环境的下载和配置都是有讲究的,这里就不多说了(如果有时间,会在下一篇博客进行简单叙述步骤)。下面贴一张他的正面照把😁。是不是很清秀¥¥。然后记录下自己这些天学的一些小小的技巧,也希望能帮助更多的小白
一:[Android Studio] android 去掉按钮自带阴影效果
在Button的配置项增加:
style="?android:attr/borderlessButtonStyle"

下面是带阴影的按钮代码及截图
<?xml version="1.0" encoding="utf-8"?>
<LinearLayout xmlns:android="http://schemas.android.com/apk/res/android"
    xmlns:app="http://schemas.android.com/apk/res-auto"
    xmlns:tools="http://schemas.android.com/tools"
    android:layout_width="match_parent"
    android:layout_height="match_parent"
    android:gravity="center"
    tools:context=".MainActivity">

    <Button
        android:id="@+id/one"
        android:layout_width="wrap_content"
        android:layout_height="wrap_content"
        android:background="#ccc278"
        android:text="nihao"
        android:layout_gravity="center"/>

</LinearLayout>
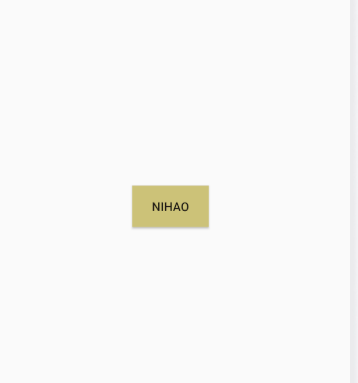
这里设置的是带黄色背景的按钮,通过在Button里添加
style="?android:attr/borderlessButtonStyle" 去掉按钮背景,(注意:如果你给你的按钮添加了背景颜色,需要一并去掉,不然达不到效果,你可以自己试试)
下面是去掉后的代码和截图
<?xml version="1.0" encoding="utf-8"?>
<LinearLayout xmlns:android="http://schemas.android.com/apk/res/android"
    xmlns:app="http://schemas.android.com/apk/res-auto"
    xmlns:tools="http://schemas.android.com/tools"
    android:layout_width="match_parent"
    android:layout_height="match_parent"
    android:gravity="center"
    tools:context=".MainActivity">

    <Button
        style="?android:attr/borderlessButtonStyle"
        android:id="@+id/one"
        android:layout_width="wrap_content"
        android:layout_height="wrap_content"

        android:text="nihao"
        android:layout_gravity="center"/>

</LinearLayout>
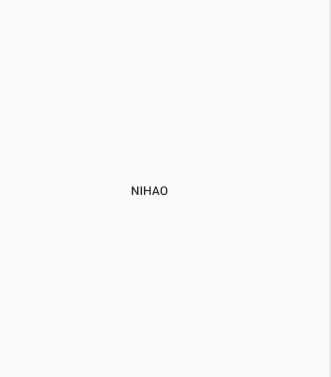
是不是按钮已经不带有背景了,ok,继续下一个
二:如何实现按钮风格为“上图下文字”式,这在当下是非常流行的,其风格如下,qq下面的Tap栏就是这种风格

下面紧接这上面的例子继续
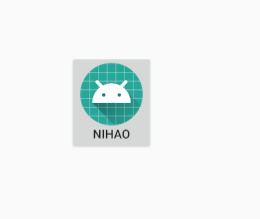
要想实现这种风格,只需要在Button里加一句
android:drawableTop=""
android:drawableTop就是将图片放置于某个组件的上方,下面看下代码和效果图
<?xml version="1.0" encoding="utf-8"?>
<LinearLayout xmlns:android="http://schemas.android.com/apk/res/android"
    xmlns:app="http://schemas.android.com/apk/res-auto"
    xmlns:tools="http://schemas.android.com/tools"
    android:layout_width="match_parent"
    android:layout_height="match_parent"
    android:gravity="center"
    tools:context=".MainActivity">

    <Button
        style="?android:attr/borderlessButtonStyle"
        android:id="@+id/one"
        android:layout_width="wrap_content"
        android:layout_height="wrap_content"
        android:text="nihao"
        android:drawableTop="@mipmap/ic_launcher_round"
        android:layout_gravity="center"/>

</LinearLayout>

是不是做到了。ok ,举一反三,如果想把图片放在文字左边,或右边,下面呢,对应的有
drawableLeft、drawableRight、drawableBottom四个属性值,来设定文字对应方向的图片,但是却没有设置图片大小的属性值。
要想设置这些图片的大小其实很简单,我们要了解一下下面几个方法:
- getCompoundDrawables() 该方法返回包含控件左,上,右,下四个位置的Drawable的数组
- setBounds(left,top,right,bottom) 指定drawable的边界
- setCompoundDrawables(drawableLeft, drawableTop, drawableRight, drawableBottom) 设置控件左,上,右,下四个位置的Drawable
Button、RadioButton其实都是TextView的子类,这三个方法都是TextView里的方法
所以流程就是,我们首先拿到控件上面位置的drawable,然后给指定drawable的边界,最后再把drawable设置进去,这一段参考了下面的博客
https://blog.csdn.net/qiao0809/article/details/52327618
三:android:layout_weight和android:drawableTop
android:layout_weight="1.0"
layout_weight 用于给一个线性布局中的诸多视图的重要度赋值。
所有的视图都有一个layout_weight值,默认为零,意思是需要显示
多大的视图就占据多大的屏幕空 间。若赋一个高于零的值,则将父视
图中的可用空间分割,分割大小具体取决于每一个视图的layout_weight
值以及该值在当前屏幕布局的整体 layout_weight值和在其它视图屏幕布
局的layout_weight值中所占的比率而定。
举个例子:比如说我们在 水平方向上有一个文本标签和两个文本编辑元素。
该文本标签并无指定layout_weight值,所以它将占据需要提供的最少空间。
如果两个文本编辑元素每一个的layout_weight值都设置为1,则两者平分
在父视图布局剩余的宽度(因为我们声明这两者的重要度相等)。如果两个
文本编辑元素其中第一个的layout_weight值设置为1,而第二个的设置为2,
则剩余空间的三分之二分给第一个,三分之一分给第二个(数值越小,重要度越高)
看代码
不加android:layout_weight="1.0"的情况

加了的情况

android:drawableTop就是将图片放置于某个组件的上方
四:android:padding和android:margin的区别
android:layout_marginLeft指该控件距离边父控件的边距,
android:paddingLeft指该控件内部内容,如文本距离该控件的边距。
如:
当按钮分别设置以上两个属性时,得到的效果是不一样的。
android:paddingLeft="30px":
按钮上设置的内容(例如图片)离按钮左边边界30个像素。
android:layout_marginLeft="30px"
整个按钮离左边设置的内容30个像素
这二个属性是相对的,假设B是A的子控件,设置B的margin和设置A的padding能达到相同的效果。
下面是加了android:paddingLeft="100px" 和没加的效果图
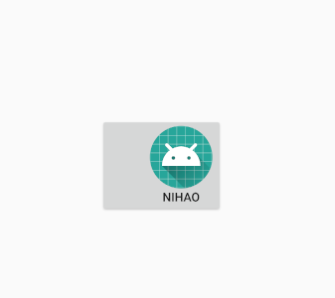
你会发现整个按钮离左边框的距离增大了,至于android:margin这里不过多解释了。。。
下面是一些小标签
-
android:text="这里是文字"
-
android:textSize="字体大小"
-
android:textColor="颜色代码"android:layout_alignParentRight="true"
使当前控件的右端和父控件的右端对齐。这里属性值只能为true或false,默认false。
android:layout_marginLeft="10dip"
使当前控件左边空出相应的空间。
android:layout_toLeftOf="@id/ok"
使当前控件置于id为ok的控件的左边。
android:layout_alignTop="@id/ok"
使当前控件与id控件的上端对齐。
padding表示填充,margin表示边距
可通过android:padding属性进行设置,4个方向的边距属性为android:paddingLeft, android:paddingRight, android:paddingTop, and android:paddingBottom.
结论:
*android:layout_marginBottom
*android:layout_marginLeft
*android:layout_marginRight
*android:layout_marginTop
上面几个属性的值是根据下面的相对位置的对象的值来做计算的,如果没有相对的对象就以总体布局来计算
*android:layout_below
*android:layout_above
*android:layout_toLeftOf
*android:layout_toRightOf
*android:layout_alignTop
*android:layout_centerHrizontal //是否支持横屏或竖屏
*android:layout_centerVertical //这个根据单词的意思:中心垂直
*android:layout_centerInparent //
android:layout_centerInParent="true"//居中在父对象
android:layout_centerInParent="false" ... 浏览器不支持多窗口显示,意思就是说所有页面在单一窗口打开,这样避免了页面布局控制显示问题
下面的相对于父的相对位置
*android:layout_alignParentBottom
*android:layout_alignParentLeft
*android:layout_alignParentRight
*android:layout_alignParentTop
*android:layout_alignWithParentIfMissing


