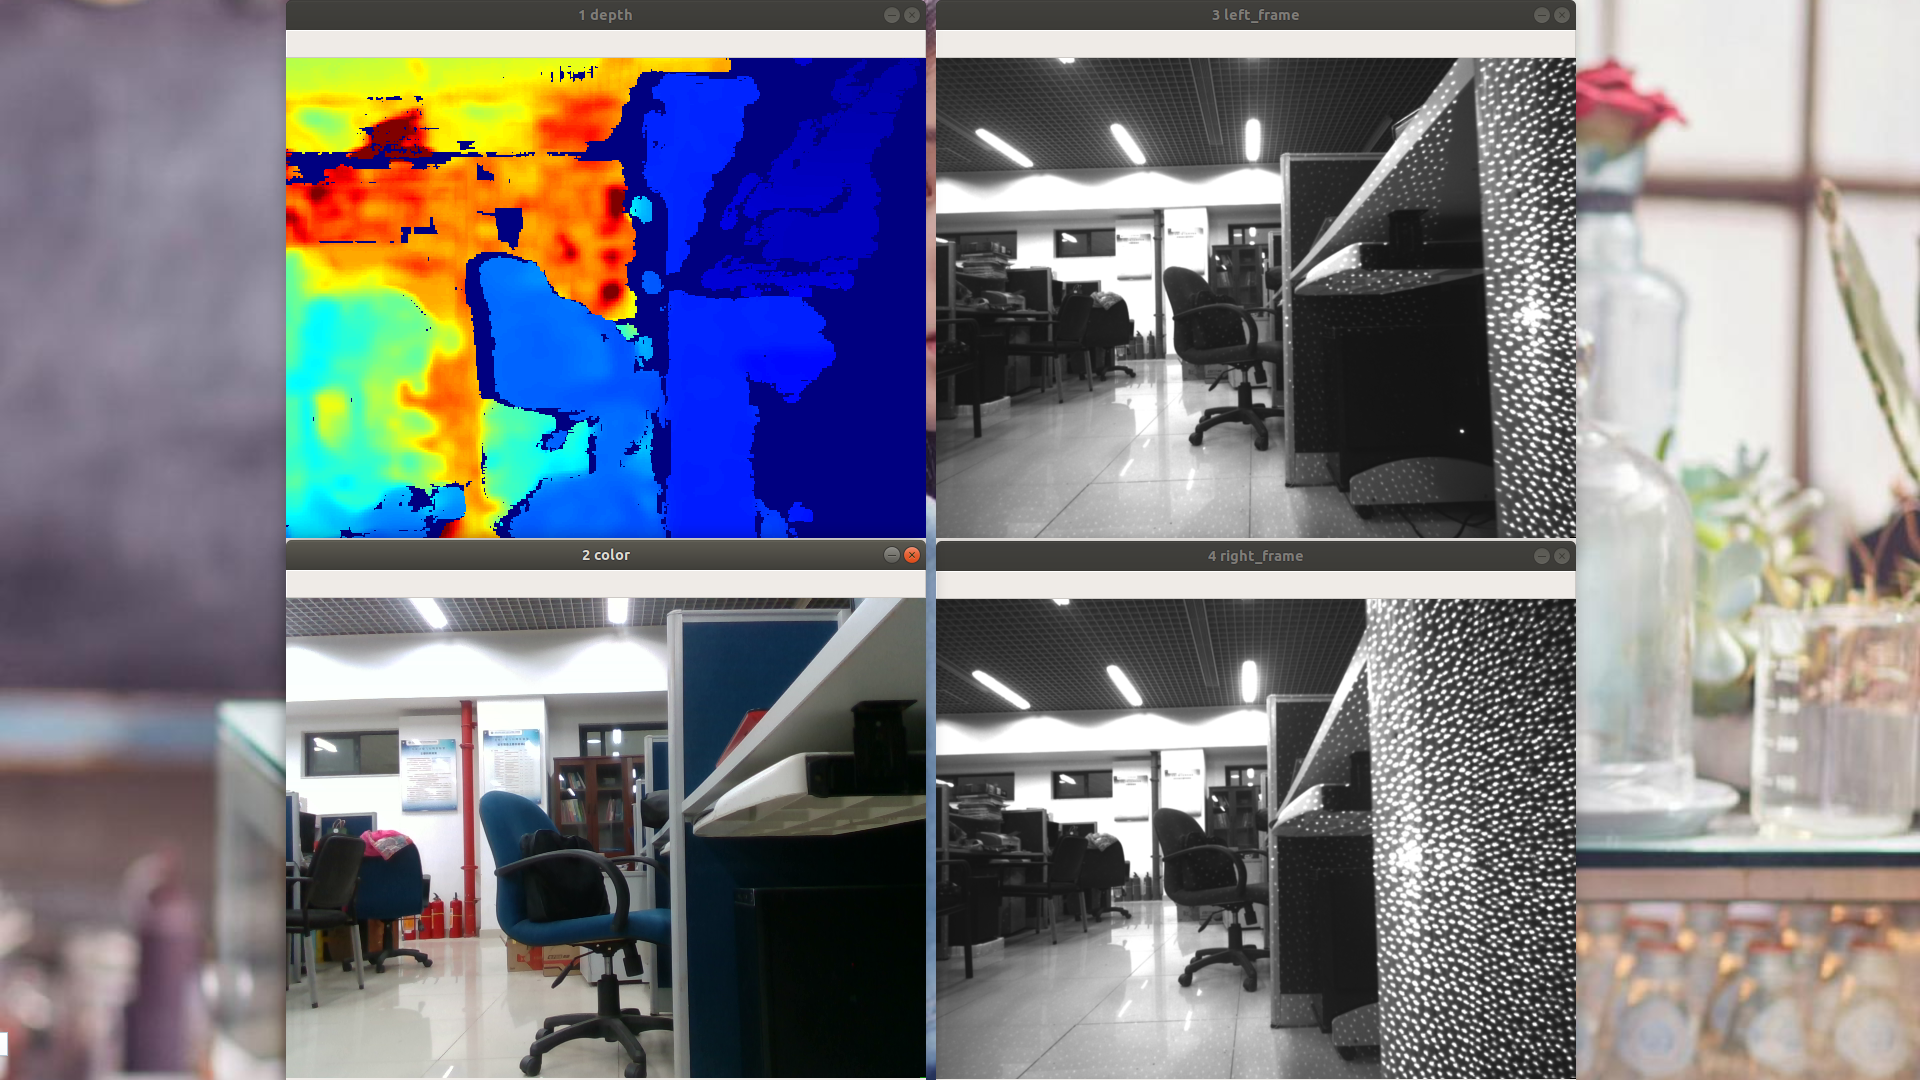
realsense D435I获取RGB图、深度图和左右图
system:Ubuntu18.04.4LTS
memory: 12GiB
CPU: i5-4590
Pycharm Python
OpenCV
 1 import pyrealsense2 as rs
 2 import numpy as np
 3 import cv2
 4
 5 pipeline = rs.pipeline()
 6
 7 config = rs.config()
 8
 9 config.enable_stream(rs.stream.color, 640, 480, rs.format.bgr8, 15)  #10、15或者30可选,20或者25会报错,其他帧率未尝试
10 config.enable_stream(rs.stream.infrared, 1, 640, 480, rs.format.y8, 15)
11 config.enable_stream(rs.stream.infrared, 2, 640, 480, rs.format.y8, 15)
12 config.enable_stream(rs.stream.depth, 640, 480, rs.format.z16, 15)
13
14 profile = pipeline.start(config)
15
16 # Getting the depth sensor's depth scale (see rs-align example for explanation)
17 depth_sensor = profile.get_device().first_depth_sensor()
18 depth_scale = depth_sensor.get_depth_scale()
19 print("Depth Scale is: " , depth_scale)
20
21 clipping_distance_in_meters = 1 #1 meter
22 clipping_distance = clipping_distance_in_meters / depth_scale
23
24 # Create an align object
25 # rs.align allows us to perform alignment of depth frames to others frames
26 # The "align_to" is the stream type to which we plan to align depth frames.
27 align_to = rs.stream.color
28 align = rs.align(align_to)
29
30
31 try:
32     while True:
33         frames = pipeline.wait_for_frames()
34
35     # Align the depth frame to color frame
36         aligned_frames = align.process(frames)
37         # Get aligned frames
38         aligned_depth_frame = aligned_frames.get_depth_frame()  # aligned_depth_frame is a 640x480 depth image
39         if not aligned_depth_frame:
40             continue
41         depth_frame = np.asanyarray(aligned_depth_frame.get_data())
42     # 将深度图转化为伪彩色图方便观看
43         depth_colormap = cv2.applyColorMap(cv2.convertScaleAbs(depth_frame, alpha=0.03), cv2.COLORMAP_JET)
44         cv2.imshow('1 depth', depth_colormap)
45
46     # color frames
47         color_frame = aligned_frames.get_color_frame()
48         if not color_frame:
49             continue
50         color_frame = np.asanyarray(color_frame.get_data())
51         cv2.imshow('2 color', color_frame)
52
53     # left frames
54         left_frame = frames.get_infrared_frame(1)
55         if not left_frame:
56             continue
57         left_frame = np.asanyarray(left_frame.get_data())
58         cv2.imshow('3 left_frame', left_frame)
59
60     # right frames
61         right_frame = frames.get_infrared_frame(2)
62         if not right_frame:
63             continue
64         right_frame = np.asanyarray(right_frame.get_data())
65         cv2.imshow('4 right_frame', right_frame)
66
67         c = cv2.waitKey(1)
68
69
70
71         # 如果按下ESC则关闭窗口(ESC的ascii码为27),同时跳出循环
72         if c == 27:
73             cv2.destroyAllWindows()
74             break
75
76 finally:
77     # Stop streaming
78     pipeline.stop()
79
80 #深度图上色参考https://github.com/IntelRealSense/librealsense/blob/jupyter/notebooks/distance_to_object.ipynb
81 #对齐参考:https://github.com/IntelRealSense/librealsense/blob/master/wrappers/python/examples/align-depth2color.py
82 #左右图获取参考https://blog.csdn.net/Hanghang_/article/details/102489762
83 #其他参考https://blog.csdn.net/Dontla/article/details/102701680
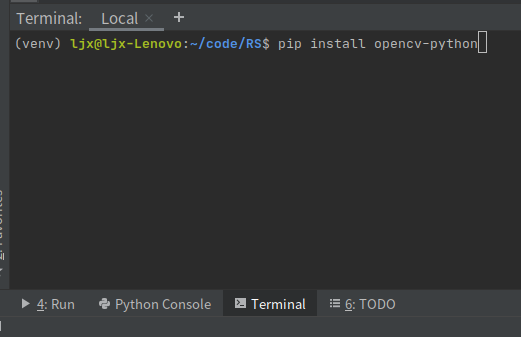
如果Alt+shift+Enter 安装不了cv2,那就直接在pycharm的terminal 敲命令,其他也是一样

效果如下:

红外光斑以后再想办法去除,目前对我影响不大。目前只知道ros环境下可以配置关闭。


