
SpringBoot配置
获取数据
application.yml
server:
  port: 8083

name: abc
#对象 参数引用
person:
  name: ${name} #引用上面的name值 #tiandao
  age: 20
  address:
    - shenzhen
    - hangzhou

#对象行内写法
person2: {name: tiandao,age: 20}

#数组
address:
  - shenzhen
  - hangzhou

#数组行内写法
address2: [shenzhen,hangzhou]

#纯量
msg1: 'hello \n world'  # 单引忽略转义字符(不会识别转义字符,回原样输出)
msg2: "hello \n world"  # 双引识别转义字符(会识别转义字符)
SpringbootInitApplication.class
package com.itheima.springbootinit;

import org.springframework.boot.SpringApplication;
import org.springframework.boot.autoconfigure.SpringBootApplication;

@SpringBootApplication
public class SpringbootInitApplication {

    public static void main(String[] args) {
        SpringApplication.run(SpringbootInitApplication.class, args);
    }

}
@Value、@Autowired、@ConfigurationProperties属性注入方式
HelloController.class
package com.itheima.springbootinit;
import org.springframework.beans.factory.annotation.Autowired;
import org.springframework.beans.factory.annotation.Value;
import org.springframework.core.env.Environment;
import org.springframework.web.bind.annotation.RequestMapping;
import org.springframework.web.bind.annotation.RestController;
@RestController
public class HelloController {
/**
* value的属性注入方式
* @Value
*/
// 对象的属性注入
@Value("${name}")
private String name;
@Value("${person.name}")
private String name2;
@Value("${person.age}")
private int age;
// 数组的属性注入
@Value("${address[0]}")
private String address1;
// 纯量
@Value("${msg1}")
private String msg1;
@Value("${msg2}")
private String msg2;
/**
*对象的属性注入方式
* 相较于@Value只需要一个对象,注入属性值便可
* @Autowired
*/
@Autowired
private Environment env;
/**
*配置属性
* @ConfigurationProperties
*/
@Autowired
private Person person;
@RequestMapping("/hello2")
public String hello2() {
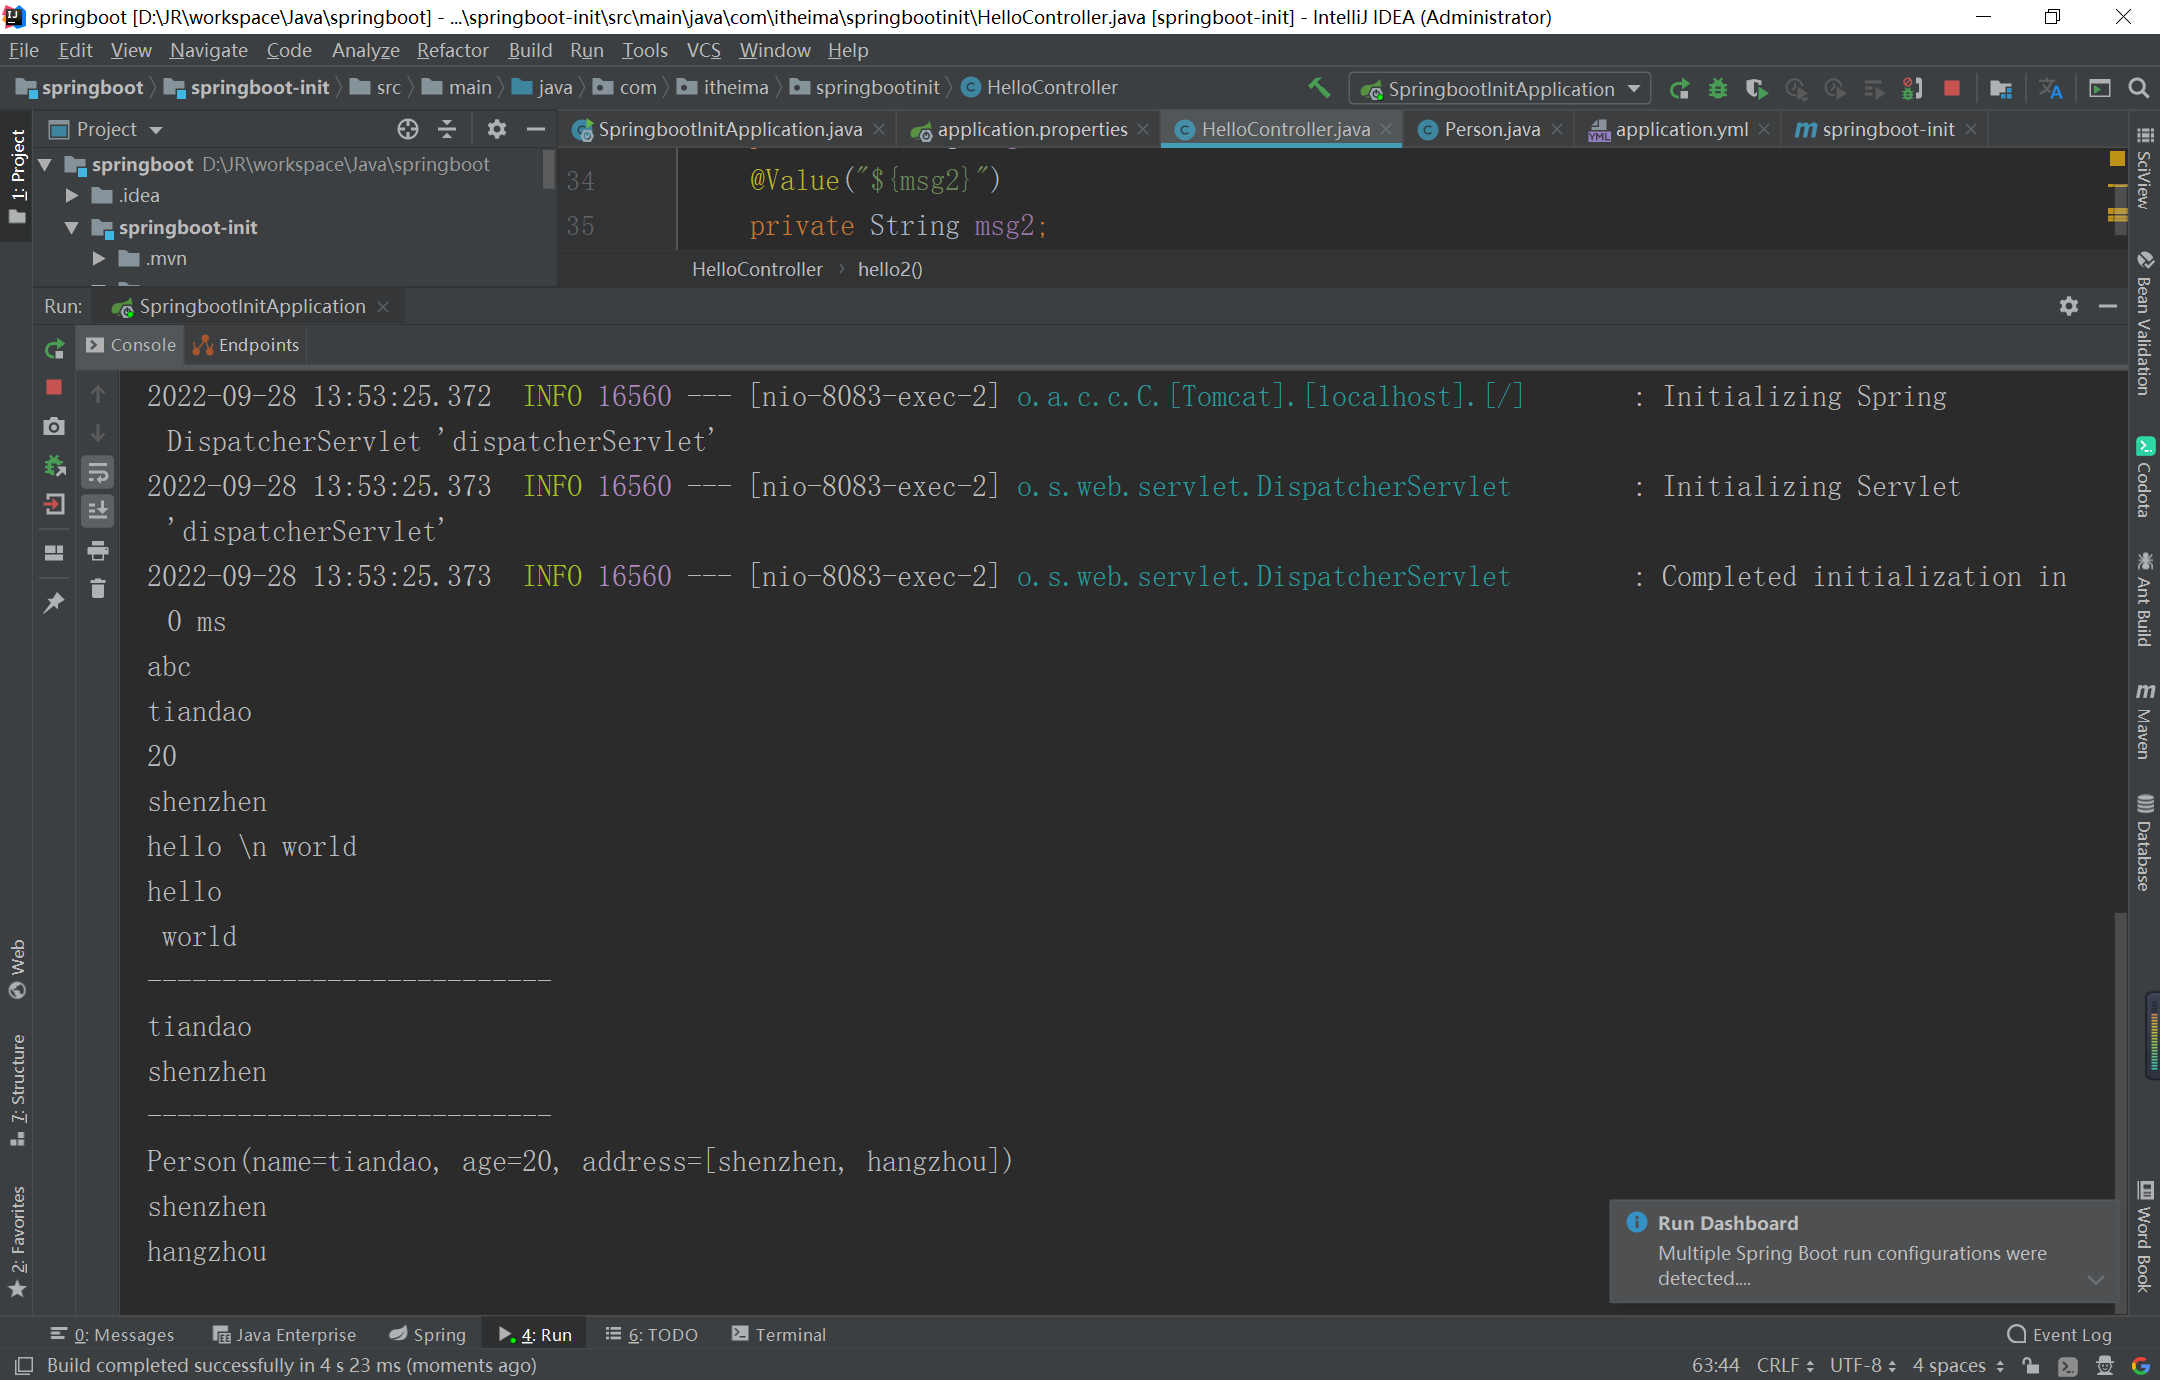
System.out.println(name);
System.out.println(name2);
System.out.println(age);
System.out.println(address1);
System.out.println(msg1);
System.out.println(msg2);
System.out.println("---------------------------");
System.out.println(env.getProperty("person.name"));
System.out.println(env.getProperty("address[0]"));
return "Hello Spring Boot !";
System.out.println("---------------------------");
System.out.println(person);
String[] address = person.getAddress();
for (String s : address) {
System.out.println(s);
}
}
@RequestMapping("/hello")
public String hello() {
return "Hello Spring Boot !";
}
}
person.java
package com.itheima.springbootinit;

import lombok.AllArgsConstructor;
import lombok.Data;
import lombok.NoArgsConstructor;
import lombok.ToString;
import org.springframework.boot.context.properties.ConfigurationProperties;
import org.springframework.stereotype.Component;

@Data
@AllArgsConstructor
@NoArgsConstructor
@ToString
@Component //表示Person被ToString识别
@ConfigurationProperties(prefix = "person")
public class Person {

    private String name;
    private Integer age;
    private String[] address;
}
springboot-init pom.xml
<?xml version="1.0" encoding="UTF-8"?>
<project xmlns="http://maven.apache.org/POM/4.0.0" xmlns:xsi="http://www.w3.org/2001/XMLSchema-instance"
         xsi:schemaLocation="http://maven.apache.org/POM/4.0.0 https://maven.apache.org/xsd/maven-4.0.0.xsd">
    <modelVersion>4.0.0</modelVersion>
    <parent>
        <groupId>org.springframework.boot</groupId>
        <artifactId>spring-boot-starter-parent</artifactId>
        <version>2.7.4</version>
        <relativePath/> <!-- lookup parent from repository -->
    </parent>
    <groupId>com.itheima</groupId>
    <artifactId>springboot-init</artifactId>
    <version>0.0.1-SNAPSHOT</version>
    <name>springboot-init</name>
    <description>Demo project for Spring Boot</description>
    <properties>
        <java.version>11</java.version>
    </properties>
    <dependencies>
        <dependency>
            <groupId>org.springframework.boot</groupId>
            <artifactId>spring-boot-starter-web</artifactId>
        </dependency>

        <dependency>
            <groupId>org.springframework.boot</groupId>
            <artifactId>spring-boot-starter-test</artifactId>
            <scope>test</scope>
        </dependency>

        <!-- lombok -->
        <dependency>
            <groupId>org.projectlombok</groupId>
            <artifactId>lombok</artifactId>
            <version>1.18.22</version>
        </dependency>

        <dependency>
            <groupId>org.springframework.boot</groupId>
            <artifactId>spring-boot-configuration-processor</artifactId>
            <optional>true</optional>
        </dependency>
    </dependencies>

    <build>
        <plugins>
            <plugin>
                <groupId>org.springframework.boot</groupId>
                <artifactId>spring-boot-maven-plugin</artifactId>
            </plugin>
        </plugins>
    </build>

</project>
网址:http://localhost:8083/hello2
banner.txt:https://www.bootschool.net/ascii
profile
作用:进行动态配置切换
profile配置方式
application-dev.properties/yml 开发环境
application-test.properties/yml 测试环境
application-pro.properties/yml 生产环境
- 多profile文件方式
application-dev.properties/yml 开发环境
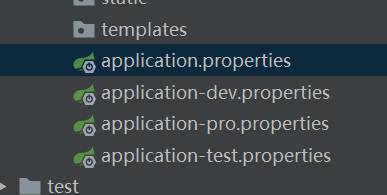
application.properties(激活)
spring.profiles.active=dev
- yml多文档方式
在yml中使用 --- 分隔不同配置
application.yml
---

server:
  port: 8081

spring:
  config:
    activate:
      on-profile: dev

---

server:
  port: 8082

spring:
  config:
    activate:
      on-profile: test

---

server:
  port: 8083

spring:
  config:
    activate:
      on-profile: pro

---

spring:
  profiles:
    active: pro
profile激活方式
- 配置文件
spring:
  profiles:
    active: pro
- 虚拟机参数
VM options:
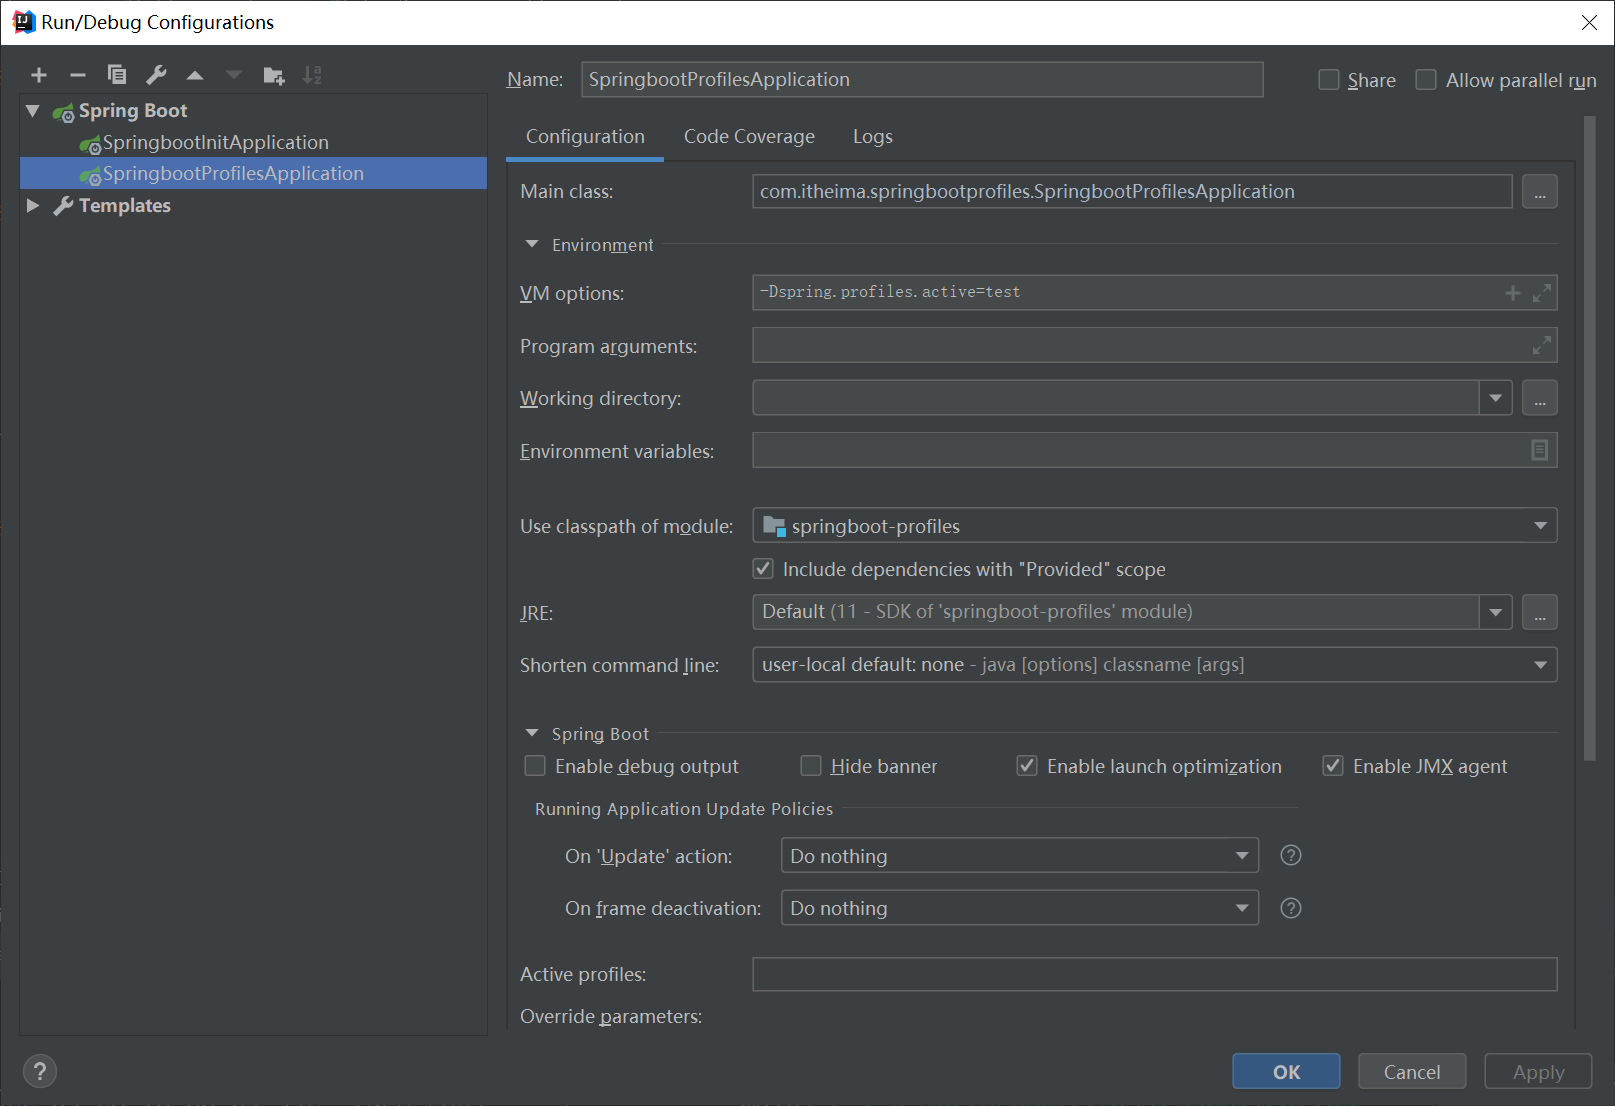
- 命令行参数
Program arguments:

项目内部配置加载顺序
SpringBoot程序启动时,会从以下位置加载配置文件:
1.file:./config/ :当前项目下的/config目录下
2.file:./ :当前项目的根目录
3.classpath:/config/:classpath的/config目录
4.classpath:/ :classpath的根目录
加载顺序为1234,高优先级配置的属性会生效(配置一次读取,相同配置使用最高优先级,其余忽略)
外部配置加载顺序
官网查看:http://docs.spring.io/spring-boot/docs/current/reference/html/boot-features-external-config.html
Externalized Configuration

 浙公网安备 33010602011771号