vite+vue3+ts+ element-plus 5分钟快速搭建高端大气上档次的企业级网站前端框架
原文地址:https://mp.weixin.qq.com/s/BANsRtNn5u-4521nFwF3FA
一、安装需要的包:
1、 element-plus
安装命令:
npm install element-plus --save

2、vue-router
安装命令:
npm install vue-router --save

安装完成后,需要到main.ts注册:
import { createApp } from 'vue'
import App from './App.vue'
import ElementPlus from 'element-plus'
import 'element-plus/dist/index.css'
import router from './router'
const app = createApp(App)
app.use(ElementPlus)
app.use(router)
app.mount('#app')
二、基本页面:
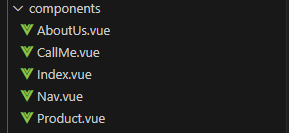
如图,在components目录下新建几个页面和导航对应的组件:
首页 index.vue
产品介绍 Product.vue
关于我们 AboutUs.vue
联系我们 CallMe.vue
导航菜单 Nav.vue
这几个页面的代码如下:
首页 Index.vue:
<script setup lang="ts">
</script>
<template>
<div id="content">
<h2>网站首页</h2>
</div>
</template>
<style scoped>
#content{
width: 100%;
height: 500px;
}
</style>
产品介绍 Product.vue:
<script setup lang="ts">
</script>
<template>
<div id="content">
<h2>产品介绍</h2>
</div>
</template>
<style scoped>
#content {
width: 100%;
height: 500px;
}
</style>
关于我们 AboutUs.vue:
<script setup lang="ts">
</script>
<template>
<div id="content">
<h2>关于我们</h2>
</div>
</template>
<style scoped>
#content {
width: 100%;
height: 500px;
}
</style>
联系我们 CallMe.vue:
<script setup lang="ts">
</script>
<template>
<div id="content">
<h2>关于我们</h2>
</div>
</template>
<style scoped>
#content {
width: 100%;
height: 500px;
}
</style>
导航菜单 Nav.vue 暂时留白不写代码,待会建好路由再来写。
三、路由设置:
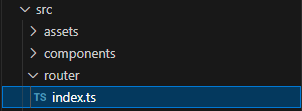
新建一个文件夹叫router,文件夹里面新建一个文件叫index.ts:
路由文件里面的代码如下:
import { createRouter, createWebHistory, RouteRecordRaw } from "vue-router";
import Index from "../components/Index.vue";
import ProductVue from "../components/Product.vue";
import AboutUsVue from "../components/AboutUs.vue";
import CallMeVue from "../components/CallMe.vue";
//创建路由数据集合 --array
const routes: Array<RouteRecordRaw> = [
{
path: '/',
name: 'index',
component: Index,
},
{
path: '/product',
name: 'product',
component: ProductVue,
},
{
path: '/about',
name: 'about',
component: AboutUsVue,
},
{
path: '/call',
name: 'call',
component: CallMeVue,
}
]
//创建一个vue-router的对象
const router = createRouter({
history: createWebHistory(),
routes,
})
//暴露
export default router
然后编辑导航菜单Nav.vue,代码如下
<script lang="ts" setup>
</script>
<template>
<div id="out">
<div id="in">
<el-menu class="el-menu-demo" mode="horizontal">
<el-menu-item index="1"><router-link :to="{ name: 'index' }">首页</router-link></el-menu-item>
<el-menu-item index="2"><router-link :to="{ name: 'product' }">产品介绍</router-link></el-menu-item>
<el-menu-item index="3"><router-link :to="{ name: 'about' }">关于我们</router-link></el-menu-item>
<el-menu-item index="4"><router-link :to="{ name: 'call' }">联系我们</router-link></el-menu-item>
</el-menu>
</div>
</div>
</template>
<style scoped>
#out {
width: 100%;
margin: 10 auto;
}
#in {
width: 1200px;
height: 100px;
margin: 0 auto;
}
</style>
四、编辑App.vue文件:
<script setup lang="ts">
import Nav from './components/Nav.vue'
</script>
<template>
<Nav></Nav>
<div>
<a href="https://vitejs.dev" target="_blank">
<img src="/vite.svg" class="logo" alt="Vite logo" />
</a>
<a href="https://vuejs.org/" target="_blank">
<img src="./assets/vue.svg" class="logo vue" alt="Vue logo" />
</a>
</div>
<router-view></router-view>
</template>
<style scoped>
</style>
五、服务器配置:
打开vite.config.ts文件,添加server代码,让本地所有ip都可以访问:
import { defineConfig } from 'vite'
import vue from '@vitejs/plugin-vue'
// https://vitejs.dev/config/
export default defineConfig({
plugins: [vue()],
server:{
host:'0.0.0.0',
port:9999,
open:true
}
})
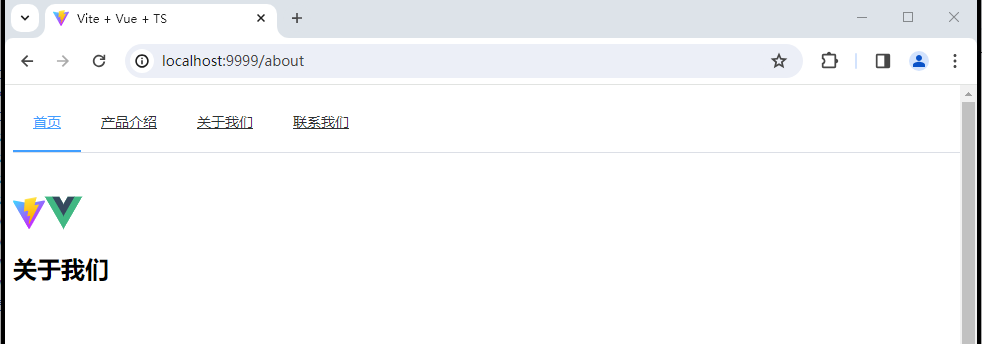
最后,在vscode终端运行npm run dev 即可看到效果:
http://localhost:9999