Spark实践之Spark Streaming
首先需要安装flume,我选择的是1.9.0版本,然后对于配置文件只需要配置相关的环境和jdk即可
flume-env.sh
# Licensed to the Apache Software Foundation (ASF) under one
# or more contributor license agreements.  See the NOTICE file
# distributed with this work for additional information
# regarding copyright ownership.  The ASF licenses this file
# to you under the Apache License, Version 2.0 (the
# "License"); you may not use this file except in compliance
# with the License.  You may obtain a copy of the License at
#
#     http://www.apache.org/licenses/LICENSE-2.0
#
# Unless required by applicable law or agreed to in writing, software
# distributed under the License is distributed on an "AS IS" BASIS,
# WITHOUT WARRANTIES OR CONDITIONS OF ANY KIND, either express or implied.
# See the License for the specific language governing permissions and
# limitations under the License.

# If this file is placed at FLUME_CONF_DIR/flume-env.sh, it will be sourced
# during Flume startup.

# Enviroment variables can be set here.

export JAVA_HOME=/usr/local/java8/jdk1.8.0_371

# Give Flume more memory and pre-allocate, enable remote monitoring via JMX
# export JAVA_OPTS="-Xms100m -Xmx2000m -Dcom.sun.management.jmxremote"

# Let Flume write raw event data and configuration information to its log files for debugging
# purposes. Enabling these flags is not recommended in production,
# as it may result in logging sensitive user information or encryption secrets.
# export JAVA_OPTS="$JAVA_OPTS -Dorg.apache.flume.log.rawdata=true -Dorg.apache.flume.log.printconfig=true "

# Note that the Flume conf directory is always included in the classpath.
#FLUME_CLASSPATH=""
使用 Avro 数据源测试 Flume
先创建文件helloword.txt和avro.conf
helloword.txt
Hello World
Hello Flume
avro.conf
# Name the components on this agent
a1.sources = r1
a1.sinks = k1
a1.channels = c1

# Describe/configure the source
a1.sources.r1.type = avro
a1.sources.r1.channels = c1
a1.sources.r1.bind = 0.0.0.0
a1.sources.r1.port = 4141

# Describe the sink
a1.sinks.k1.type = logger

# Use a channel which buffers events in memory
a1.channels.c1.type = memory
a1.channels.c1.capacity = 1000
a1.channels.c1.transactionCapacity = 100

# Bind the source and sink to the channel
a1.sources.r1.channels = c1
a1.sinks.k1.channel = c1
flume-ng agent -c /usr/local/flume-1.9.0/conf -f /usr/local/flume-1.9.0/conf/avro.conf -n a1 Dflume.root.logger=INFO,console
/usr/local/flume-1.9.0/bin/flume-ng avro-client -H localhost -p 4141 -F /home/bill/test/helloworld.txt

使用 netcat 数据源测试 Flume
创建netcat.conf
# netcat.conf: A single-node Flume configuration

# Name the components on this agent
a1.sources = r1
a1.sinks = k1
a1.channels = c1

# Describe/configure the source
a1.sources.r1.type = netcat
a1.sources.r1.bind = localhost
a1.sources.r1.port = 44444

# Describe the sink
a1.sinks.k1.type = logger

# Use a channel which buffers events in memory
a1.channels.c1.type = memory
a1.channels.c1.capacity = 1000
a1.channels.c1.transactionCapacity = 100

# Bind the source and sink to the channel
a1.sources.r1.channels = c1
a1.sinks.k1.channel = c1
yum list telnet* # 列出telnet相关的安装包
yum install telnet-server # 安装telnet服务
yum install telnet.* # 安装telnet客户端
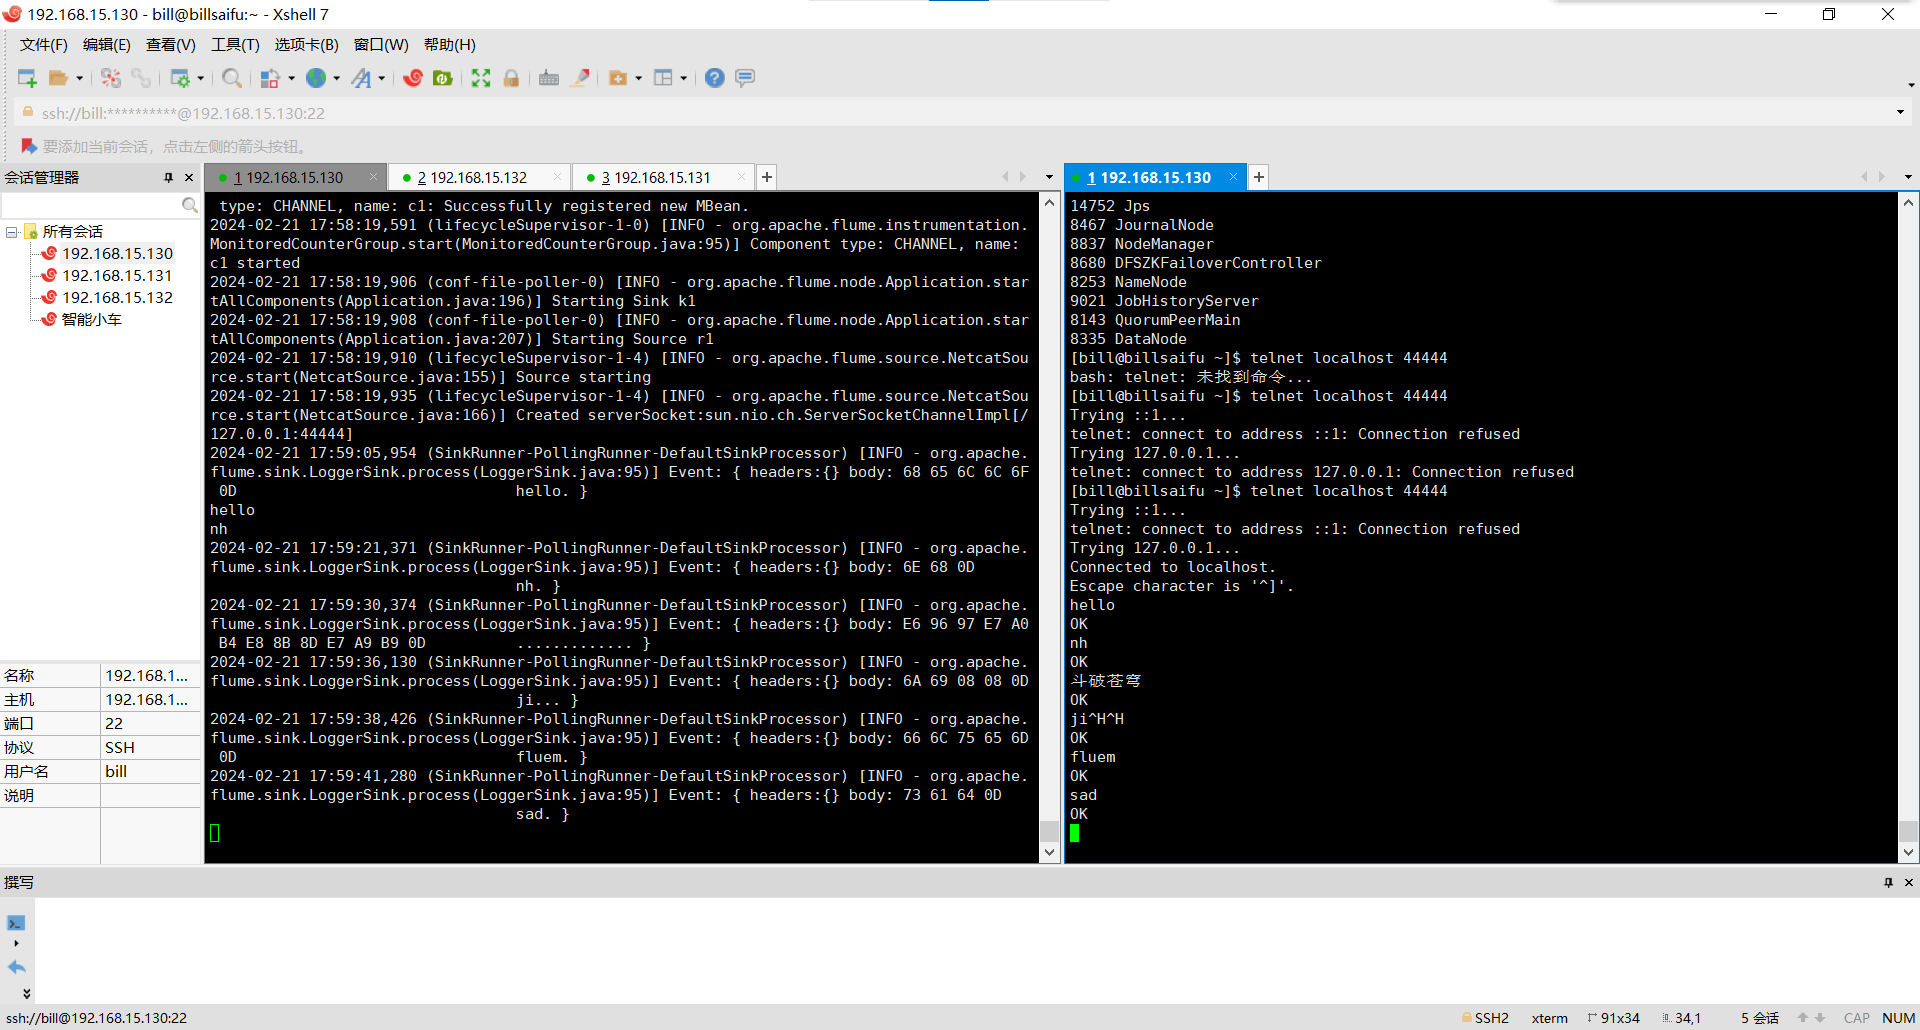
flume-ng agent -c /usr/local/flume-1.9.0/conf -f /usr/local/flume-1.9.0/conf/netcat.conf -n a1 -Dflume.root.logger=INFO,console
telnet localhost 44444


