linux安装miniconda以及 英伟达显卡驱动
最近工作重心放在了服务器的环境上,来记录一下这几天安装环境的步骤,由于之前对这块知识很少,所以被整的很头疼,不过最后环境安装成功了,模型也可以运行起来
一、miniconda
1、安装miniconda
首先在root/下创建一个文件,里面放各种安装包以及插件
#网上下载对应miniconda版本
wget https://mirrors.bfsu.edu.cn/anaconda/miniconda/Miniconda3-py37_4.8.3-Linux-x86_64.sh
#开始安装
sh Miniconda3-py37_4.8.3-Linux-x86_64.sh
2、修改镜像源(提高安装包速度)
直接输入下面命令
conda config --add channels https://mirrors.bfsu.edu.cn/anaconda/pkgs/free/
conda config --add channels https://mirrors.bfsu.edu.cn/anaconda/cloud/bioconda/
conda config --add channels https://mirrors.bfsu.edu.cn/anaconda/cloud/msys2/
conda config --add channels https://mirrors.bfsu.edu.cn/anaconda/cloud/menpo/
conda config --add channels https://mirrors.bfsu.edu.cn/anaconda/cloud/peterjc123/
conda config --add channels https://mirrors.bfsu.edu.cn/anaconda/pkgs/main/
conda config --add channels https://mirrors.bfsu.edu.cn/anaconda/cloud/conda-forge/
conda config --add channels https://mirrors.bfsu.edu.cn/anaconda/cloud/pytorch/
conda config --add channels https://mirrors.bfsu.edu.cn/anaconda/pkgs/r/
conda config --set show_channel_urls yes
可以通过vim ~/.condarc查看已经添加的channels
3、如果环境变量没有自动添加上,可以手动添加
添加变量
方法一:
vim /etc/profile
PATH=${PATH}:/root/miniconda3/bin
source /etc/profile
方法二:
export PATH="~/miniconda3/bin:"$PATH
source ~/.bashr
方法三:
# vi /etc/profile
export CLASSPATH="~/miniconda3/bin:"$PATH
# source /etc/profile
#从vdetpub_env.yml恢复环境
#conda env create -f vdetpub_env.yml
pip镜像:
清华:https://pypi.tuna.tsinghua.edu.cn/simple
阿里云:https://mirrors.aliyun.com/pypi/simple/
中国科技大学 https://pypi.mirrors.ustc.edu.cn/simple/
华中理工大学:https://pypi.hustunique.com/
山东理工大学:https://pypi.sdutlinux.org/
豆瓣:https://pypi.douban.com/simple/
二、NVIDIA
1、查看linux的显卡型号
yum install pciutils
lspci | grep -i vga

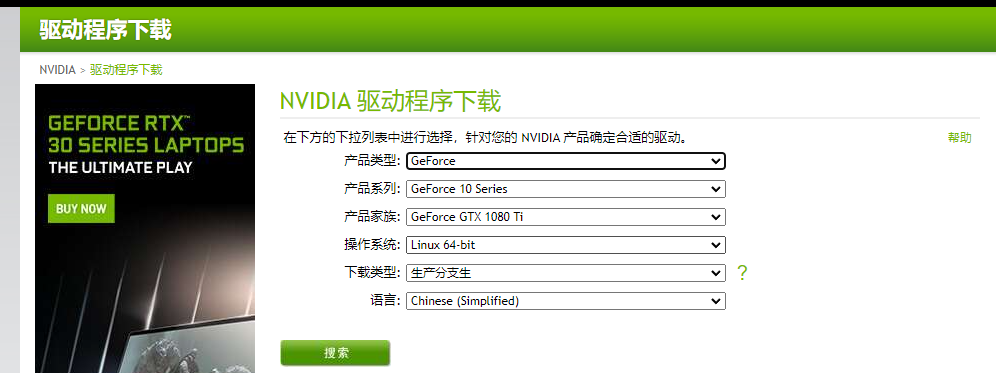
2、网上下载对应版本驱动
#驱动下载网址:https://www.nvidia.cn/Download/index.aspx?lang=cn
wget https://us.download.nvidia.cn/XFree86/Linux-x86_64/440.36/NVIDIA-Linux-x86_64-440.36.run
3、安装依赖
yum  -y install kernel*
yum -y install gcc
yum -y install epel-release
4、屏蔽默认带有的nouveau
echo -e "blacklist nouveau\noptions nouveau modeset=0" > /etc/modprobe.d/blacklist.conf
备份img
mv /boot/initramfs-$(uname -r).img /boot/initramfs-$(uname -r).img.bak
重建
dracut /boot/initramfs-$(uname -r).img $(uname -r)
重启系统
reboot
5、检查是否关闭
lsmod | grep nouveau
注意:无任何信息输出表示禁用成功
6、开始安装
修改权限
chmod +x NVIDIA-Linux-x86_64-440.36.run
安装
./NVIDIA-Linux-x86_64-440.36.run
7、出现一些错误
1、unable to load the kernel module 'nvidia.ko' .........
2、unable to find the kernel source tree for the currently running kernel.........
出现这种问题是因为安装kernel相关的东西不全,需要安装相关插件
3、ImportError: libX11.so.6: cannot open shared object file: No such file or directory
解决方法
sudo yum install libX11
又出现错误
ImportError: libXext.so.6: cannot open shared object file: No such file or directory
继续安装
sudo yum install libXext
最后安装成功。
