swagger2快速上手
swagger2
-
新建spring boot项目,添加web
-
导入依赖
<!-- https://mvnrepository.com/artifact/io.springfox/springfox-swagger2 --> <dependency> <groupId>io.springfox</groupId> <artifactId>springfox-swagger2</artifactId> <version>2.9.2</version> </dependency> <!-- https://mvnrepository.com/artifact/io.springfox/springfox-swagger-ui --> <dependency> <groupId>io.springfox</groupId> <artifactId>springfox-swagger-ui</artifactId> <version>2.9.2</version> </dependency> -
创建hello word,新建配置类com/lix/config/SwaggerConfig
-
添加注释
@Configuration
@EnableSwagger2
public class SwaggerConfig {
}
-
-
Docket对象配置API
- 配置类代码如下:
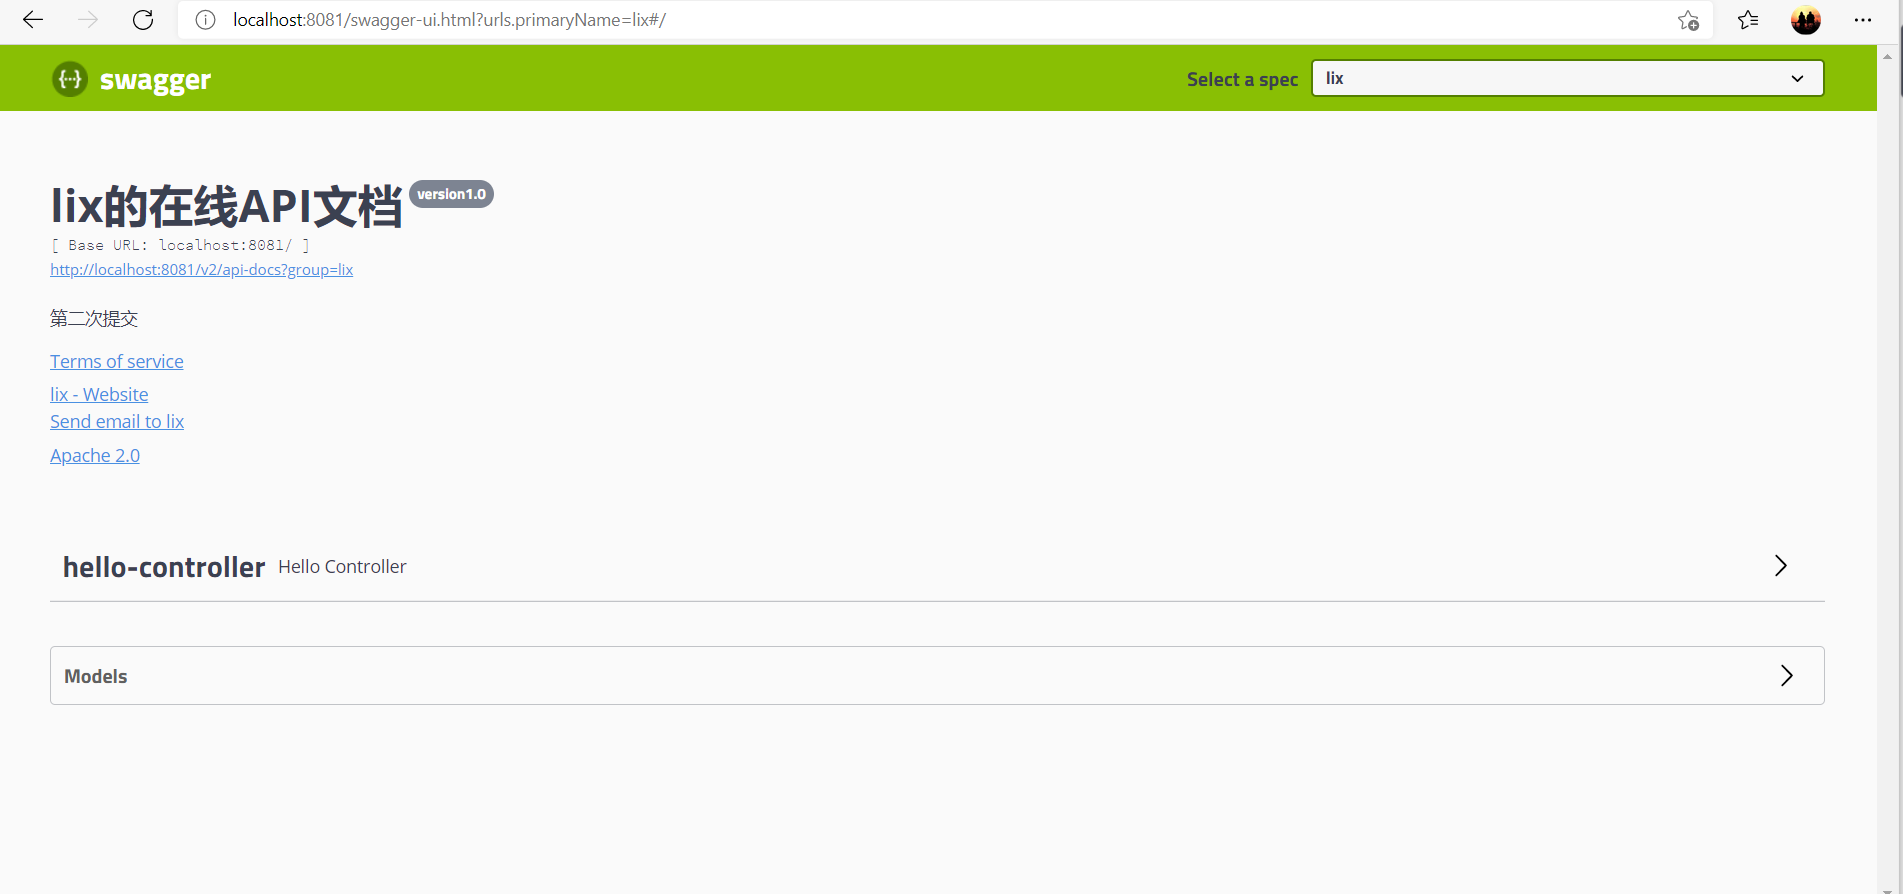
package com.lix.config; import org.springframework.context.annotation.Bean; import org.springframework.context.annotation.Configuration; import org.springframework.core.env.Environment; import org.springframework.core.env.Profiles; import springfox.documentation.RequestHandler; import springfox.documentation.builders.RequestHandlerSelectors; import springfox.documentation.service.ApiInfo; import springfox.documentation.service.Contact; import springfox.documentation.spi.DocumentationType; import springfox.documentation.spring.web.plugins.Docket; import springfox.documentation.swagger2.annotations.EnableSwagger2; import java.util.ArrayList; @Configuration @EnableSwagger2 public class SwaggerConfig { @Bean public Docket docket1(){ return new Docket(DocumentationType.SWAGGER_2).groupName("ll");//配置组 } @Bean public Docket docket2(){ return new Docket(DocumentationType.SWAGGER_2).groupName("rr"); } @Bean public Docket docket3(){ return new Docket(DocumentationType.SWAGGER_2).groupName("nn"); } @Bean public Docket docket(){ return new Docket(DocumentationType.SWAGGER_2).groupName("ww"); } @Bean public Docket docket(Environment environment){ Profiles profiles = Profiles.of("dev");//获取环境资源 boolean flag = environment.acceptsProfiles(profiles);//监听后台配置了哪一个环境资源 return new Docket(DocumentationType.SWAGGER_2) .apiInfo(apiInfo()) .groupName("lix") .enable(flag)//默认为true,如果是false,则无法访问ui .select()//选择器,选择要扫描的包 .apis(RequestHandlerSelectors.basePackage("com.lix.controller")) //.path() .build(); } private ApiInfo apiInfo(){//配置在线API文档的首页内容 Contact contact = new Contact("lix", "https://www.cnblogs.com/lix-2020/", "582007765@qq.com"); return new ApiInfo("lix的在线API文档", "第二次提交", "version1.0", "https://www.cnblogs.com/lix-2020/", contact, "Apache 2.0", "http://www.apache.org/licenses/LICENSE-2.0", new ArrayList()); } }-
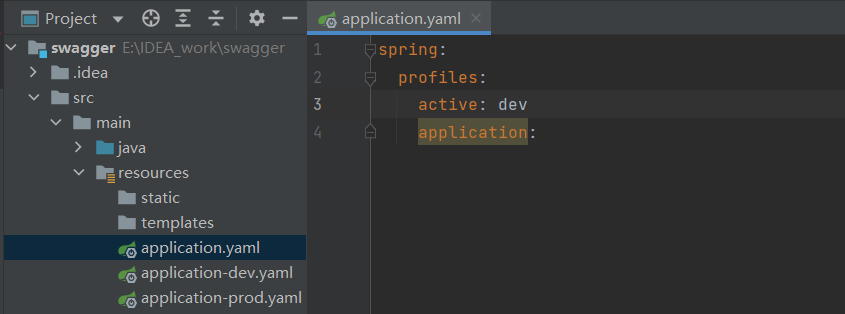
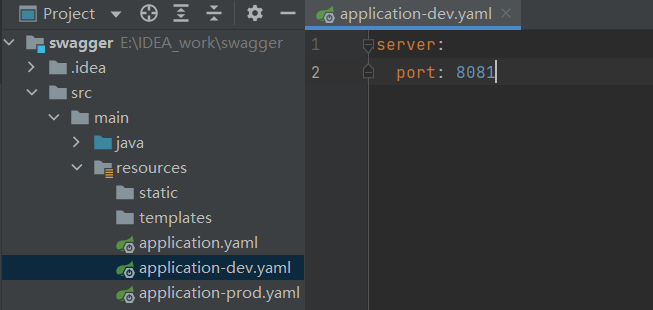
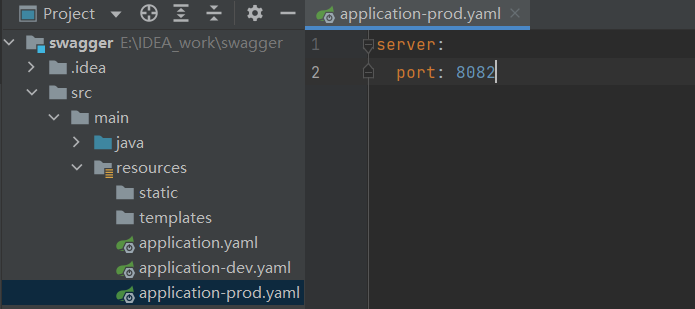
设置环境资源
-
配置models和测试方法
-
models中存放实体类,只要请求的返回值中有实体类,models中就会生成一个对应的实体类
 @ApiOperation("用户管理")
    @GetMapping (value = "/hello1")
    public Client helloApp1(Client client){
        return client;//返回实体类对象
    }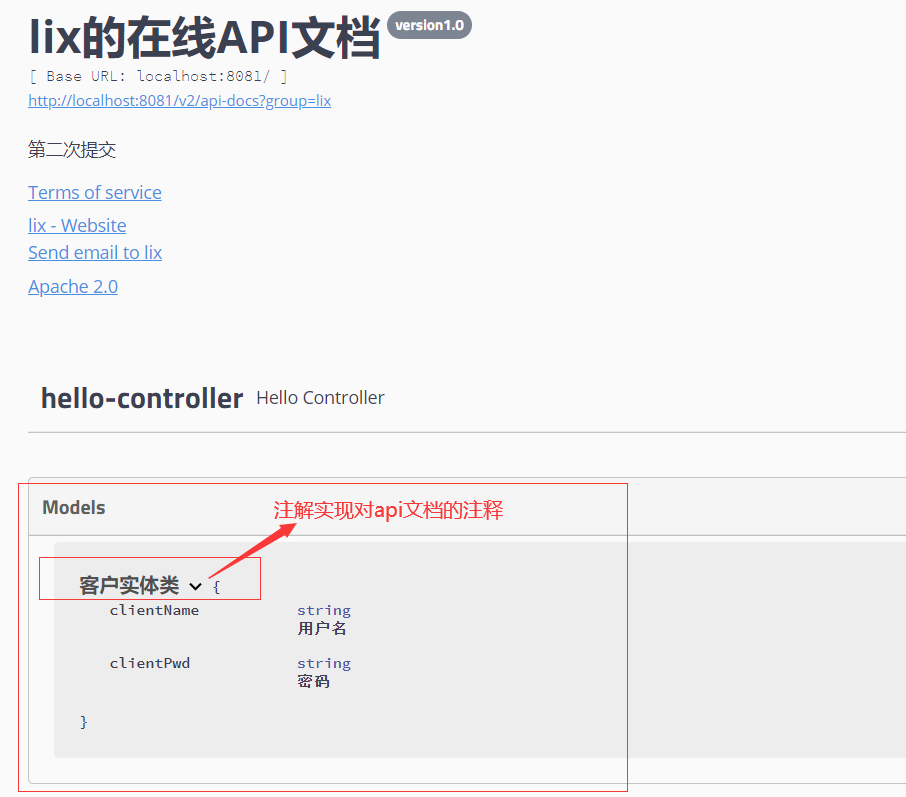
-
注解实现api文档注释:
package com.lix.pojo;

import io.swagger.annotations.ApiModel;
import io.swagger.annotations.ApiModelProperty;

@ApiModel("客户实体类")
    public class Client {

        @ApiModelProperty("用户名")
        private String clientName;
        @ApiModelProperty("密码")
        private String clientPwd;
    }
package com.lix.controller; import com.lix.pojo.Client; import io.swagger.annotations.*; import org.springframework.web.bind.annotation.GetMapping; import org.springframework.web.bind.annotation.PostMapping; import org.springframework.web.bind.annotation.RequestMapping; import org.springframework.web.bind.annotation.RestController; @Api("hello控制层") @RestController public class HelloController { @ApiOperation("hello页面控制") @RequestMapping(value = "/hello") public String helloApp(){ return "Hello,Word!"; } @ApiOperation("用户管理") @GetMapping (value = "/hello1") public Client helloApp1(Client client){ return client; } @ApiModelProperty("用户查询") @PostMapping(value = "/hello2") public String helloApp(@ApiParam("用户名") String clientName){ return "Hello,Word!"; } }
-
-
到此,启动主启动类,小工告成
本文来自博客园,作者:六爻呈乾,转载请注明原文链接:https://www.cnblogs.com/ilycq/articles/15241992.html
