Android笔记--通过MediaStore查询图片
相关描述
已经完成发送彩信功能之后,就来继续向前走一步,来到MediaStore查询图片界面啦!
具体步骤实现
1、简简单单地一个界面
<?xml version="1.0" encoding="utf-8"?>
<LinearLayout xmlns:android="http://schemas.android.com/apk/res/android"
    xmlns:app="http://schemas.android.com/apk/res-auto"
    xmlns:tools="http://schemas.android.com/tools"
    android:layout_width="match_parent"
    android:layout_height="match_parent"
    tools:context=".check"
    android:orientation="vertical">

    <TextView
        android:layout_width="match_parent"
        android:layout_height="wrap_content"
        android:text="点击下方图片发送:">

    </TextView>

    <GridLayout
        android:id="@+id/gl"
        android:layout_width="match_parent"
        android:layout_height="wrap_content">

    </GridLayout>

</LinearLayout>
2、后台代码
package com.example.myapplication;
import androidx.annotation.NonNull;
import androidx.appcompat.app.AppCompatActivity;
import android.Manifest;
import android.annotation.SuppressLint;
import android.database.Cursor;
import android.graphics.Bitmap;
import android.graphics.BitmapFactory;
import android.graphics.ImageDecoder;
import android.media.MediaScannerConnection;
import android.net.Uri;
import android.os.Bundle;
import android.os.Environment;
import android.provider.MediaStore;
import android.util.Log;
import android.widget.GridLayout;
import android.widget.ImageView;
import java.util.ArrayList;
public class check extends AppCompatActivity {
private static final String[] PERMISSIONS=new String[]{
Manifest.permission.READ_EXTERNAL_STORAGE
};
private static final int REQUEST_ALL_CODES=1;
private ArrayList<ImageInfo> list=new ArrayList<>();
private GridLayout gl;
@Override
protected void onCreate(Bundle savedInstanceState) {
super.onCreate(savedInstanceState);
setContentView(R.layout.activity_check);
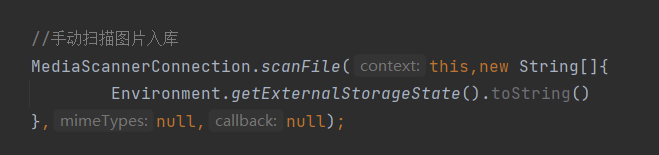
//手动扫描图片入库
MediaScannerConnection.scanFile(this,new String[]{
Environment.getExternalStorageState().toString()
},null,null);
// gl=findViewById(R.id.gl);
//
//
// //加载图片列表
// loadImageList();
//
// //显示图像网络
// showImageGrid();
}
@Override
public void onRequestPermissionsResult(int requestCode, @NonNull String[] permissions, @NonNull int[] grantResults) {
super.onRequestPermissionsResult(requestCode, permissions, grantResults);
if(requestCode==REQUEST_ALL_CODES){
//加载图片列表
loadImageList();
//显示图像网络
showImageGrid();
}
}
//显示图像网络
private void showImageGrid() {
//清空
gl.removeAllViews();
for(ImageInfo info:list){
ImageView view=new ImageView(this);
Bitmap bitMap=BitmapFactory.decodeFile(info.path);
view.setImageBitmap(bitMap);
//设置图片的缩放类型
view.setScaleType(ImageView.ScaleType.FIT_CENTER);
//设置点击事件
view.setOnClickListener(v->{
});
//将图片添加到网络布局
gl.addView(view);
}
}
//加载图片列表
@SuppressLint("Range")
private void loadImageList() {
//MediaStore
String[] columns=new String[]{
MediaStore.Images.Media._ID,//图片编号
MediaStore.Images.Media.TITLE,//图片标题
MediaStore.Images.Media.SIZE,//图片大小
MediaStore.Images.Media.DATA//图片路径
};
Cursor cursor=getContentResolver().query(
MediaStore.Images.Media.EXTERNAL_CONTENT_URI,
columns,
"_size < 307200",
null,
"_size DESC"
);
int count=0;
if(cursor!=null){
while (cursor.moveToNext() && count < 6) {
ImageInfo info=new ImageInfo();
info.id=cursor.getLong(cursor.getColumnIndex(MediaStore.Images.Media._ID));
info.name=cursor.getString(cursor.getColumnIndex(MediaStore.Images.Media.TITLE));
info.size=cursor.getLong(cursor.getColumnIndex(MediaStore.Images.Media.SIZE));
info.path=cursor.getString(cursor.getColumnIndex(MediaStore.Images.Media.DATA));
count++;
list.add(info);
Log.d("ning","images:"+info.toString());
}
}
}
}
3、实体类代码
package com.example.myapplication;

public class ImageInfo {
    @Override
    public String toString() {
        return "ImageInfo{" +
                "id='" + id + '\'' +
                ", name='" + name + '\'' +
                ", size='" + size + '\'' +
                ", path='" + path + '\'' +
                '}';
    }

    public long id;
    public String name;
    public long size;
    public String path;
}
4、特殊情况说明
扫描完成再去请求权限:
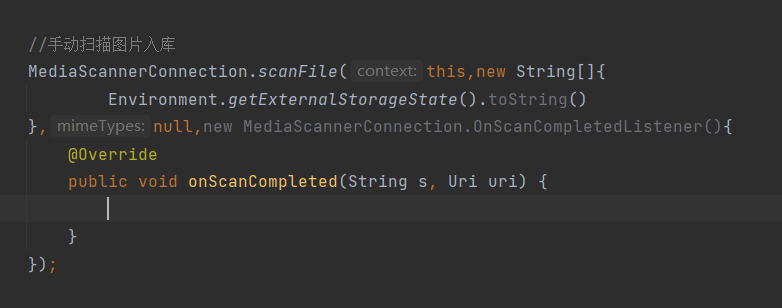
这里就直接用null代替了那个callback
我们需要保证在出现图片的时候,图片能够进入数据库,但是他需要我们手动调节,不,手动扫描入库: