spring boot 集成Swagger,使用bootstarp-ui界面
1、导入swagger坐标
        <!--swagger-->
        <dependency>
            <groupId>io.springfox</groupId>
            <artifactId>springfox-swagger2</artifactId>
            <version>2.6.1</version>
        </dependency>
        <dependency>
            <groupId>com.github.xiaoymin</groupId>
            <artifactId>knife4j-spring-boot-starter</artifactId>
            <version>2.0.2</version>
        </dependency>
2、编写swagger配置文件
package com.lzk.test.swagger;

import org.springframework.boot.autoconfigure.condition.ConditionalOnProperty;
import org.springframework.context.annotation.Bean;
import org.springframework.context.annotation.Configuration;
import springfox.documentation.builders.ApiInfoBuilder;
import springfox.documentation.builders.PathSelectors;
import springfox.documentation.builders.RequestHandlerSelectors;
import springfox.documentation.service.ApiInfo;
import springfox.documentation.spi.DocumentationType;
import springfox.documentation.spring.web.plugins.Docket;
import springfox.documentation.swagger2.annotations.EnableSwagger2;

@Configuration
@EnableSwagger2
@ConditionalOnProperty(name = "swagger.enabled", havingValue = "true")
public class SwaggerConfig {

    @Bean
    public Docket dev(){
        return new Docket(DocumentationType.SWAGGER_2)
                .groupName("lzk-test")
                .apiInfo(apiInfo())
                .select()
                .apis(RequestHandlerSelectors.basePackage("com.lzk.test"))
                .paths(PathSelectors.any())
                .build();
    }

    private ApiInfo apiInfo(){
        return new ApiInfoBuilder()
                .title("study-test")
                .description("测试接口")
                .termsOfServiceUrl("http://localhost:8080")
                .version("1.0")
                .build();
    }
}
3、yml文件配置
swagger:
  enabled: true
4、如果系统使用了shiro,需要设置权限
6、访问地址

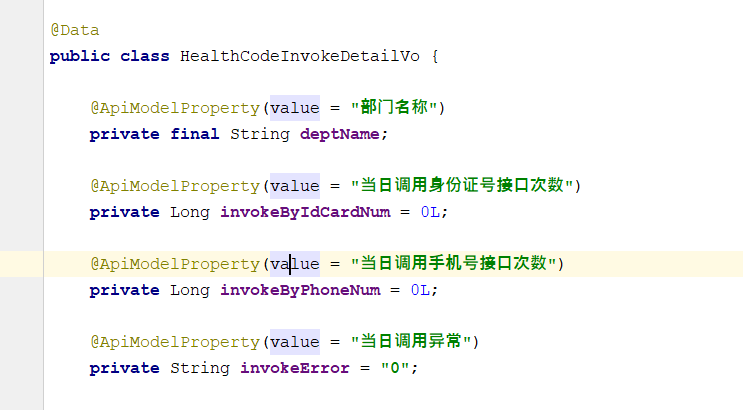
7、返回参数添加注解,使用@ApiModeProperty注解,注意要遵守驼峰命名法,要不然swagger-ui不显示
在实体类添加注解

在controller层添加注解


