IntelliJ IDEA 2017版 SpringBoot的Json字符串返回
一、说明
SpringBoot框架已经自动封装好json字符串解析,所以我们只需要用它的注解来返回操作就可以了.
二、实战
1、书写一个实体类User,设置属性id和name


 1 package com.json;
 2
 3 /**
 4  * Created by liuya on 2018-01-17.
 5  */
 6 public class UserPoJo
 7 {
 8     private int userId;
 9     private String userName;
10
11     public int getUserId() {
12         return userId;
13     }
14
15     public void setUserId(int userId) {
16         this.userId = userId;
17     }
18
19     public String getUserName() {
20         return userName;
21     }
22
23     public void setUserName(String userName) {
24         this.userName = userName;
25     }
26
27     @Override
28     public String toString() {
29         return "UserPoJo{" +
30                 "userId=" + userId +
31                 ", userName='" + userName + '\'' +
32                 '}';
33     }
34 }
2、书写开启服务器的代码(SpringBoot框架自带一个测试服务器)
 1 package com.json;
 2
 3 import org.springframework.boot.SpringApplication;
 4 import org.springframework.boot.autoconfigure.SpringBootApplication;
 5
 6
 7 @SpringBootApplication
 8 public class SpringboothelloApplication {
 9
10
11     public static void main(String[] args) {
12         SpringApplication.run(SpringboothelloApplication.class, args);
13     }
14
15
16
17 }
3、书写controller返回json的代码
 1 package com.json;
 2
 3 import org.springframework.web.bind.annotation.RequestMapping;
 4 import org.springframework.web.bind.annotation.RestController;
 5
 6 /**
 7  * Created by liuya on 2018-01-16.
 8  *
 9  *  测试用的一个例子
10  */
11
12
13 @RestController
14 public class ControllerJson {
15
16     @RequestMapping("user")
17     public UserPoJo hello(){
18         //实体类赋值
19         UserPoJo userPoJo  = new UserPoJo();
20         userPoJo.setUserId(111);
21         userPoJo.setUserName("王小二");
22         //返回实体类
23         return userPoJo;
24     }
25 }
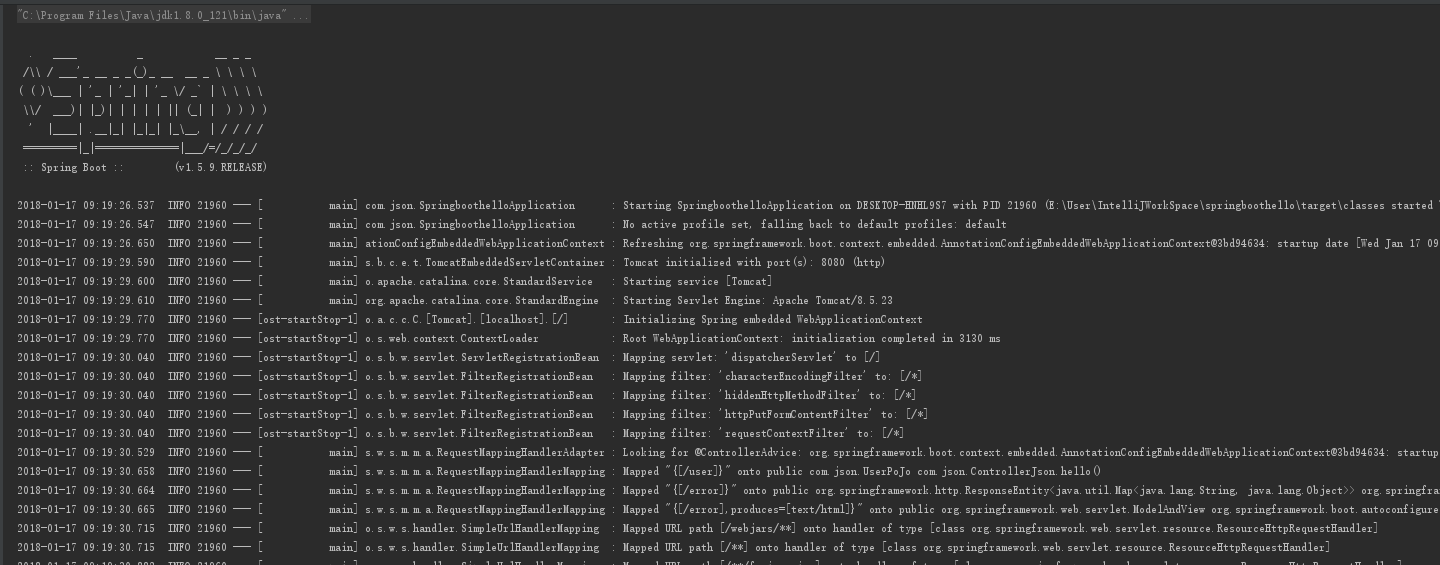
4、启动服务器的代码,生成如图
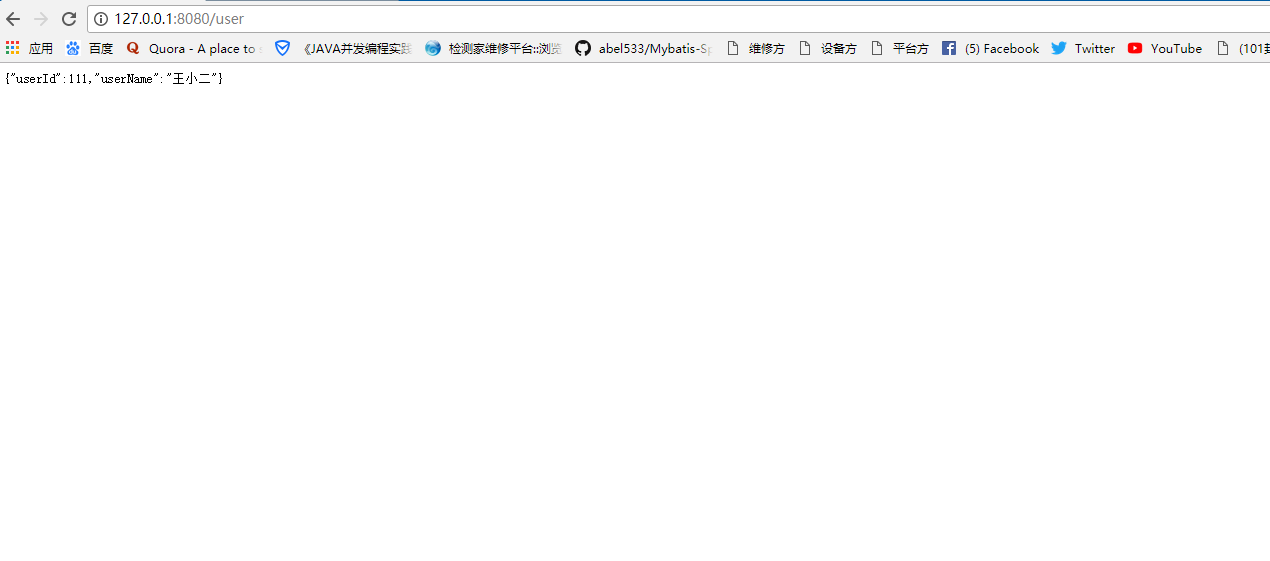
5、浏览器测试
十年磨一剑,一剑破万法

 浙公网安备 33010602011771号