Angular1.6.9 选择本地文件上传后台
以项目代码为例
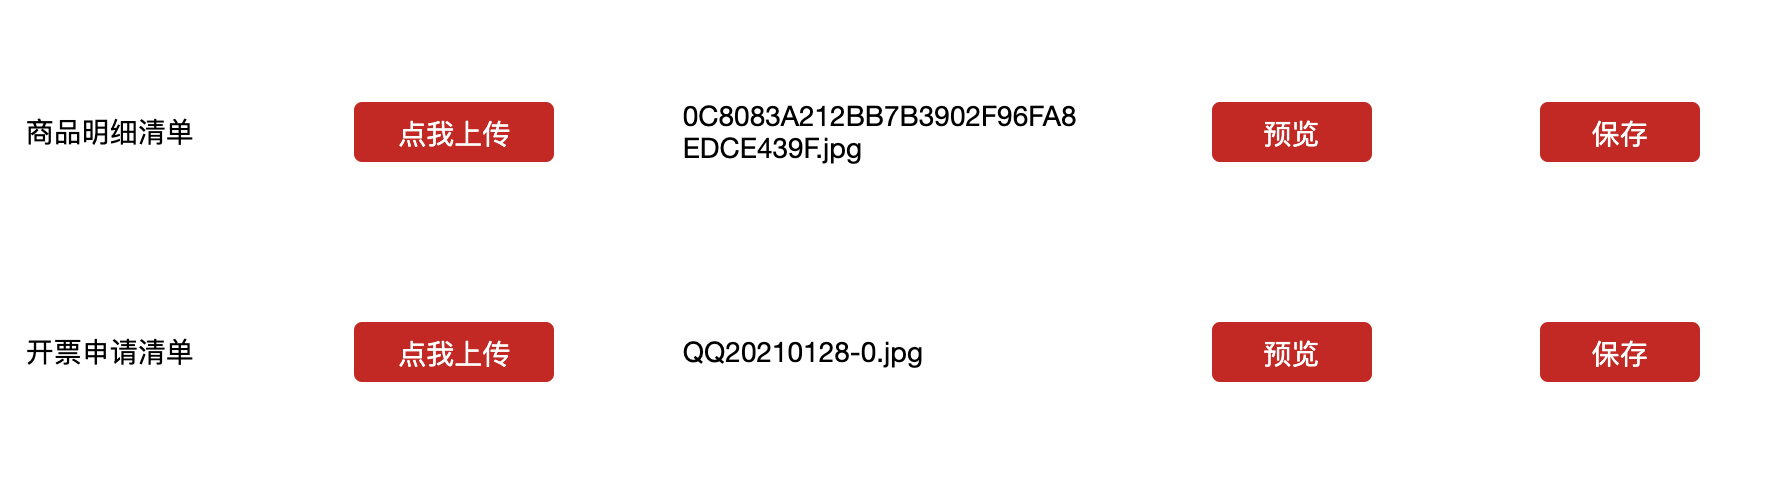
<div ng-repeat="m in filestemplateList" class="content">
    <span ng-bind="TYPE_FILETEMPLATE[m.templateType]"></span>
    <div class="upload-content">
        <input type="button" id="btn" value="点我上传">
        <input id="fileinp"
               type="file"
               data-fileid="{{m.fileId}}"
               data-pkid="{{m.pkId}}"
               data-templatetype="{{m.templateType}}"
               onchange="angular.element(this).scope().getUpload(this)"
               title=""
        >
    </div>
    <p class="filename">{{m.fileName}}</p>
    <button class="preViewBtn btn" ng-click="preViewBtnClick($event)" file-path="{{FileSystem+m.fileId}}">预览</button>
    <button class="saveBtn btn" ng-click="saveBtnClick($event)">保存</button>


</div>
<#-- onchange="angular.element(this).scope().getUpload(this.files)" 有效 但是传不了参数
 onchange="getUpload(newUpload, $event)" 报错
(change)="getUpload(newUpload, $event)" 没反应
-->
CSS:
主要是用 opacity: 0;隐藏input
不然有默认样式。"点我上传"这个按钮相当于是代替隐藏的input
详细CSS代码:
.upload-content{
        /*background-color: #0000FF;*/
        position: relative;
        height: 30px;
        width: 100px;
    }

    /*文件输入框 因为有默认文字 所以隐藏*/
    #fileinp{
        display: inline-block;
        /*background-color: #00FFFF;*/
        height: 30px;
        width: 100px;
        position: absolute;
        left: 0;
        top: 0;
        opacity: 0;

    }
    /*覆盖的按钮 真正起作用*/
    #btn{
        display: inline-block;
        position: absolute;
        left: 0;
        top: 0;
        height: 30px;
        width: 100px;
        text-align: center;
        line-height: 30px;
        border-radius: 4px;
        border: 1px solid #d70016;
        background-color: #d70016;
        color: #ffffff;
        cursor: pointer;
    }
    .saveBtn{
        background-color: #d70016;
        color: #ffffff;
    }
    .saveBtn:hover{
        color: #ffffff;
    }
    .preViewBtn{
        background-color: #d70016;
        color: #ffffff;
    }
    .preViewBtn:hover{
        color: #ffffff;
    }
    .filename{
        width: 200px;
    }
JS:
可以用 $scope.file = $(obj)[0].files[0]; 获取选中的文件,另外需要的参数可以在 html标签中绑定
另外获取文件名字+预览:
/***
     * 文件输入框选择文件
     */
$scope.getUpload = function(obj){

$(obj)[0].files[0].name;

$scope.fileUrl = getObjectUrl($(obj)[0].files[0])

}

/**
     * 文件路径
     * */
    function getObjectUrl(file) {
        var url = null;
        if (window.createObjectURL != undefined) {
            // basic
            url = window.createObjectURL(file);
        } else if (window.webkitURL != undefined) {
            // webkit or chrome
            url = window.webkitURL.createObjectURL(file);
        } else if (window.URL != undefined) {
            // mozilla(firefox)
            url = window.URL.createObjectURL(file);
        }
        return url;
    }

/**
     * 预览
     * */
    $scope.preViewBtnClick = function (obj) {

        if ($scope.fileUrl){
            window.open($scope.fileUrl)
        }
        else{
            window.open($(obj.target).attr("file-path")+"/browse")
        }


    }
"/browse"是后台制定的规则,每个公司开发不一样,根据实际情况拼接。这里只能预览图片,若是word或者其他文档,浏览器会提示先保存。
参考了:https://blog.csdn.net/friend_ship/article/details/102783694
使用 window 对象的 open() 方法可以打开一个新窗口。用法如下:http://c.biancheng.net/view/5845.html
此文仅为鄙人学习笔记之用,朋友你来了,如有不明白或者建议又或者想给我指点一二,请私信我。liuw_flexi@163.com/QQ群:582039935.
我的gitHub: (学习代码都在gitHub)
https://github.com/nwgdegitHub/

