

Vue3 + vite 项目自定义一个svg-icon组件
1. 安装vite-plugin-svg-icons插件
npm i vite-plugin-svg-icons -D
2.vite.config.ts中配置

import path from "path";
import { createSvgIconsPlugin } from "vite-plugin-svg-icons";
export default defineConfig({
  plugins: [
    ......
    createSvgIconsPlugin({
      iconDirs: [path.resolve(process.cwd(), "src/assets/svgs")],
      // 指定symbolId格式
      symbolId: "[name]",
      customDomId: "turing-planet-svgs", // 避免多项目互相影响
    })
  ],
  ......
})
3.main.ts引入
//svg插件需要配置代码
import 'virtual:svg-icons-register';
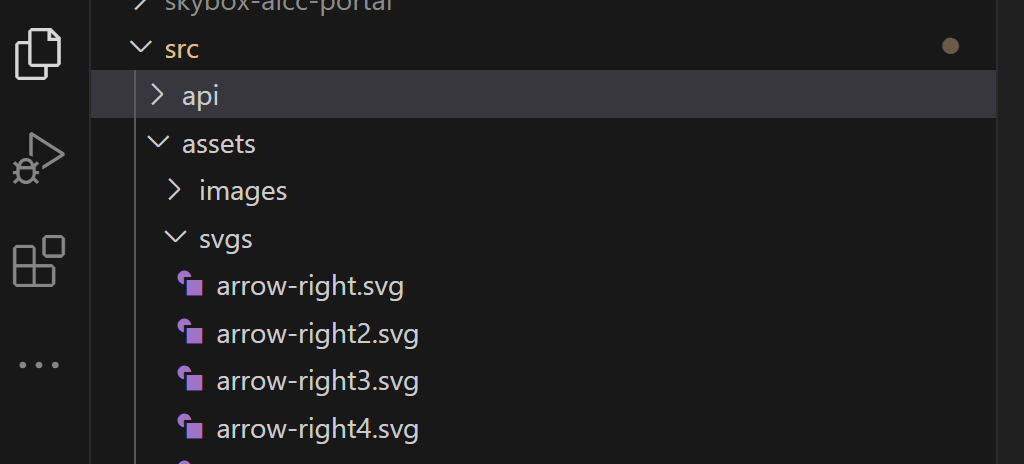
4.在src/assets中新建目录svgs, 将所有的的svg图片放在svgs文件中
5.封装svg-icon.vue组件
<template>
  <svg :class="className" :style="{ width, height: _height }">
    <use :xlink:href="iconName"></use>
  </svg>
</template>

<script setup lang="ts">
import { computed } from "vue";
const props = defineProps({
  name: { type: String, require: true },
  width: { type: String, default: "16px" },
  height: { type: String },
  className: { type: String },
});
const _height = computed(() => {
  return props.height ? props.height : props.width;
});
const iconName = computed(() => {
  return `#${props.name}`;
});
</script>

<style lang="scss" scoped></style>
6.全局注册svg-icon组件
7.vue文件中使用
<svg-icon name="file-icon" width="28px" height="20px"/>


【推荐】国内首个AI IDE,深度理解中文开发场景,立即下载体验Trae
【推荐】编程新体验,更懂你的AI,立即体验豆包MarsCode编程助手
【推荐】抖音旗下AI助手豆包,你的智能百科全书,全免费不限次数
【推荐】轻量又高性能的 SSH 工具 IShell:AI 加持,快人一步
· 终于写完轮子一部分:tcp代理 了,记录一下
· 震惊!C++程序真的从main开始吗?99%的程序员都答错了
· 别再用vector<bool>了!Google高级工程师:这可能是STL最大的设计失误
· 单元测试从入门到精通
· 【硬核科普】Trae如何「偷看」你的代码?零基础破解AI编程运行原理