
Allure自动化测试报告生成(1)
转自https://www.cnblogs.com/clairejing/p/9755201.html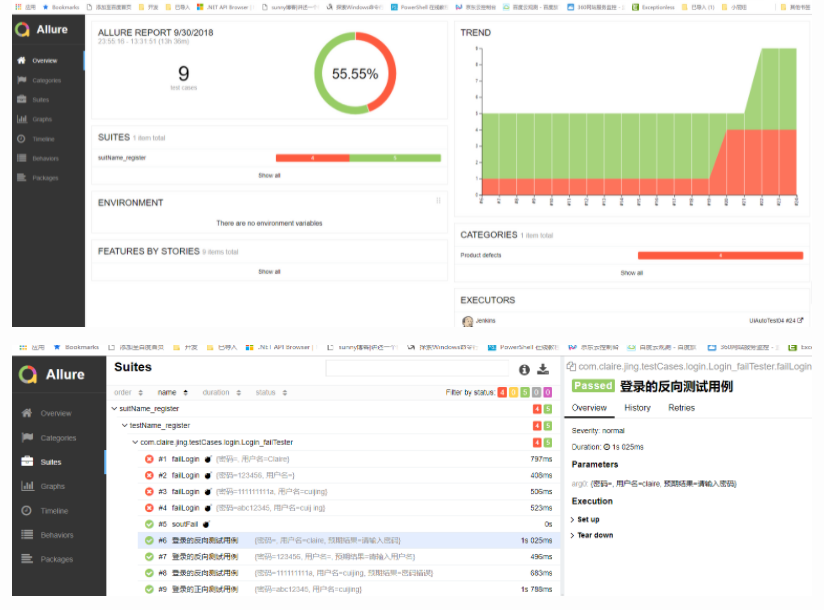
1.在maven中添加依赖并进行相应的配置:
<properties>
        <aspectj.version>1.8.10</aspectj.version>
    </properties>

    <dependencies>
        <dependency>
            <groupId>io.qameta.allure</groupId>
            <artifactId>allure-testng</artifactId>
            <version>2.6.0</version>
            <scope>test</scope>
        </dependency>

        <dependency>
            <groupId>org.aspectj</groupId>
            <artifactId>aspectjweaver</artifactId>
            <version>${aspectj.version}</version>
        </dependency>
</dependencies>

 <plugin>
                <groupId>org.apache.maven.plugins</groupId>
                <artifactId>maven-surefire-plugin</artifactId>
                <version>2.10</version>
                <configuration>
                    <!--设置参数命令行-->
                    <argLine>
                        -javaagent:"${settings.localRepository}/org/aspectj/aspectjweaver/${aspectj.version}/aspectjweaver-${aspectj.version}.jar"
                    </argLine>
                    <systemPropertyVariables>
                        <!--是否忽略html,解释见下图。与之后在reportNg报告上显示截图相关。当前已经使用allure了,这里可以直接去掉啦-->
                        <org.uncommons.reportng.escape-output>false</org.uncommons.reportng.escape-output>
                    </systemPropertyVariables>
                    <!--测试失败后,是否忽略并继续测试-->
                    <testFailureIgnore>true</testFailureIgnore>
                    <argLine>
                        -Dfile.encoding=UTF-8
                    </argLine>

                    <suiteXmlFiles>
                        <!--代表的是要执行的测试套件名称-->
                        <suiteXmlFile>src/test/resources/testNG.xml</suiteXmlFile>
                    </suiteXmlFiles>

                </configuration>


            </plugin>
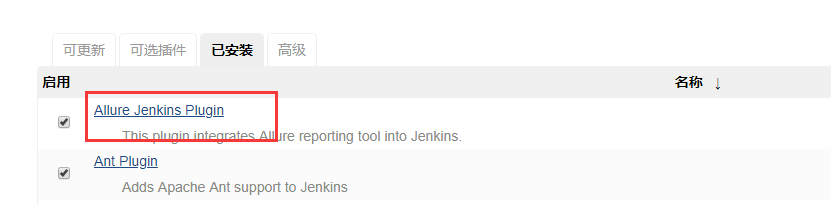
2.在Jenkins中安装Allure的插件【系统管理】-【插件管理】-【可选插件】中下载并安装Allure,安装后重启。安装成功后,可在【系统管理】-【插件管理】-【已安装插件】中看到
3.第三步:到girhub上下载Allure2 ,地址:https://github.com/allure-framework/allure2/releases

下载之后解压到相应目录下: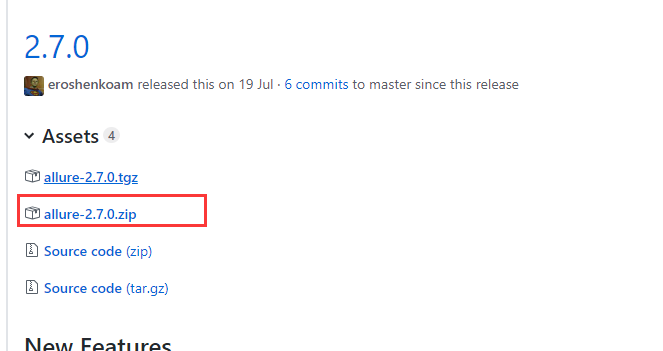
4.在Jenkins的【系统管理】-【全局工具配置】中设置allure的安装地址:

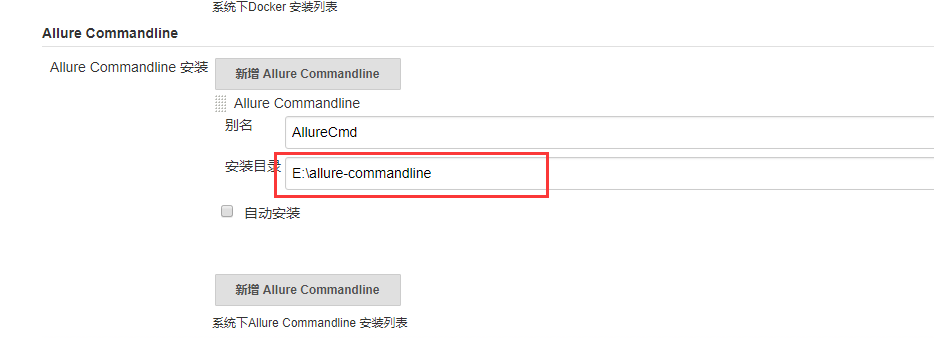
保存即可。
此时通过Jenkins构建并执行测试代码后,就可以看到Allure的测试报告了。以上,完成了Allure的基本配置。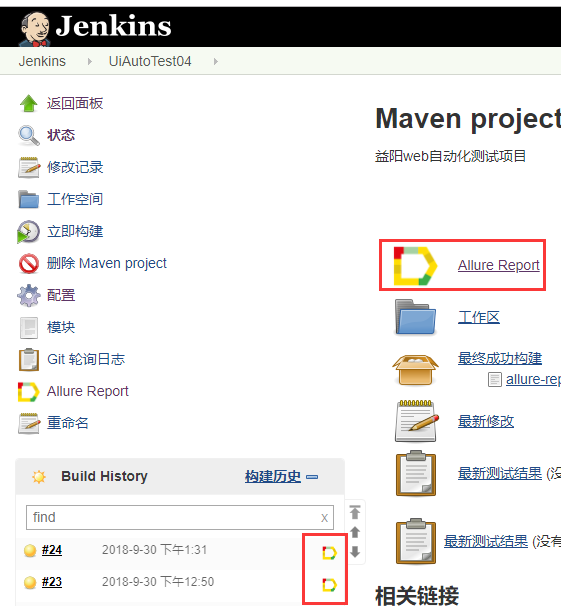

 浙公网安备 33010602011771号