【云原生】Presto/Trino on k8s 环境部署
一、概述
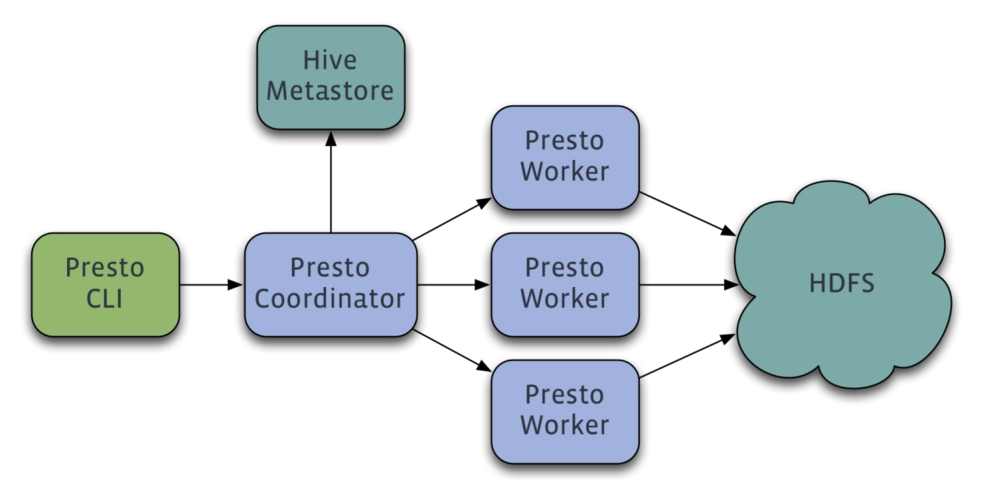
Presto是Facebook开源的MPP(Massively Parallel Processing:大规模并行处理)架构的OLAP(on-line transaction processing:联机事务处理),完全基于内存的并⾏计算,可针对不同数据源,执行大容量数据集的一款分布式SQL交互式查询引擎。 它是为了解决Hive的MapReduce模型太慢以及不能通过BI或Dashboards直接展现HDFS数据等问题。
但是Presto目前有两大分支:
PrestoDB(背靠Facebook)和PrestoSQL现在改名为Trino(Presto的创始团队),虽然PrestoDB背靠Facebook,但是社区活跃度和使用群体还是远不如Trino。所以这里以Trino为主展开讲解。
PrestoDB官方文档:https://prestodb.io/docs/current/
Trino官方文档:https://trino.io/docs/current/
了解更多也可以参考我这篇文章:大数据Hadoop之——基于内存型SQL查询引擎Presto(Presto-Trino环境部署)

二、环境部署
地址:https://artifacthub.io/packages/helm/trino/trino
1)添加源并下载编排部署包
helm repo add trino https://trinodb.github.io/charts/
helm pull trino/trino --version 0.8.0
tar -xf trino-0.8.0.tgz
2)构建镜像
Dockerfile
FROM myharbor.com/bigdata/centos:7.9.2009

RUN rm -f /etc/localtime && ln -sv /usr/share/zoneinfo/Asia/Shanghai /etc/localtime && echo "Asia/Shanghai" > /etc/timezone

RUN export LANG=zh_CN.UTF-8

# 创建用户和用户组,跟yaml编排里的spec.template.spec.containers. securityContext.runAsUser: 1000
RUN groupadd --system --gid=1000 admin && useradd --system --home-dir /home/admin --uid=1000 --gid=admin admin

# 安装sudo
RUN yum -y install sudo ; chmod 640 /etc/sudoers

# 给admin添加sudo权限
RUN echo "admin ALL=(ALL) NOPASSWD: ALL" >> /etc/sudoers

RUN yum -y install install net-tools telnet wget

RUN mkdir /opt/apache/

### JDK
# wget https://cdn.azul.com/zulu/bin/zulu17.36.17-ca-jdk17.0.4.1-linux_x64.tar.gz
ADD zulu17.36.17-ca-jdk17.0.4.1-linux_x64.tar.gz /opt/apache/
ENV JAVA_HOME=/opt/apache/zulu17.36.17-ca-jdk17.0.4.1-linux_x64
ENV PATH=$JAVA_HOME/bin:$PATH

### trino
ADD trino-server-398.tar.gz /opt/apache/
ENV TRINO_HOME=/opt/apache/trino-server-398
ENV PATH=$TRINO_HOME/bin:$PATH


RUN chown -R admin:admin /opt/apache

WORKDIR $TRINO_HOME

ENTRYPOINT  $TRINO_HOME/bin/launcher run --verbose
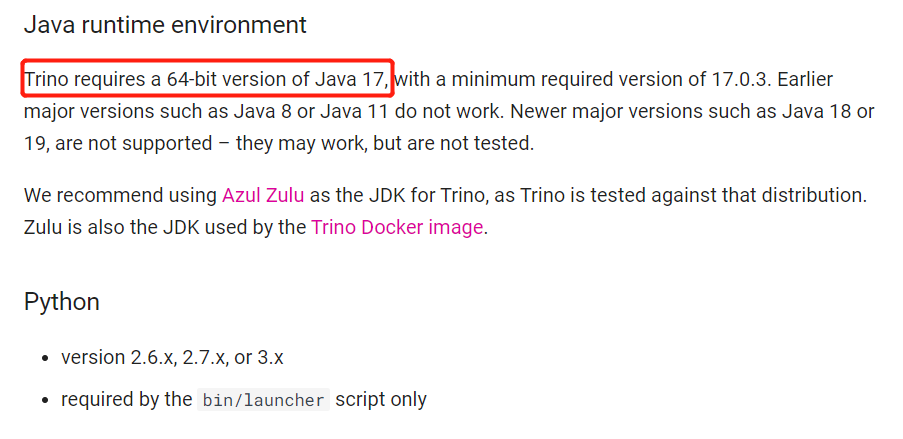
【温馨提示】这里jdk只能使用jdk17,其它版本暂时是不支持的。

开始构建镜像
docker build -t myharbor.com/bigdata/trino:398 . --no-cache

### 参数解释
# -t:指定镜像名称
# . :当前目录Dockerfile
# -f:指定Dockerfile路径
#  --no-cache:不缓存

###推送harbor
docker push myharbor.com/bigdata/trino:398

### 删除镜像
crictl rmi myharbor.com/bigdata/trino:398
3)修改配置
这里只加了hive和mysql catalog,小伙伴可以自行添加其它catalog就行。
trino/values.yaml
...
### 主要新增了catalog
additionalCatalogs:
  mysql: |-
    connector.name=mysql
    connection-url=jdbc:mysql://mysql-primary.mysql:3306
    connection-user=root
    connection-password=WyfORdvwVm
  hive: |-
    connector.name=hive
    hive.metastore.uri=thrift://hadoop-ha-hadoop-hive-metastore.hadoop-ha:9083
...
4)开始部署
# 安装
helm install trino ./trino -n trino --create-namespace
# 更新
helm upgrade trino ./trino -n trino
NOTES
NAME: trino
LAST DEPLOYED: Sun Oct  2 20:13:44 2022
NAMESPACE: trino
STATUS: deployed
REVISION: 1
TEST SUITE: None
NOTES:
Get the application URL by running these commands:
  export NODE_PORT=$(kubectl get --namespace trino -o jsonpath="{.spec.ports[0].nodePort}" services trino)
  export NODE_IP=$(kubectl get nodes --namespace trino -o jsonpath="{.items[0].status.addresses[0].address}")
  echo http://$NODE_IP:$NODE_PORT

查看
kubectl get pods,svc -n trino -owide

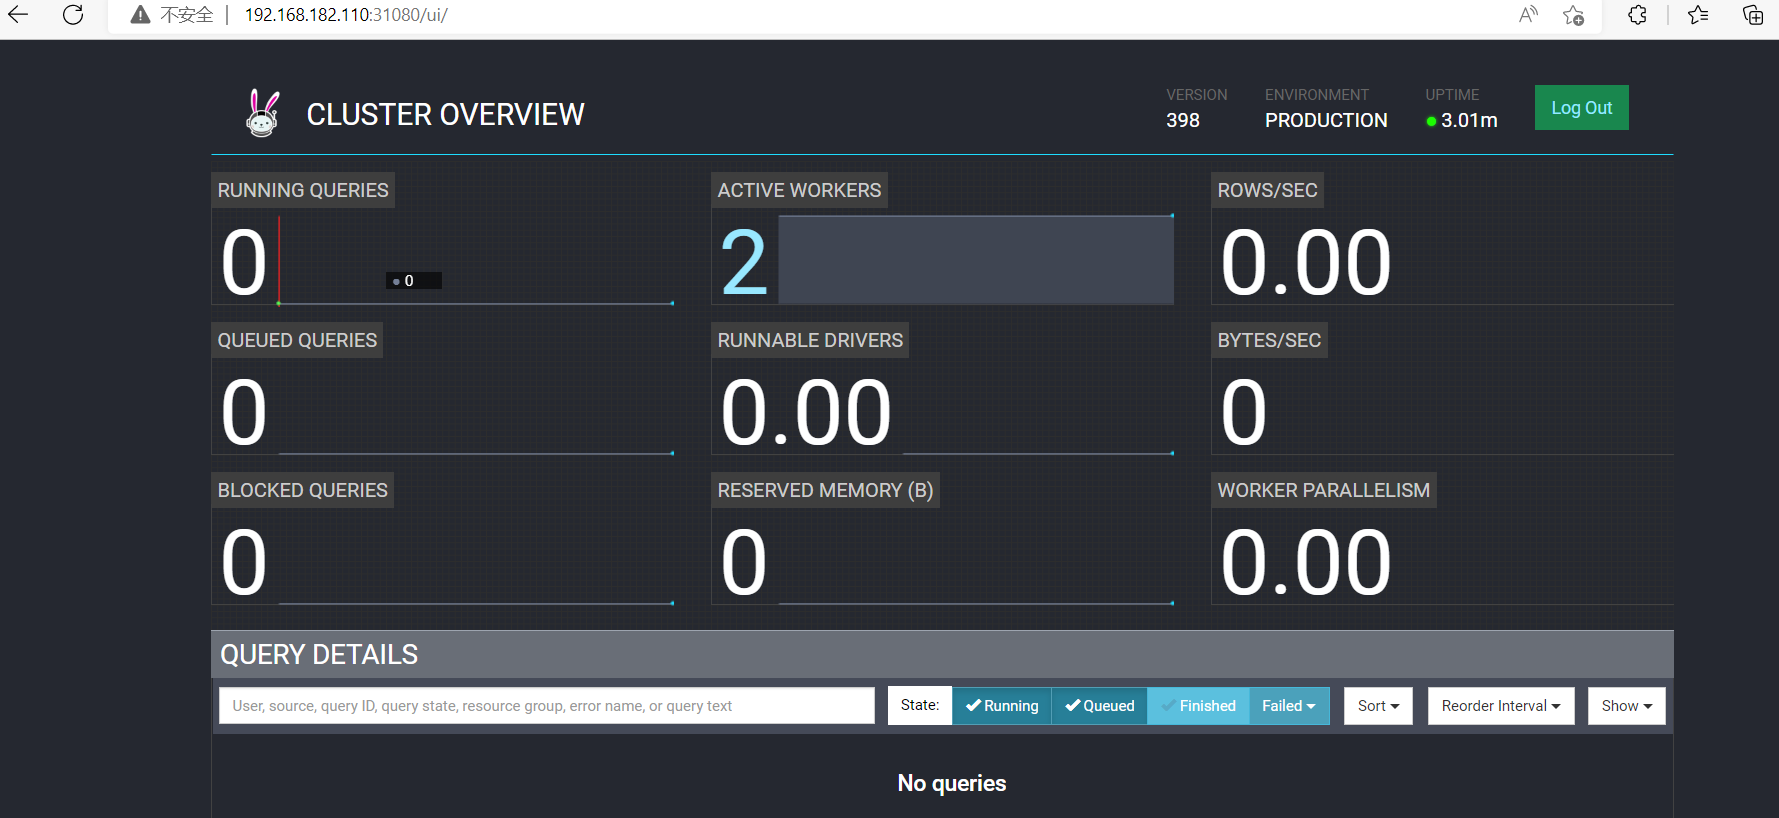
web 地址:http://192.168.182.110:31080/
用户任意值


5)测试验证
下载客户端
wget https://repo1.maven.org/maven2/io/trino/trino-cli/398/trino-cli-398-executable.jar
chmod +x trino-cli-398-executable.jar
# 登录
./trino-cli-398-executable.jar --server http://192.168.182.110:31080 --user=admin
show catalogs;

1、mysql catalog 测试
./trino-cli-398-executable.jar --server http://192.168.182.110:31080 --user=admin --catalog=mysql
# 这里的schema就是database
show schemas;
create schema trino_test;
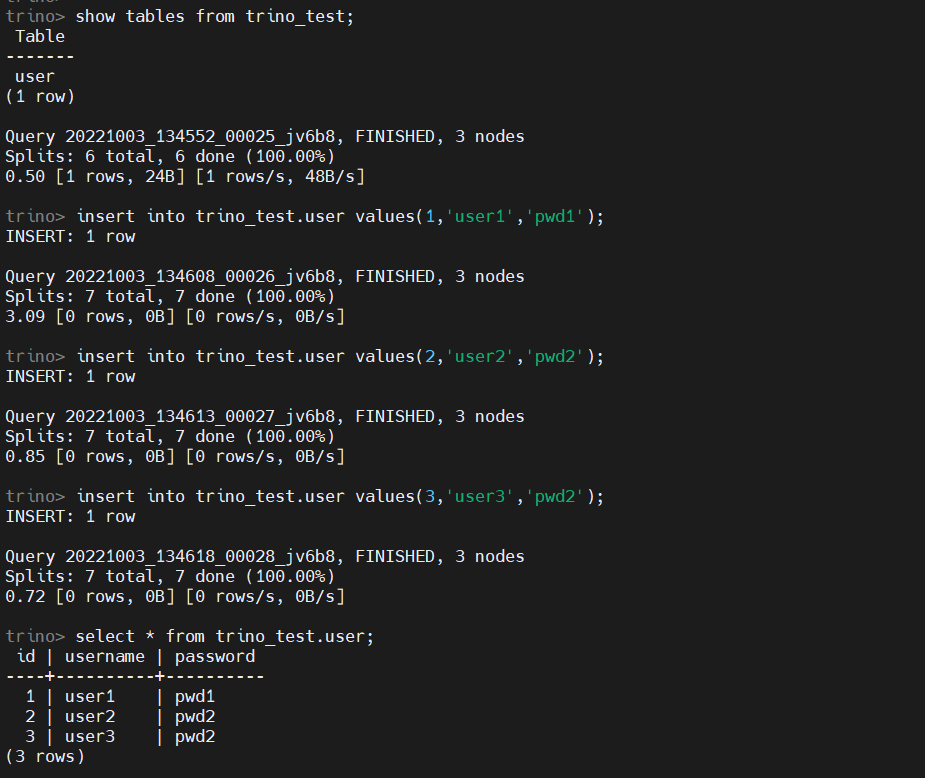
create table trino_test.user(id int not null, username varchar(32) not null, password varchar(32) not null);
insert into trino_test.user values(1,'user1','pwd1');
insert into trino_test.user values(2,'user2','pwd2');
insert into trino_test.user values(3,'user3','pwd2');

###查询
select * from trino_test.user;

2、hive catalog 测试
在 Hive 中创建数据库、数据表和数据
create schema test;
show databases;
CREATE TABLE test.users(id int, username string, password string) ROW FORMAT DELIMITED FIELDS TERMINATED BY ',';
show tables from test;
insert into table test.users values (1, 'user1', 'password1'), (2, 'user2', 'password2'), (3, 'user3', 'password3');
select * from test.users;
在presto中查询
./trino-cli-398-executable.jar --server http://192.168.182.110:31080 --user=admin --catalog=hive
show schemas;
show tables from test;
select * from hive.test.users;
【温馨提示】不建议在presto中创建库表,一般presto只是作为查询引擎。
6)卸载
helm uninstall trino -n trino

kubectl delete pod -n trino `kubectl get pod -n trino|awk 'NR>1{print $1}'` --force
kubectl patch ns trino -p '{"metadata":{"finalizers":null}}'
kubectl delete ns trino --force
git下载地址:https://gitee.com/hadoop-bigdata/presto-on-k8s
Presto/Trino on k8s 环境部署就先到这里,有不清楚的小伙伴,欢迎给我留言,后续会持续更新【云原生+大数据】教程,请小伙伴耐心等待~


