
实验八-web部署
实验内容
1.配置openEuler
2.安装LAMP
3.安装部署wordpress
实验步骤
购买云服务器
本文环境基于华为云的弹性云服务器 ECS:
- CPU架构:选择鲲鹏通用计算增强型
- 操作系统选择 openEuler 20.03 64bit with ARM
- 弹性云服务器ECS远程访问使用Moba Xterm.
配置云服务器
重新配置yum源
cd /etc/yum.repos.d
vi openEuler_x86_64.repo
增加如下内容
点击查看代码
[OS]
name=OS
baseurl=http://repo.openeuler.org/openEuler-20.03-LTS/OS/$basearch/
enabled=1
gpgcheck=1
gpgkey=http://repo.openeuler.org/openEuler-20.03-LTS/OS/$basearch/RPM-GPG-KEY-openEuler

[everything]
name=everything
baseurl=http://repo.openeuler.org/openEuler-20.03-LTS/everything/$basearch/
enabled=1
gpgcheck=1
gpgkey=http://repo.openeuler.org/openEuler-20.03-LTS/everything/$basearch/RPM-GPG-KEY-openEuler

[EPOL]
name=EPOL
baseurl=http://repo.openeuler.org/openEuler-20.03-LTS/EPOL/$basearch/
enabled=1
gpgcheck=1
gpgkey=http://repo.openeuler.org/openEuler-20.03-LTS/OS/$basearch/RPM-GPG-KEY-openEuler

[debuginfo]
name=debuginfo
baseurl=http://repo.openeuler.org/openEuler-20.03-LTS/debuginfo/$basearch/
enabled=1
gpgcheck=1
gpgkey=http://repo.openeuler.org/openEuler-20.03-LTS/debuginfo/$basearch/RPM-GPG-KEY-openEuler

[source]
name=source
baseurl=http://repo.openeuler.org/openEuler-20.03-LTS/source/
enabled=1
gpgcheck=1
gpgkey=http://repo.openeuler.org/openEuler-20.03-LTS/source/RPM-GPG-KEY-openEuler

[update]
name=update
baseurl=http://repo.openeuler.org/openEuler-20.03-LTS/update/$basearch/
enabled=0
gpgcheck=1
gpgkey=http://repo.openeuler.org/openEuler-20.03-LTS/OS/$basearch/RPM-GPG-KEY-openEuler
安装Apache:
yum install -y httpd
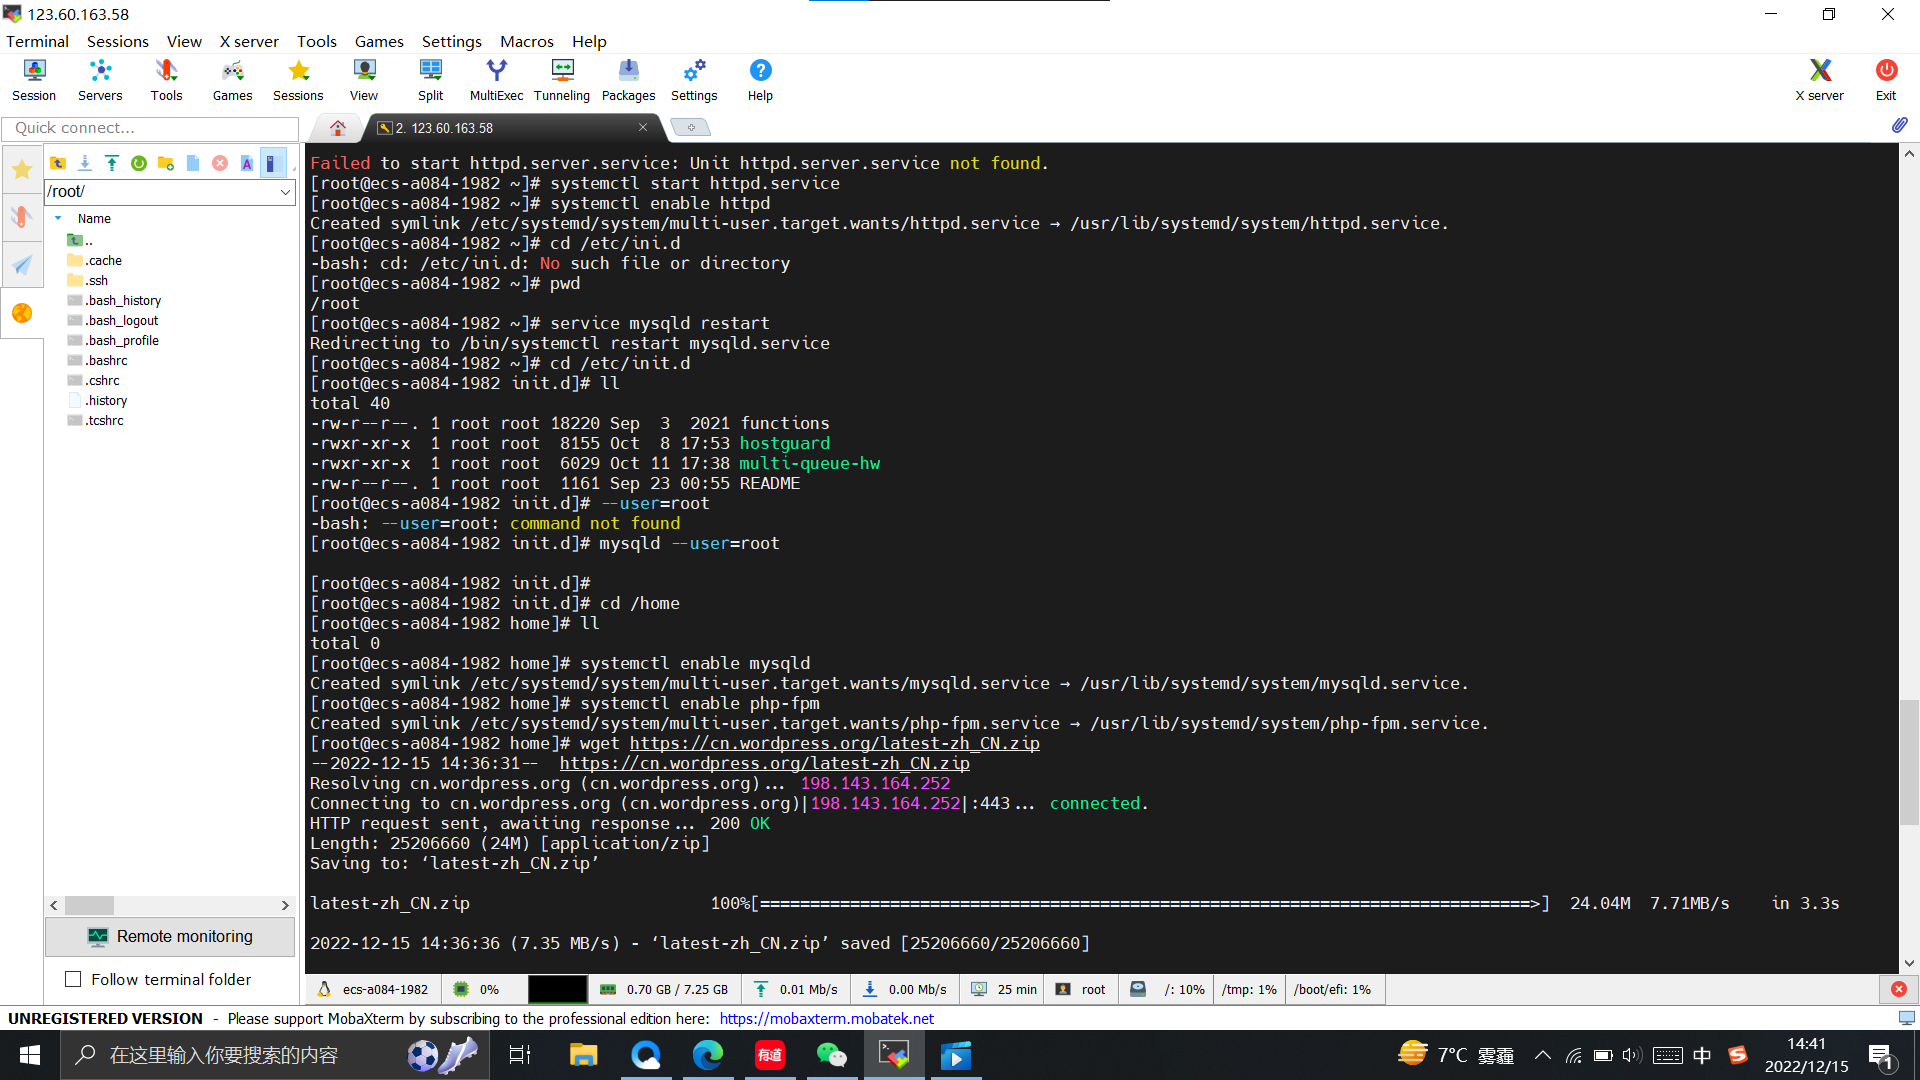
开启Apache服务:
systemctl start httpd.service
设置Apache开机自启动:
systemctl enable httpd.service
关闭防火墙:
systemctl stop firewalld
禁止防火墙自启动:
systemctl disable firewalld
安装mariadb:
yum install -y mariadb-server
开启mariadb服务:
systemctl start mariadb
设置mariadb开机自启动:
systemctl enable mariadb
给mariadb数据库的root账户设置密码123456:
mysqladmin -uroot password '123456'
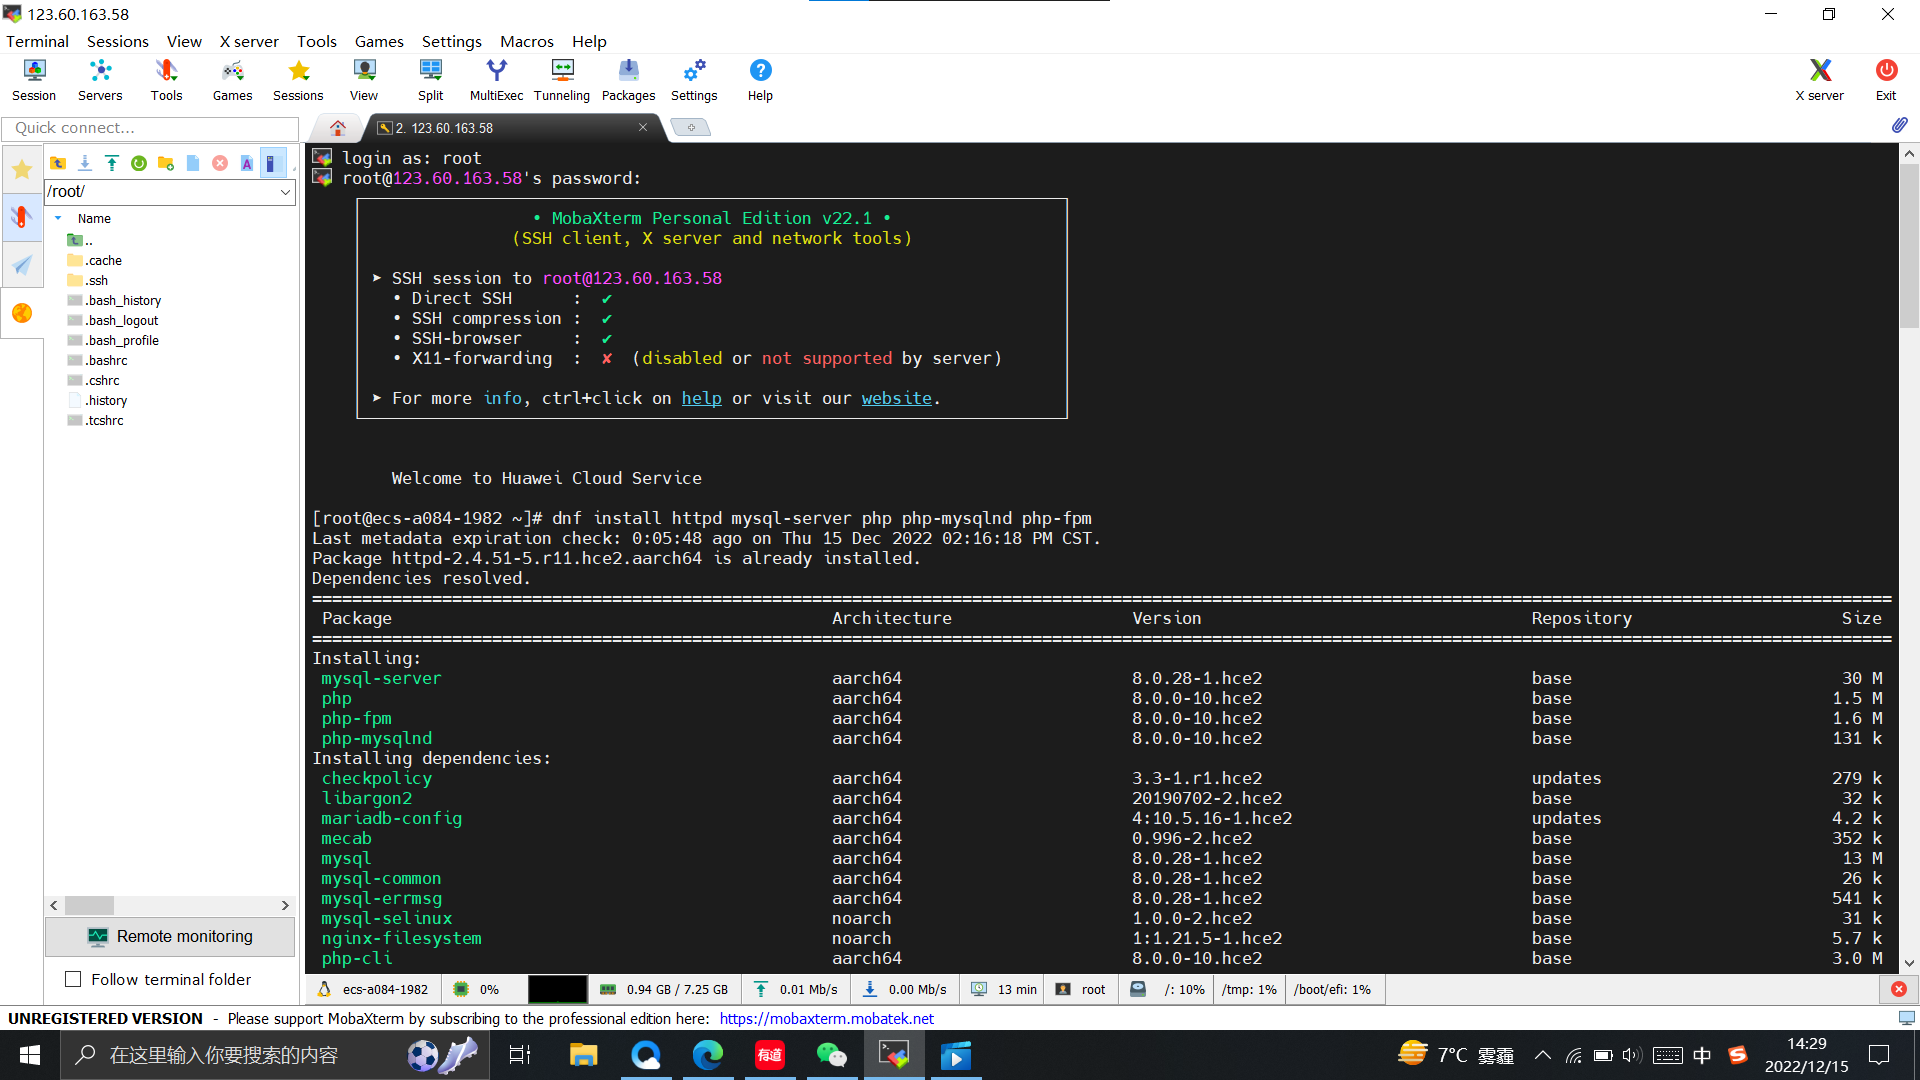
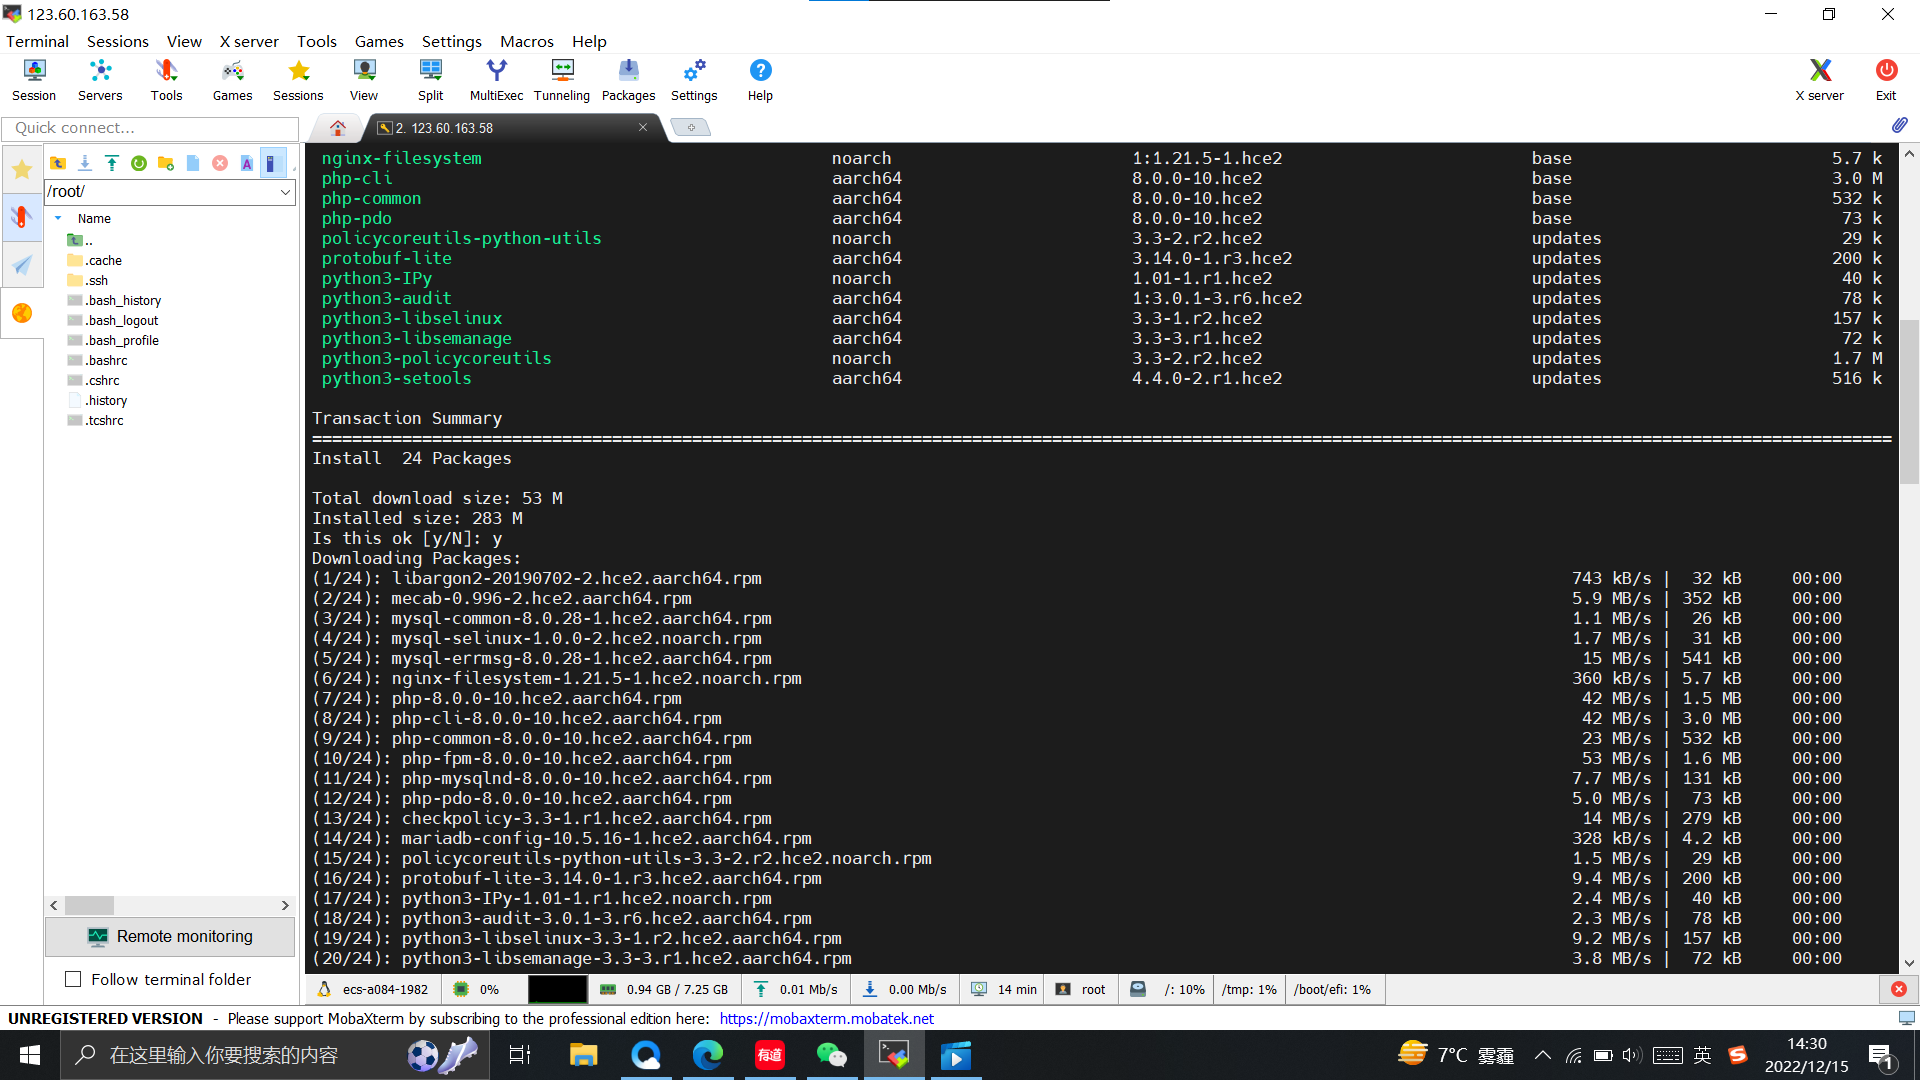
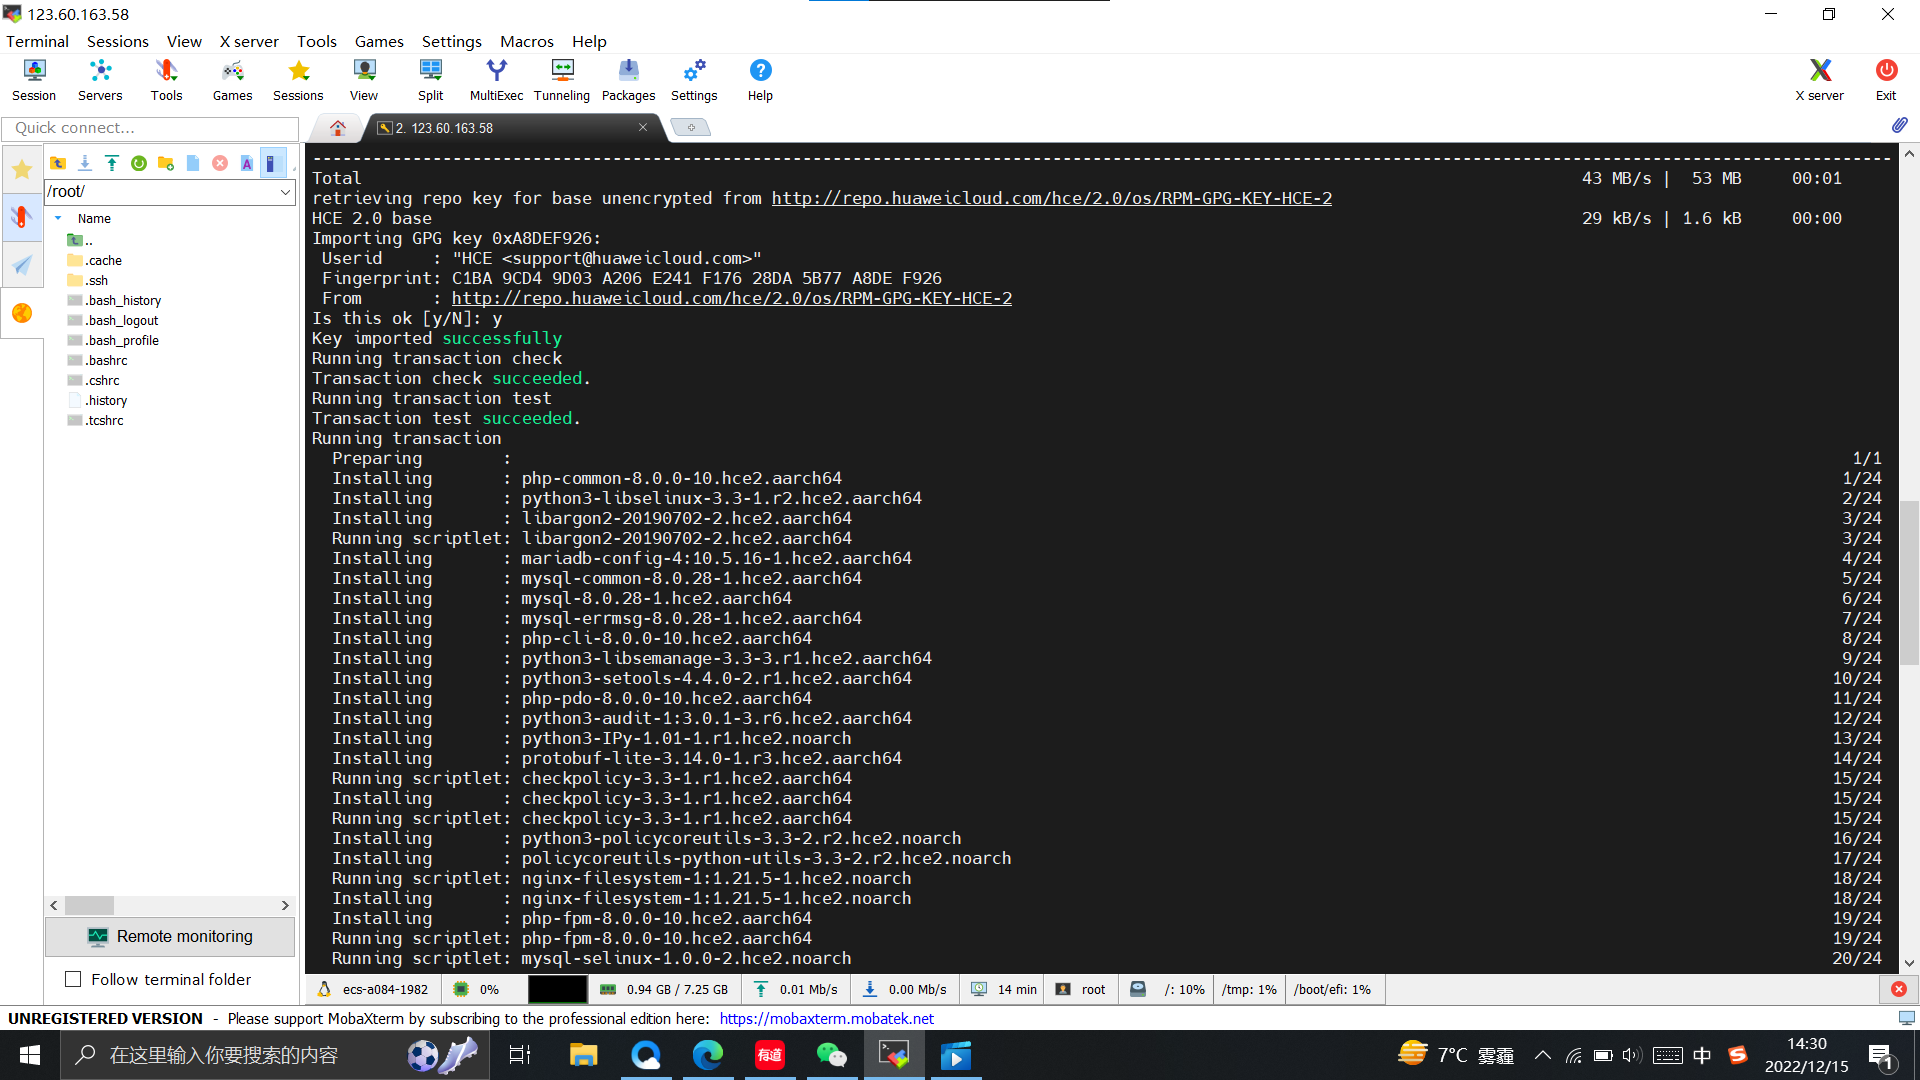
安装PHP和PHP模块:
yum install -y php
yum install -y php-mysqlnd php-fpm php-opcache php-cli php-curl php-dom php-exif php-fileinfo php-gd php-hash php-json php-mbstring php-mysqli php-openssl php-pcre php-xml libsodium
安装交互更加良好的nano 文本编辑器:
yum install nano
查看Apache和mariadb的运行状态:
systemctl status httpd
systemctl status mariadb
查看Apache和mariadb是否已经开启了开机自启动:
systemctl list-unit-files | grep httpd.service
systemctl list-unit-files | grep mariadb.service
创建一个PHP测试文件测试PHP是否正常,输出重定向到test.php文件:
echo "<?php phpinfo(); ?>" > /var/www/html/test.php
给这个文件赋权限:
chmod 755 /var/www/html/test.php
重启Apache服务:
systemctl restart httpd
安装部署wordpress
安装wget:
yum install -y wget
请求wordpress安装包(.ZIP):
wget https://cn.wordpress.org/latest-zh_CN.zip
查看mariadb的版本号:
rpm -qa | grep mariadb
登录到mariadb:
mysql -uroot -p
创建WordPress数据库:
create database wordpressdb;
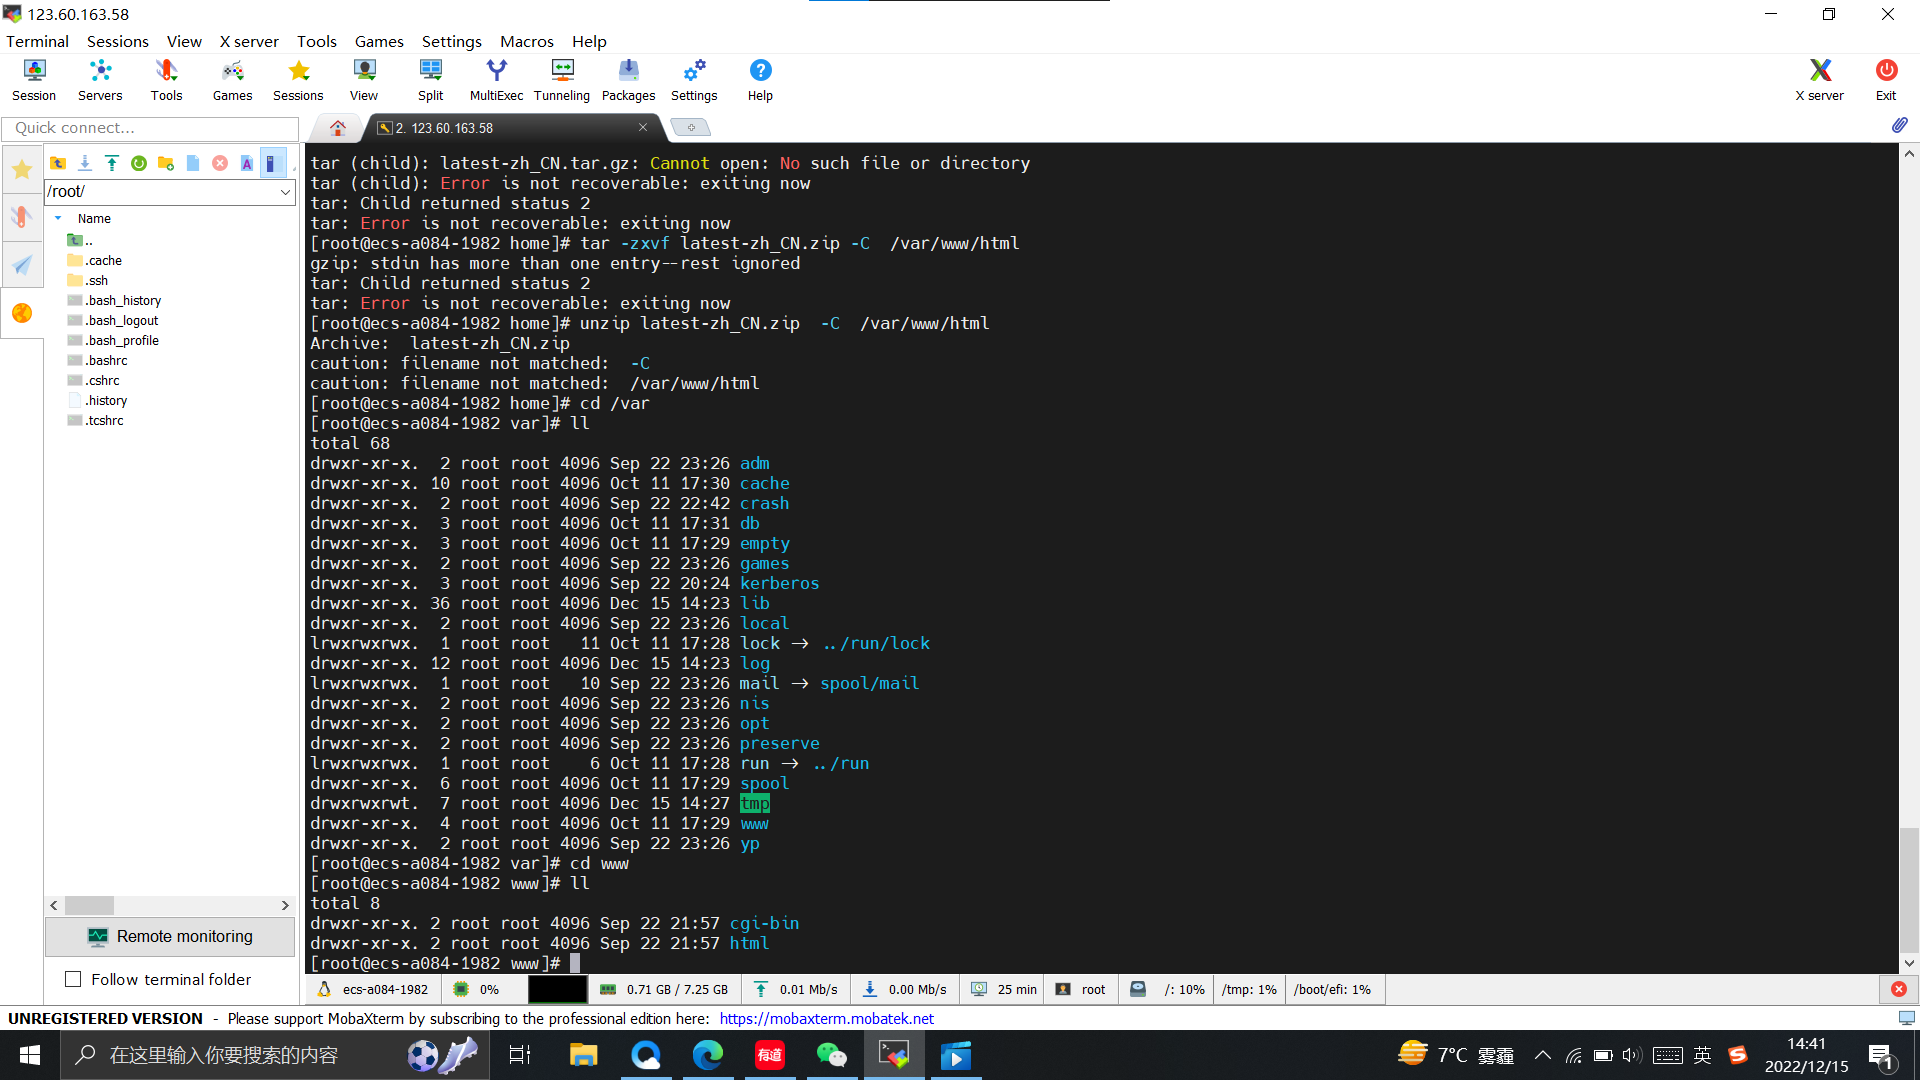
安装unzip解压工具:
yum install -y unzip
unzip latest-zh_CN.zip -d /var/www
通过下面命令创建用户给Apache权限:
chown -R apache:apache /var/www/wordpress chmod -R 755 /var/www/wordpress/
编辑Apache的配置文件:
nano /etc/httpd/conf/httpd.conf
编辑Apache的欢迎页面,将其内容都注释掉:
nano /etc/httpd/conf.d/welcome.conf
重启Apache服务:
systemctl restart httpd
转到下面这个文件夹:
cd /var/www/wordpress
创建 wp-config.php 文件:
nano wp-config.php
实验截图
问题及解决方案
遇到问题后根据老师提供的博客文章和教程视频可以解决。除此之外,我还查阅了很多其他资料,以补充相关知识。
建议
暂无
