

学习Js-day18
放大镜的简单实现
效果图如下:
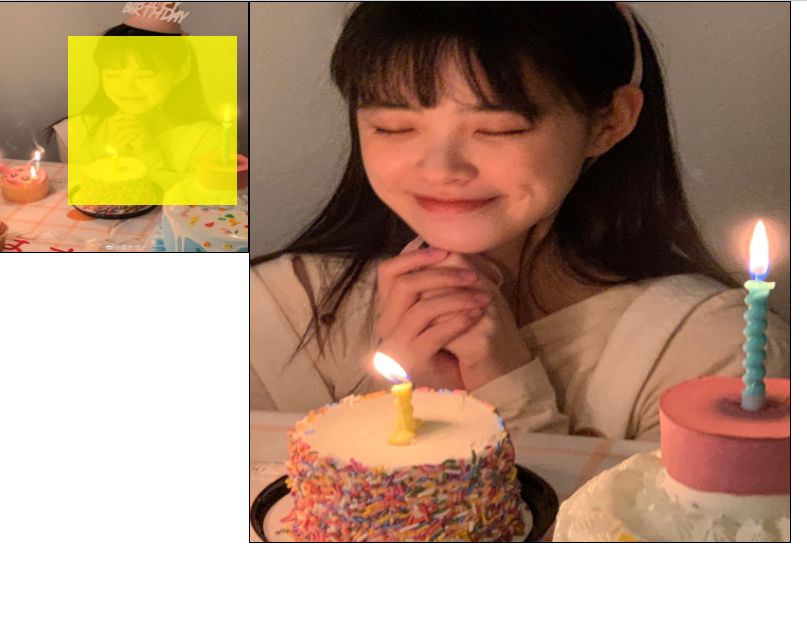
对结构,布局,效果,进行分析“
一、结构分析:
1.一个小盒子box包着一个移动的盒子move,再连接一个大盒子bigbox展示图片的细节。
二、布局分析:
1.放小图的的盒子box设置相对定位
2.移动盒子move设置绝对定位
3.放大图的盒子big设置相对定位,在盒子box的右边,大图作为放大图的盒子的背景
三、效果分析:
1.鼠标移入小图,移动的盒子和大图出现,且遮罩移动的过程中,大图显示的图片也随着移动盒子在小图上的位置相应改变
2.鼠标离开小图,大图隐藏
CSS部分
*{
            margin: 0;
            padding: 0;
        }
        img{
            width: 100%;
            height: 100%;
        }
        .box {
            width: 250px;
            height: 250px;
            border: 1px solid #000;
            position: relative;
            float: left;
        }
        .box>img{
            width: 250px;
            height: 250px;
        }
        .move {
            position: absolute;
            left: 0;
            top: 0;
            background-color: rgba(255, 255, 0, 0.8);
        }

        .bigbox {
            width: 540px;
            height: 540px;
            position: relative;
            float: left;
            overflow: hidden;
            border: 1px solid #000;
        }

        .bigbox>img {
            position: absolute;
            width: 800px;
            height: 800px;
            background-color: red;
        }
HTML部分
<div class="box">
        <img src="./🐟/47.jpg"
            alt="">
        <div class="move"></div>
    </div>
    <div class="bigbox">
        <img src="./🐟/47.jpg"
            alt="">
    </div>
JS部分
class Magnifier {
            constructor(smallBox, bigBox) {
                this.smallBox = smallBox
                this.bigBox = bigBox
                this.move = smallBox.querySelector('.move')
                this.bigImg = bigBox.children[0]
                this.init()
                this.handlerMouse()
            }
            init() {
                //计算对应的move这个盒子的宽高
                // 大的比大的等于小的比小的 bigImg/bigBox = box/move ==>  bigImg/box == bigBox/move
                this.move.style.width = this.smallBox.clientWidth / (this.bigImg.clientWidth / this.bigBox
                    .clientWidth) + 'px'
                this.move.style.height = this.smallBox.clientHeight / (this.bigImg.clientHeight / this.bigBox
                    .clientHeight) + 'px'
                //先需要隐藏
                this.move.style.display = 'none'
                this.bigBox.style.display = 'none'
            }
            handlerMouse() {
                //移入移出
                this.smallBox.onmouseenter = () => {
                    this.move.style.display = 'block'
                    this.bigBox.style.display = 'block'
                }
                this.smallBox.onmouseleave = () => {
                    this.move.style.display = 'none'
                    this.bigBox.style.display = 'none'
                }
                //移动
                this.smallBox.onmousemove = ({
                    pageX,
                    pageY
                }) => {
                    //获取鼠标在smallbox里面位置
                    let currentX = pageX - this.smallBox.offsetLeft
                    let currentY = pageY - this.smallBox.offsetTop
                    //中心点位置
                    let centerPoint = {
                        x: this.smallBox.clientWidth / 2,
                        y: this.smallBox.clientHeight / 2
                    }
                    //移动的位置
                    let targetPoint = {
                        x: currentX - centerPoint.x,
                        y: currentY - centerPoint.y
                    }
                    //边界判断
                    if(targetPoint.x<0){
                        targetPoint.x = 0
                    }
                    if(targetPoint.y<0){
                        targetPoint.y = 0
                    }
                    //最大值判断
                    let maxPoint = {
                        x: this.smallBox.clientWidth - this.move.offsetWidth,
                        y: this.smallBox.clientHeight - this.move.offsetHeight
                    }
                    if(targetPoint.x > maxPoint.x){
                        targetPoint.x = maxPoint.x
                    }
                    if(targetPoint.y > maxPoint.y){
                        targetPoint.y = maxPoint.y
                    }
                    //设置对应的位置
                    this.move.style.left =  targetPoint.x + 'px'
                    this.move.style.top =  targetPoint.y + 'px'
                    //还要设置大盒子里面图片的位置
                    this.bigImg.style.left = -targetPoint.x * this.bigImg.clientWidth / this.smallBox.clientWidth + 'px'
                    this.bigImg.style.top = -targetPoint.y * this.bigImg.clientHeight / this.smallBox.clientHeight + 'px'
                }
            }
        }
        var small = document.querySelector('.box')
        var big = document.querySelector('.bigbox')
        new Magnifier(small, big)

【推荐】国内首个AI IDE,深度理解中文开发场景,立即下载体验Trae
【推荐】编程新体验,更懂你的AI,立即体验豆包MarsCode编程助手
【推荐】抖音旗下AI助手豆包,你的智能百科全书,全免费不限次数
【推荐】轻量又高性能的 SSH 工具 IShell:AI 加持,快人一步
· winform 绘制太阳,地球,月球 运作规律
· 超详细:普通电脑也行Windows部署deepseek R1训练数据并当服务器共享给他人
· TypeScript + Deepseek 打造卜卦网站:技术与玄学的结合
· AI 智能体引爆开源社区「GitHub 热点速览」
· 写一个简单的SQL生成工具