Elasticsearch 6.x 入门测试
首先听一下官方的话:
https://www.elastic.co/guide/en/elasticsearch/reference/current/index.html
我尝试了使用Java作为Client向ES操作,结果发现这个家伙要引入大量的JAR包,而且还必须是JDK1.8!!!!!我只好使用python操作ES写入和操作数据了。
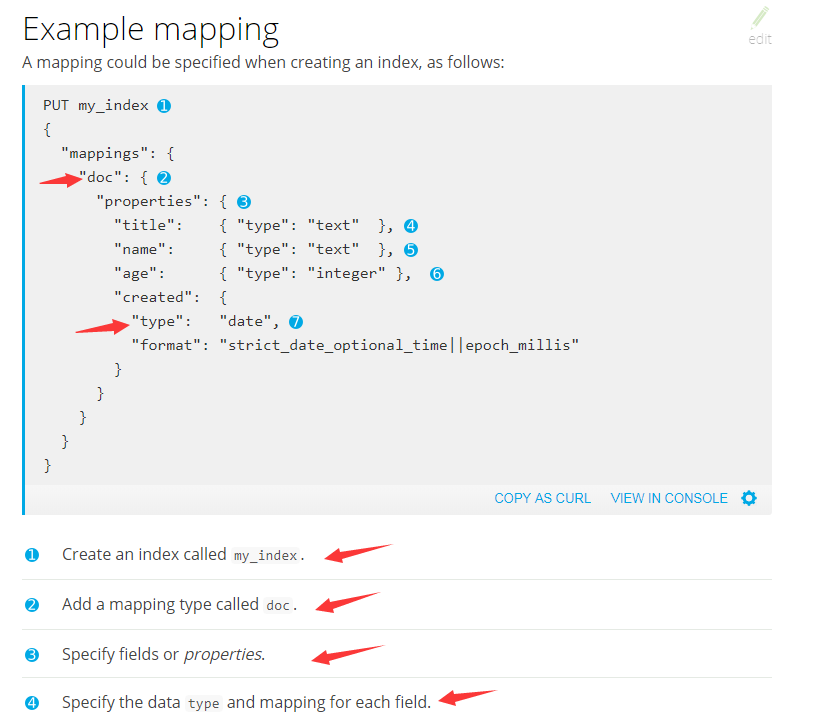
1、创建mapping
参考地址:
https://www.elastic.co/guide/en/elasticsearch/reference/current/indices-get-mapping.html
对应的python是这样的:
from elasticsearch import Elasticsearch
es_servers = [{
    "host": "10.10.6.225",
    "port": "9200"
}]
# 使用文档在这里:http://elasticsearch-py.readthedocs.io/en/master/
es = Elasticsearch(es_servers)
# 初始化索引的Mappings设置
_index_mappings = {
    "mappings": {
        "doc": {
            "properties": {
                "title": {"type": "text"},
                "name": {"type": "text"},
                "age": {"type": "integer"},
                "created": {
                    "type": "date",
                    "format": "yyyy-MM-dd HH:mm:ss"
                }
            }
        }
    }
}
# 如果索引不存在,则创建索引
if es.indices.exists(index='blog_index') is not True:
    es.indices.create(index='blog_index', body=_index_mappings)
2、查看mapping
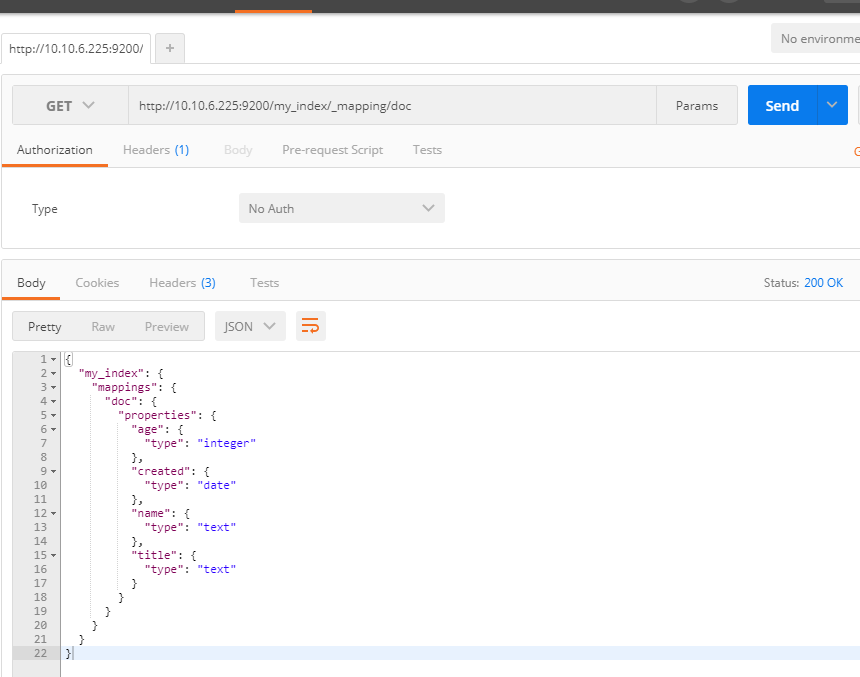
URL:http://10.10.6.225:9200/my_index/_mapping/doc
方式:GET
返回:
{
  "my_index": {
    "mappings": {
      "doc": {
        "properties": {
          "age": {
            "type": "integer"
          },
          "created": {
            "type": "date"
          },
          "name": {
            "type": "text"
          },
          "title": {
            "type": "text"
          }
        }
      }
    }
  }
}
参考网址:https://www.elastic.co/guide/en/elasticsearch/reference/current/indices-get-mapping.html
python的脚本在这里:
# pip install elasticsearch
from elasticsearch import Elasticsearch
es_servers = [{
    "host": "10.10.6.225",
    "port": "9200"
}]
# 使用文档在这里:http://elasticsearch-py.readthedocs.io/en/master/
es = Elasticsearch(es_servers)
print(es.indices.get(index='blog_index')['blog_index']['mappings'])
返回:
C:\Python36\python.exe D:/Work/ELK/run.py
{'doc': {'properties': {'age': {'type': 'integer'}, 'created': {'type': 'date'}, 'name': {'type': 'text'}, 'title': {'type': 'text'}}}}

Process finished with exit code 0
3、如果你想更新Mapping,那么就看看这里吧:

就是不行,不行,作废,重导入!!!!!
4、上传一些数据玩玩吧!
# pip install elasticsearch
import time
from elasticsearch import Elasticsearch
from elasticsearch.helpers import bulk

es_servers = [{
    "host": "10.10.6.225",
    "port": "9200"
}]
# 使用文档在这里:http://elasticsearch-py.readthedocs.io/en/master/
es = Elasticsearch(es_servers)
index_name = 'blog_index'
doc_type_name = 'doc'

# 创建ACTIONS
ACTIONS = []


line_list = [
    {'age': 25, 'created': '2018-02-09 12:00:01', 'name': '黄海', 'title': '厉害了我的国'},
    {'age': 32, 'created': '2018-02-19 12:00:01', 'name': '李勇', 'title': '红海行动'},
    {'age': 25, 'created': '2018-02-13 12:00:01', 'name': '赵志', 'title': '湄公河行动'},
    {'age': 22, 'created': '2018-02-03 12:00:01', 'name': '李四', 'title': '极品相师'},
    {'age': 18, 'created': '2018-02-01 12:00:01', 'name': '刘勇', 'title': '乡村爱情故事'},

    {'age': 43, 'created': '2018-01-01 12:00:01', 'name': '刘勇', 'title': '乡村爱情故事'},
    {'age': 28, 'created': '2018-01-02 12:00:01', 'name': '刘勇', 'title': '乡村爱情故事'},
    {'age': 23, 'created': '2018-01-04 12:00:01', 'name': '刘勇', 'title': '乡村爱情故事'},
    {'age': 22, 'created': '2018-03-01 12:00:01', 'name': '刘勇', 'title': '乡村爱情故事'},
    {'age': 21, 'created': '2018-03-01 12:00:01', 'name': '刘勇', 'title': '乡村爱情故事'},
    {'age': 25, 'created': '2018-03-01 12:00:01', 'name': '刘勇', 'title': '乡村爱情故事'},
    {'age': 34, 'created': '2018-03-01 12:00:01', 'name': '刘勇', 'title': '乡村爱情故事'},

    {'age': 33, 'created': '2017-04-01 12:00:01', 'name': '刘勇', 'title': '乡村爱情故事'},
    {'age': 54, 'created': '2017-04-01 12:00:01', 'name': '刘勇', 'title': '乡村爱情故事'},
    {'age': 25, 'created': '2017-04-01 12:00:01', 'name': '刘勇', 'title': '乡村爱情故事'}
]
for line in line_list:
    action = {
        "_index": index_name,
        "_type": doc_type_name,
        "_source": {
            "age": line['age'],
            "created": line['created'],
            "name": line['name'],
            "title": line['title']
        }
    }
    ACTIONS.append(action)
    # 批量处理
success, _ = bulk(es, ACTIONS, index=index_name, raise_on_error=True)

5、按时间段进行聚合测试
from elasticsearch import Elasticsearch
es_servers = [{
    "host": "10.10.6.225",
    "port": "9200"
}]
# 使用文档在这里:http://elasticsearch-py.readthedocs.io/en/master/
es = Elasticsearch(es_servers)
print(es.indices.get(index='blog_index')['blog_index']['mappings'])
body= {
     "size" : 0,
     "aggs": {
        "sales": {
           "date_histogram": {
              "field": "created",
              "interval": "month",
              "format": "yyyy-MM"
           }
        }
     }
  }
res = es.search(index="blog_index", body=body)
print(res)

打完收工!

 浙公网安备 33010602011771号