opencv学习之路(11)、图像几何变换
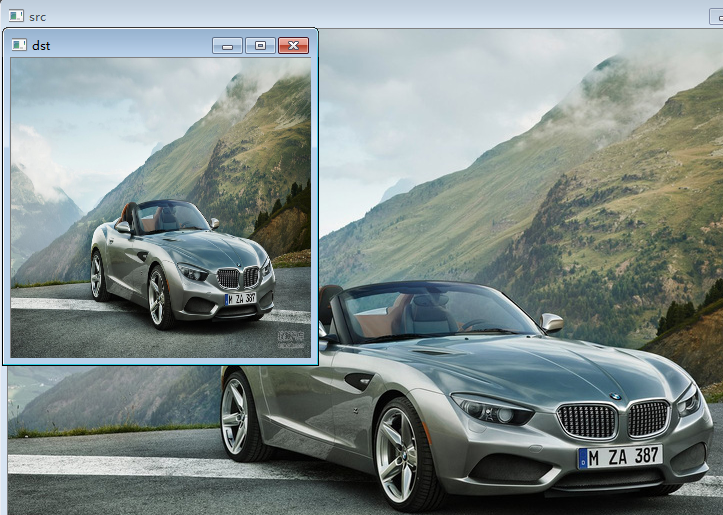
一、图像缩放
 1 #include<opencv2/opencv.hpp>
 2 using namespace cv;
 3
 4 void main(){
 5     Mat src=imread("E://0.jpg");
 6     Mat dst;
 7     resize(src,dst,Size(300,300));
 8     imshow("src",src);
 9     imshow("dst",dst);
10     waitKey(0);
11 }

二、图像平移

 1 #include<opencv2/opencv.hpp>
 2 using namespace cv;
 3
 4 //不改变图像大小
 5 Mat imgTranslate(Mat &src,int x_off,int y_off){//x方向偏移,y方向偏移
 6     int rows=src.rows;//行
 7     int cols=src.cols;//列
 8     Mat dst=Mat::zeros(src.size(),src.type());//创建一个全黑图像
 9     for (int i = 0; i < rows; i++)//遍历行
10     {
11         for (int j = 0; j < cols; j++)//遍历列
12         {
13
14             int x=j+x_off;//列坐标+x方向偏移=当前x坐标
15             int y=i+y_off;
16             if(x>=0&&y>=0&&x<cols&&y<rows){
17                 dst.at<Vec3b>(y,x)=src.at<Vec3b>(i,j);//赋值,(y,x)对应(i,j),详情见下面图示
18             }
19         }
20     }
21     return dst;
22 }
23 //改变图像大小
24 Mat imgTranslate2(Mat &src,int x_off,int y_off){
25     int rows=src.rows+y_off;
26     int cols=src.cols+x_off;
27     Mat dst=Mat::zeros(rows,cols,src.type());//注意与上面的差别,行列重新选值
28     for (int i = 0; i < rows; i++)
29     {
30         for (int j = 0; j < cols; j++)
31         {
32
33             int x=j+x_off;
34             int y=i+y_off;
35             if(x>=0&&y>=0&&x<cols&&y<rows){
36                 dst.at<Vec3b>(y,x)=src.at<Vec3b>(i,j);
37             }
38         }
39     }
40     return dst;
41 }
42
43 void main(){
44     Mat src=imread("E://0.jpg");
45     //Mat dst=imgTranslate(src,20,30);
46     Mat dst=imgTranslate2(src,-20,-30);
47     imshow("src",src);
48     imshow("dst",dst);
49     waitKey(0);
50 }

三、图像旋转

 1 #include<opencv2/opencv.hpp>
 2 using namespace cv;
 3
 4 void main(){
 5     Mat src=imread("E://0.jpg");
 6     Point2f center=Point2f(src.cols/2,src.rows/2);//旋转中心
 7     double angle=15;//旋转角度
 8     double scale=0.5;//缩放尺度
 9     Mat rotate=getRotationMatrix2D(center,angle,scale);//旋转矩阵
10     Mat dst;
11     warpAffine(src,dst,rotate,Size(600,400));//仿射变换
12
13     imshow("src",src);
14     imshow("dst",dst);
15     waitKey(0);
16 }

四、转置和镜像
 1 #include<opencv2/opencv.hpp>
 2 using namespace cv;
 3
 4 void main(){
 5     Mat src=imread("E://1.jpg");
 6     Mat dst;
 7     //transpose(src,dst);//先左右翻转,然后再逆时针旋转90°
 8     //flip(src,dst,0);//沿x轴翻转
 9     //flip(src,dst,1);//大于0,沿y轴翻转
10     flip(src,dst,-1);//小于0,沿原点翻转
11
12     imshow("src",src);
13     imshow("dst",dst);
14     waitKey(0);
15 }
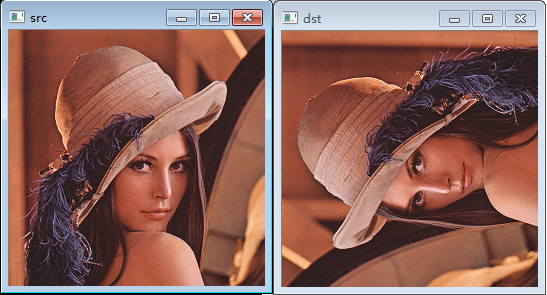
transpose效果如下:

flipCode = 0, 垂直翻转(沿X轴翻转),效果如下:

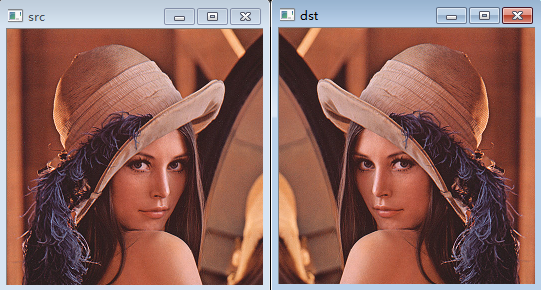
flipCode > 0, 水平翻转(沿Y轴翻转),效果如下:

flipCode < 0, 水平垂直翻转(180°中心对称),效果如下:

五、重映射remap

 1 #include<opencv2/opencv.hpp>
 2 using namespace cv;
 3
 4 void main(){
 5     Mat src=imread("E://0.jpg");
 6     Mat dst;
 7
 8     int rows=src.rows;
 9     int cols=src.cols;
10     Mat xMap=Mat::zeros(src.size(),CV_32FC1);//map1
11     Mat yMap=Mat::zeros(src.size(),CV_32FC1);//map2
12
13     for (int i = 0; i < rows; i++)
14     {
15         for (int j = 0; j < cols; j++)
16         {
17             xMap.at<float>(i,j)=j;//保持列不变
18             //yMap.at<float>(i,j)=i+5*sin(j/10.0);//sin水波效果
19             yMap.at<float>(i,j)=rows-i;//上下翻转
20         }
21     }
22     remap(src,dst,xMap,yMap,CV_INTER_LINEAR);
23
24     imshow("src",src);
25     imshow("dst",dst);
26     waitKey(0);
27 }


