

04-Uwsgi配置启动Nginx虚拟主机配置
一、虚拟环境的安装
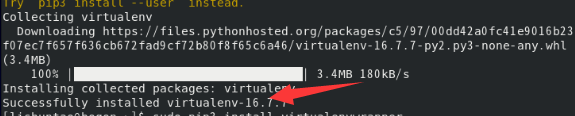
1、安装虚拟环境
sudo pip3 install virtualenv
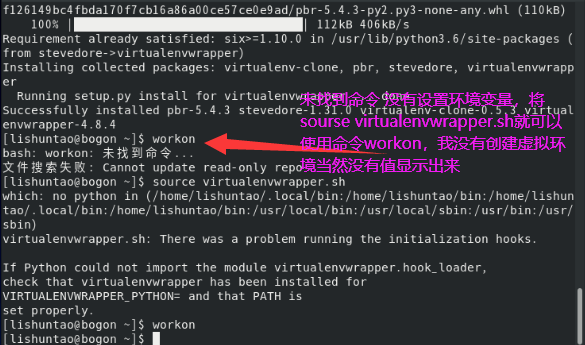
2、安装virtualenvwrapper
sudo pip3 install virtualenvwrapper

输入workon检查是否有虚拟环境发现要设置环境变量
1、如图中所说
2、第二种办法设置环境变量
vim ~/.bashrc

将下面这个添加到文件中 保存退出
PATH="$HOME/.local/bin:$HOME/bin:$PATH"
export PATH
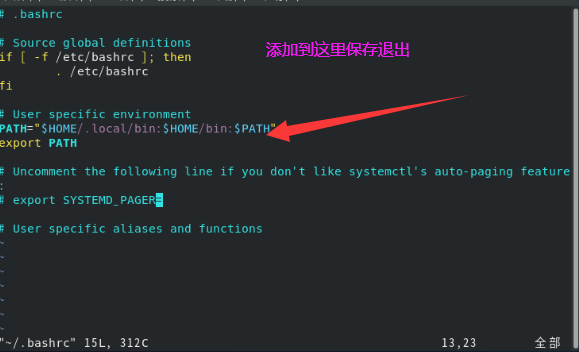

运行这个就不报错了!!!!

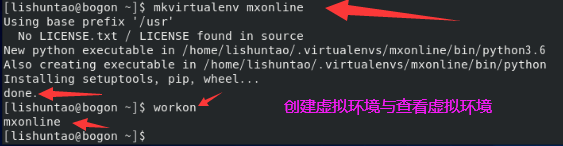
3、创建虚拟环境:
mkvirtualenv mxonline

二、将虚拟环境的开发包导出
1、进入到windows下的虚拟环境
workon mxonline
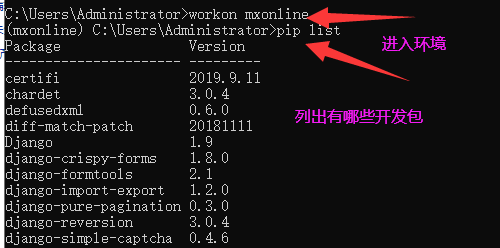
2、导出包
pip3 freeze > requirements.txt

根据路径去c盘找刚导出的包:
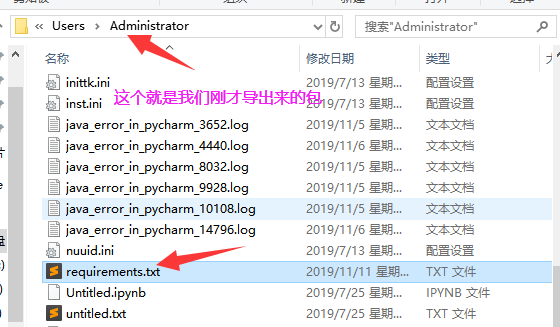
将导出的文件复制去到虚拟机中的/mnt目录下运行命令
vim requirements.txt
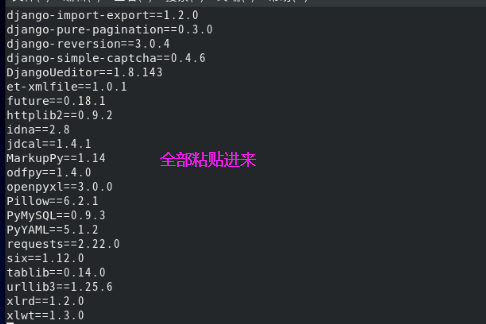
然后在Linux虚拟环境中安装全部包
pip3 install -r requirements.txt

如果途中有的包下载慢,我们可以停掉,然后单独加速下载这个包:
pip3 install -i https://pypi.douban.com/simple pillow==3.4.1
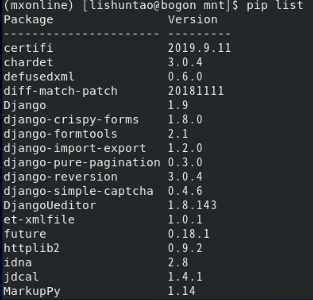
pip3 list查看是否完成:
三、安装UWSGI
pip3 install uwsgi

现在需要将项目文件传输到Linux中,没有下载VMware的需要利用Xshell传输,去网上下载Xshell破解版,链接自己的Linux然后输入命令rz自动弹出文件筐,如果没有文件筐那么安装:
yum -y install lrzsz
然后到Xshell链接登录用户名
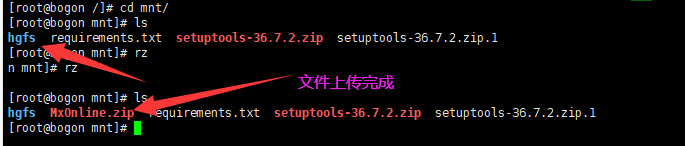
因为这是zip文件在centos中需要安装zip以及unzip
yum install -y unzip zip
安装成功后到上传的目录下解压:
unzip 文件名

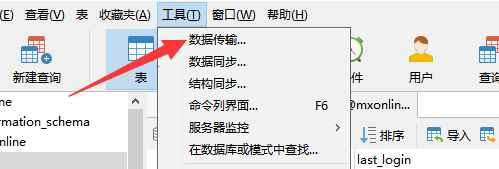
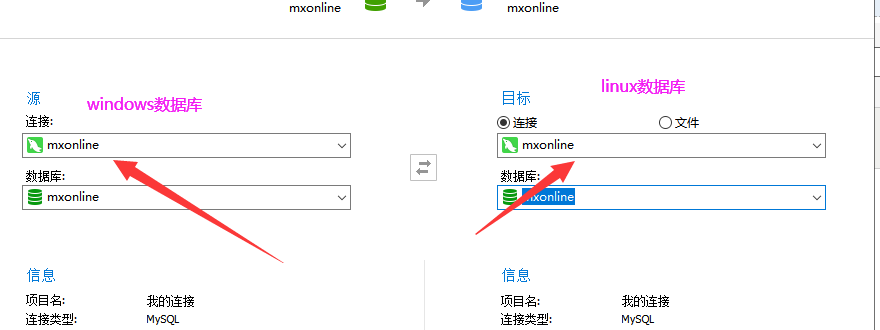
将windows的数据库迁移到Linux的数据库中:
迁移成功后,直接在虚拟环境下,运行
python manage.py runserver
然后来到windows浏览器远程访问试试看项目有没有问题。
注意这里软件可能有问题,需要自行解决,必须自己卸载后,再利用原代码安装DjangoUeditor
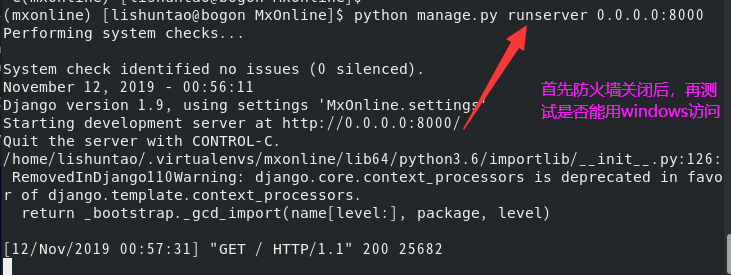
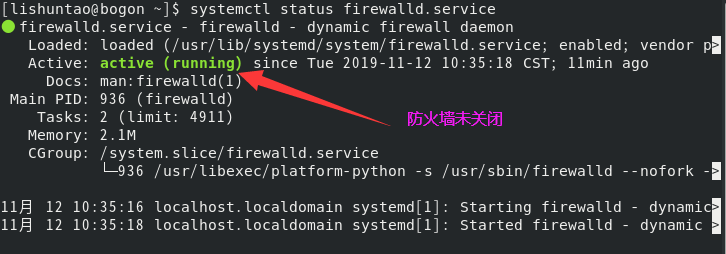
centos关闭防火墙命令:
systemctl status firewalld.service
这个命令是查看防火墙状态的,如果显示的是这样说明防火墙打开的
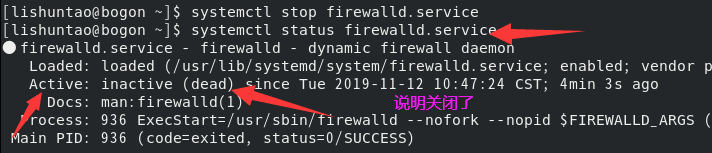
systemctl stop firewalld.service

用python客户端测试,访问成功,因此接下来测试Uwsgi
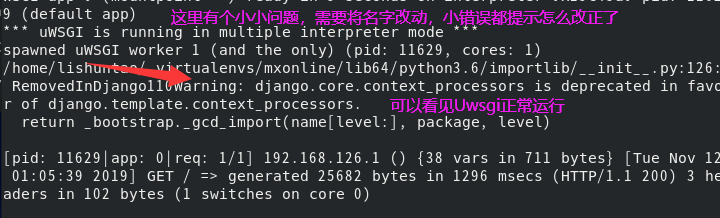
2、测试uwsgi
uwsgi --http:8000 --module MxOnline.wsgi
3、配置Nginx
新建uc_nginx.conf

编辑文件:
# the upstream component nginx needs to connect to
upstream django {
# server unix:///path/to/your/mysite/mysite.sock; # for a file socket
server 127.0.0.1:8000; # for a web port socket (we'll use this first)
}
# configuration of the server

server {
# the port your site will be served on
listen      80;
# the domain name it will serve for
server_name 你的ip地址 ; # substitute your machine's IP address or FQDN
charset     utf-8;

# max upload size
client_max_body_size 75M;   # adjust to taste

# Django media
location /media  {
    alias 你的目录/MxOnline/media;  # 指向django的media目录
}

location /static {
    alias 你的目录/MxOnline/static; # 指向django的static目录
}

# Finally, send all non-media requests to the Django server.
location / {
    uwsgi_pass  django;
    include     uwsgi_params; # the uwsgi_params file you installed
}
}
修改完成wq保存退出
4、将该配置文件加入到nginx的启动配置文件中
sudo ln -s 你的目录/Mxonline/conf/nginx/uc_nginx.conf /etc/nginx/conf.d/
这是一个软连接,软连接的好处,就是修改.conf文件直接可以软连接给其他配置文件,减少不必要的麻烦

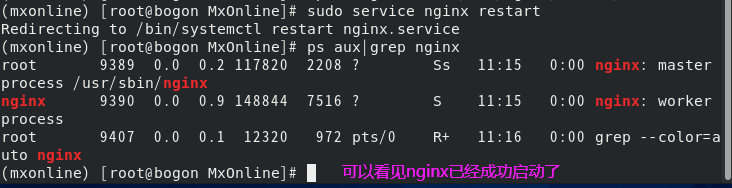
拷贝成功后重启nginx:
sudo service nginx restart
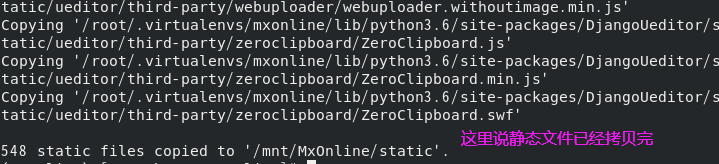
5、拉取所有需要的static file 到同一个目录
在django的settings.py文件中,添加下面一行内容:
    STATIC_ROOT = os.path.join(BASE_DIR, "static/")
运行命令
    python manage.py collectstatic


运行命令:(然后会让你输入yes继续)

6、运行Nginx
pkill -f nginx

sudo nginx
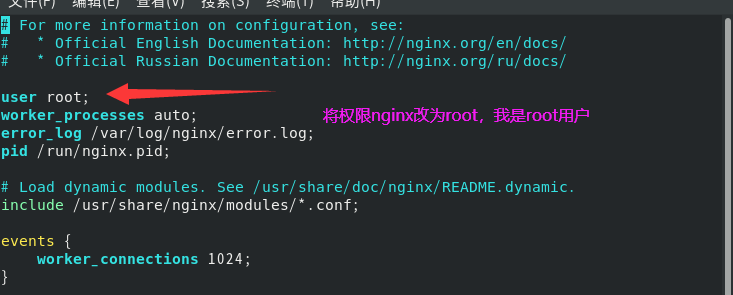
这里需要注意 一定是直接用nginx命令启动, 不要用systemctl启动nginx不然会有权限问题(一定注意centos容易出现权限问题,)
权限问题:
vim /etc/nginx/nginx.conf
7、通过配置文件启动uwsgi
配置用socket启动uwsgi这样比http启动项目更加高效
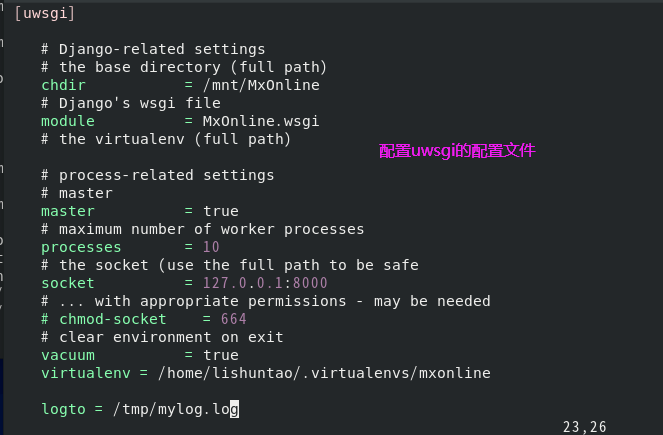
新建uwsgi.ini文件,编辑内容如下:
 # mysite_uwsgi.ini file
    [uwsgi]

    # Django-related settings
    # the base directory (full path)
    chdir           = /mnt/MxOnline
    # Django's wsgi file
    module          = MxOnline.wsgi
    # the virtualenv (full path)

    # process-related settings
    # master
    master          = true
    # maximum number of worker processes
    processes       = 10
    # the socket (use the full path to be safe
    socket          = 127.0.0.1:8000
    # ... with appropriate permissions - may be needed
    # chmod-socket    = 664
    # clear environment on exit
    vacuum          = true
    virtualenv = /home/lishuntao/.virtualenvs/mxonline

    logto = /tmp/mylog.log

注:
    chdir: 表示需要操作的目录,也就是项目的目录
    module: wsgi文件的路径
    processes: 进程数
    virtualenv:虚拟环境的目录
保存退出启动uwsgi
uwsgi -i 你的目录/Mxonline/conf/uwsgi.ini
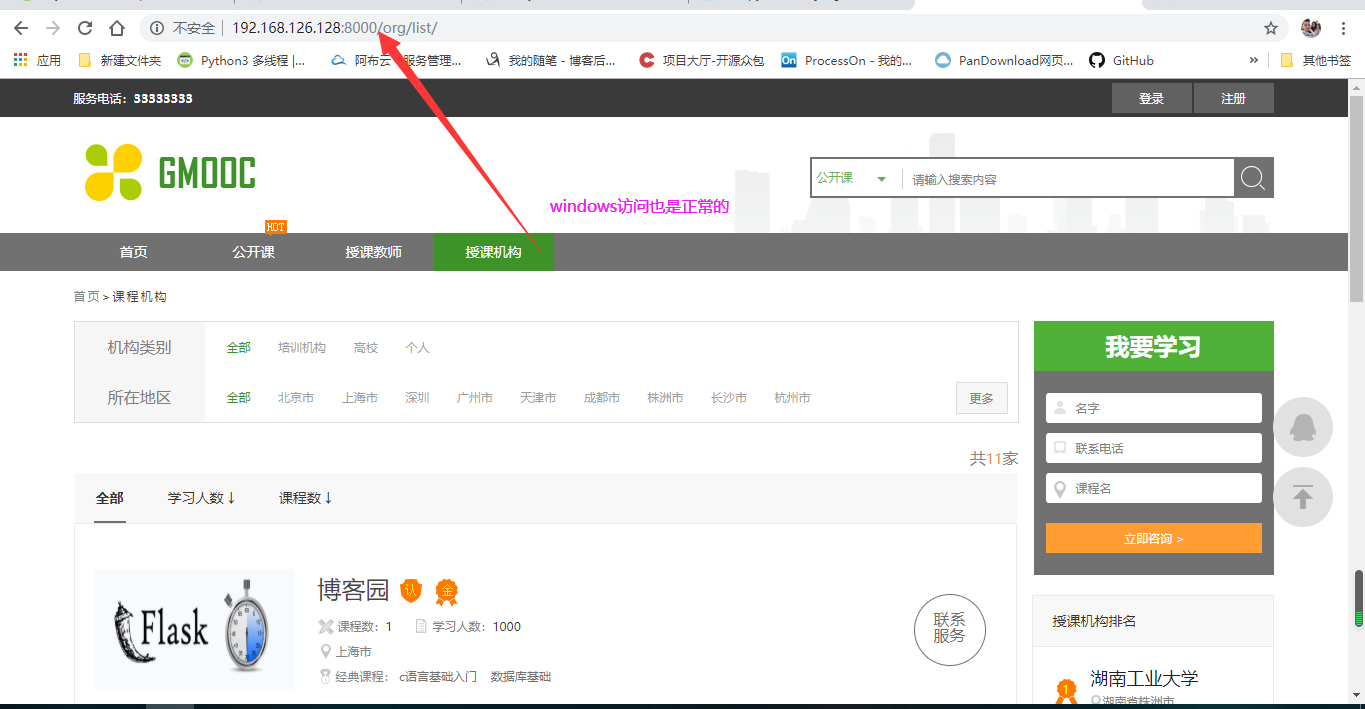
然后运行来到计算机windows

访问成功,因此部署完成。如果需要云端服务器的话,只需要将花钱买的ip和域名注册进入配置中,就可以啦,是不是很简单。
