【SpringCloud】Sentinel配置及使用
一、下载最新版Sentinel:
https://github.com/alibaba/Sentinel/releases
下载后以Jar包运行。
二、在需要限流的服务端添加配置:
编辑application.yml,添加配置:
三、在controller 层编写测试服务请求类:
四、启动服务层,浏览器访问测试类方法,Sentinel默认启动在8080端口。
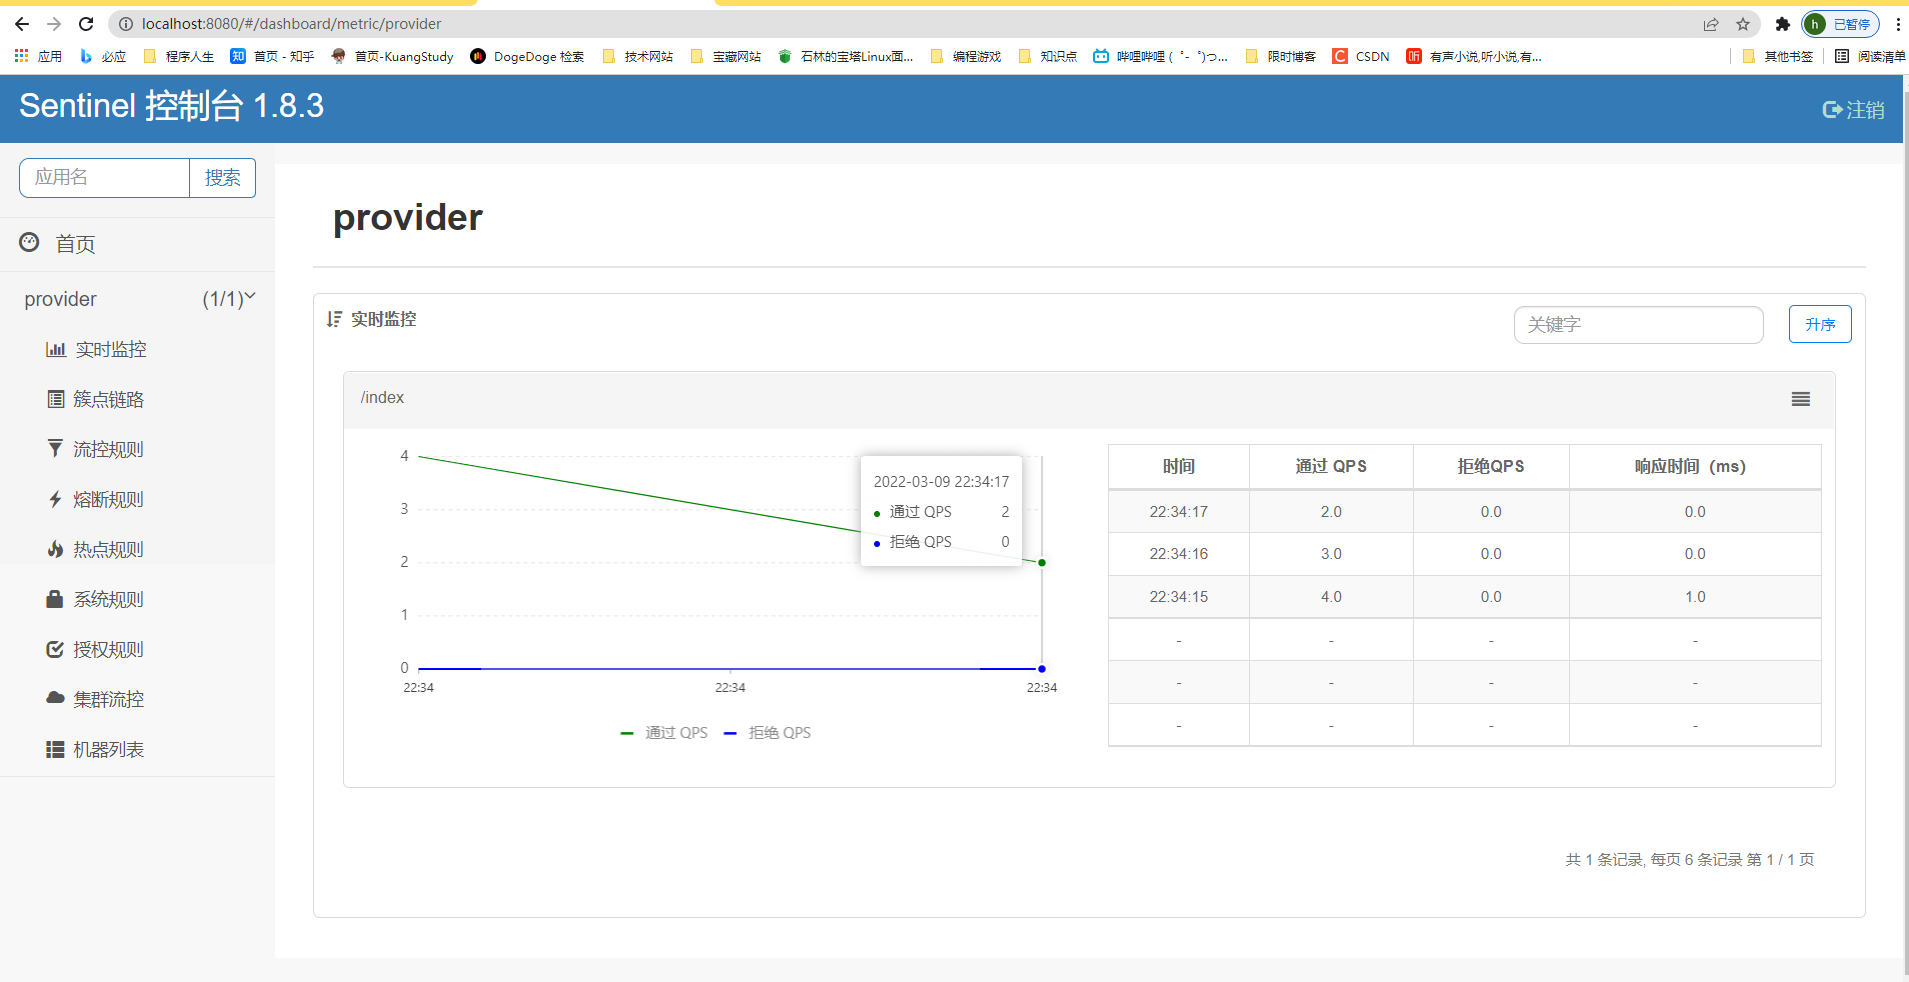
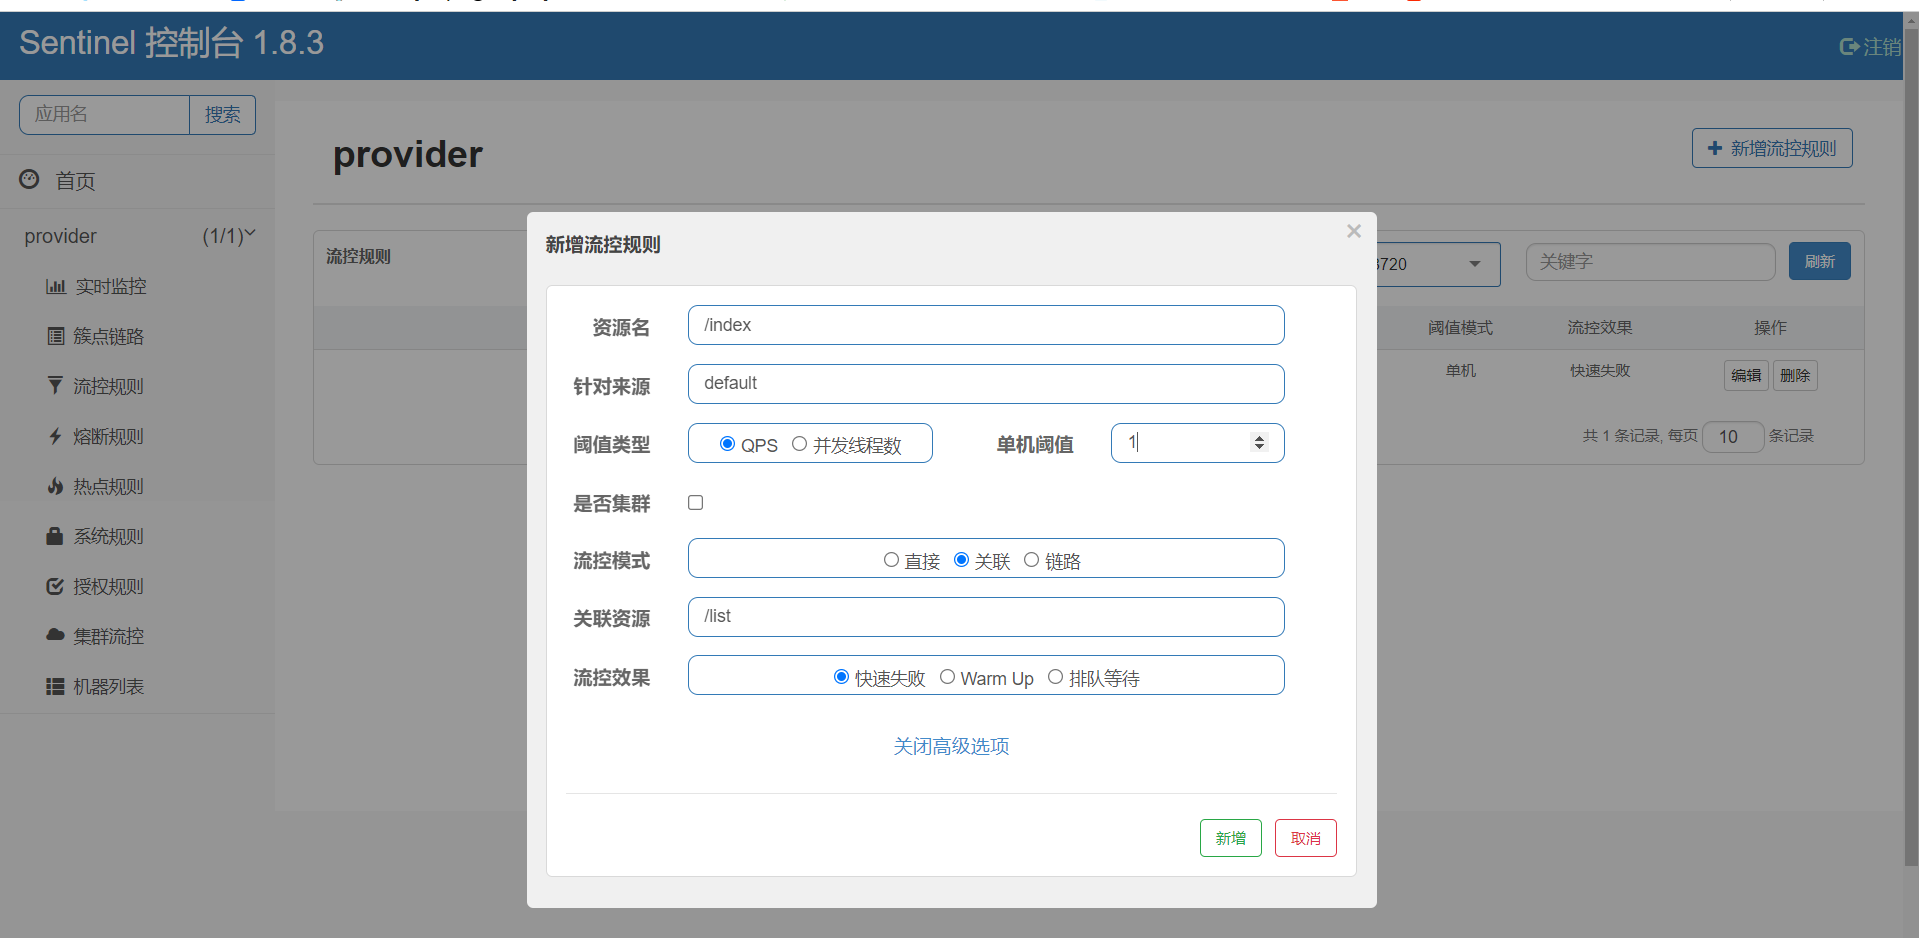
添加限流规则:
编写测试类测试限流效果:
测试前请求返回端口号:

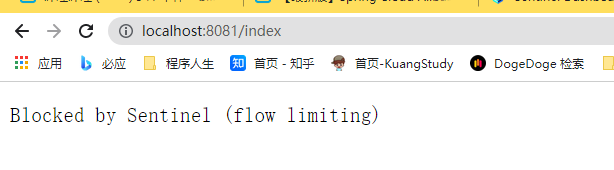
启动测试类,显示限流成功:
完毕!
__EOF__

本文作者:小李不背锅
本文链接:https://www.cnblogs.com/lishilin-glut/p/15987514.html
关于博主:评论和私信会在第一时间回复。或者直接私信我。
版权声明:本博客所有文章除特别声明外,均采用 BY-NC-SA 许可协议。转载请注明出处!
声援博主:如果您觉得文章对您有帮助,可以点击文章右下角【推荐】一下。您的鼓励是博主的最大动力!
本文链接:https://www.cnblogs.com/lishilin-glut/p/15987514.html
关于博主:评论和私信会在第一时间回复。或者直接私信我。
版权声明:本博客所有文章除特别声明外,均采用 BY-NC-SA 许可协议。转载请注明出处!
声援博主:如果您觉得文章对您有帮助,可以点击文章右下角【推荐】一下。您的鼓励是博主的最大动力!
本文来自博客园,作者:小李不背锅,转载请注明原文链接:https://www.cnblogs.com/lishilin-glut/p/15987514.html


【推荐】国内首个AI IDE,深度理解中文开发场景,立即下载体验Trae
【推荐】编程新体验,更懂你的AI,立即体验豆包MarsCode编程助手
【推荐】抖音旗下AI助手豆包,你的智能百科全书,全免费不限次数
【推荐】轻量又高性能的 SSH 工具 IShell:AI 加持,快人一步
· Manus爆火,是硬核还是营销?
· 终于写完轮子一部分:tcp代理 了,记录一下
· 震惊!C++程序真的从main开始吗?99%的程序员都答错了
· 别再用vector<bool>了!Google高级工程师:这可能是STL最大的设计失误
· 单元测试从入门到精通