
TS快速入门--学习笔记
在线编辑器:https://www.typescriptlang.org/zh/play
在线文档:
【金山文档 | WPS云文档】 HarmonyOS 4.0 应用开发
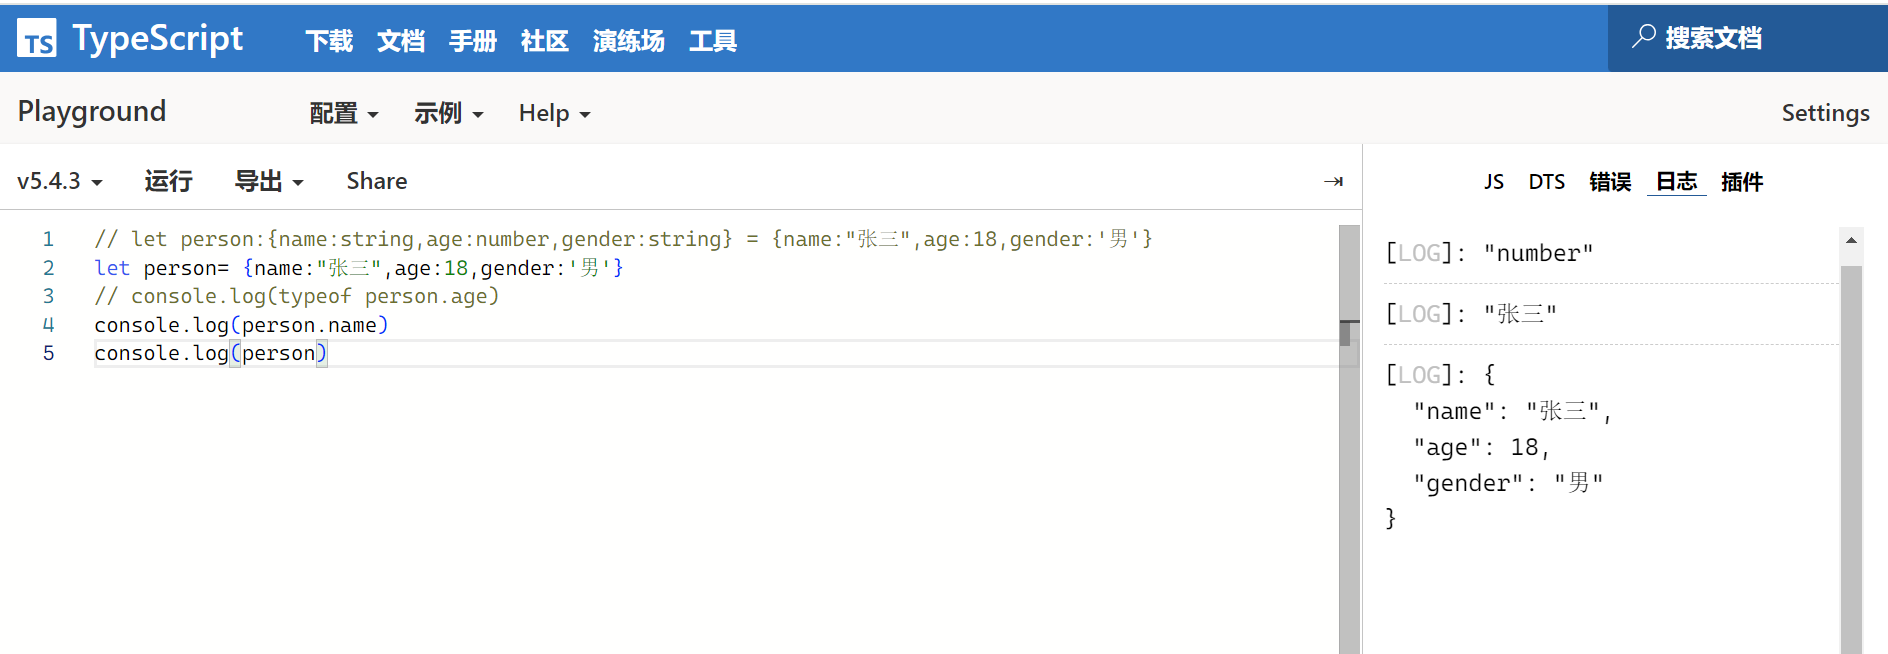
对象:
函数:
function sum (a:number,b:number){
    return a+b
}
let c= sum(3,5)
console.log(c)
//上面这个没有返回值,可以加上返回值number类型
function sum (a:number,b:number):number{
    return a+b
}
let c= sum(3,5)
console.log(c)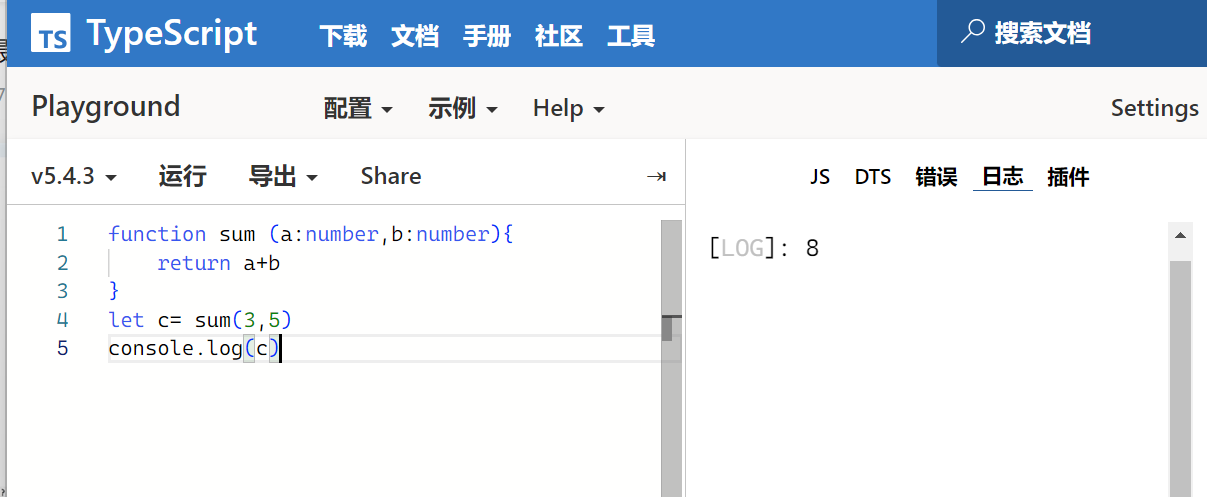
可选参数:
// 可选参数?
function getPersonInfo (name:string,age:number,gender?:string){
    if (gender === undefined){
        gender = "未知"
    }
    return `name:${name},age:${age},gender:${gender}` // 这是模板语法类似python中的 f'{name}'
}
let result = getPersonInfo("张三",18)
let result2 = getPersonInfo("李四",18,"男")
console.log(result)
console.log(result2) 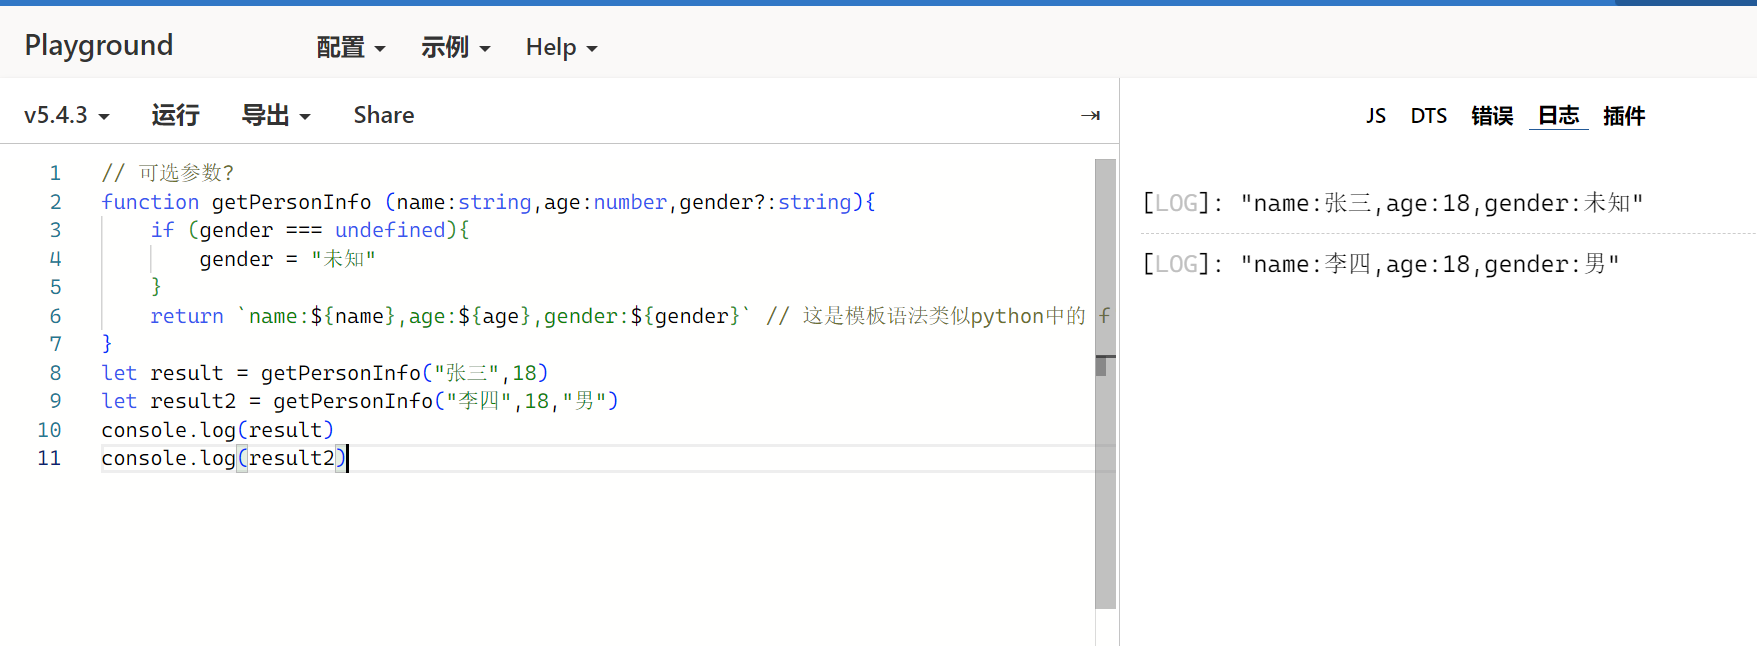
默认参数
// 默认参数gender:string = '默认值'
function getPersonInfo (name:string,age:number,gender:string='默认值') :string{
    return `name:${name},age:${age},gender:${gender}`
}
let result = getPersonInfo("张三",20)
let result2 = getPersonInfo("李四",24,"男")
console.log(result)
console.log(result2) 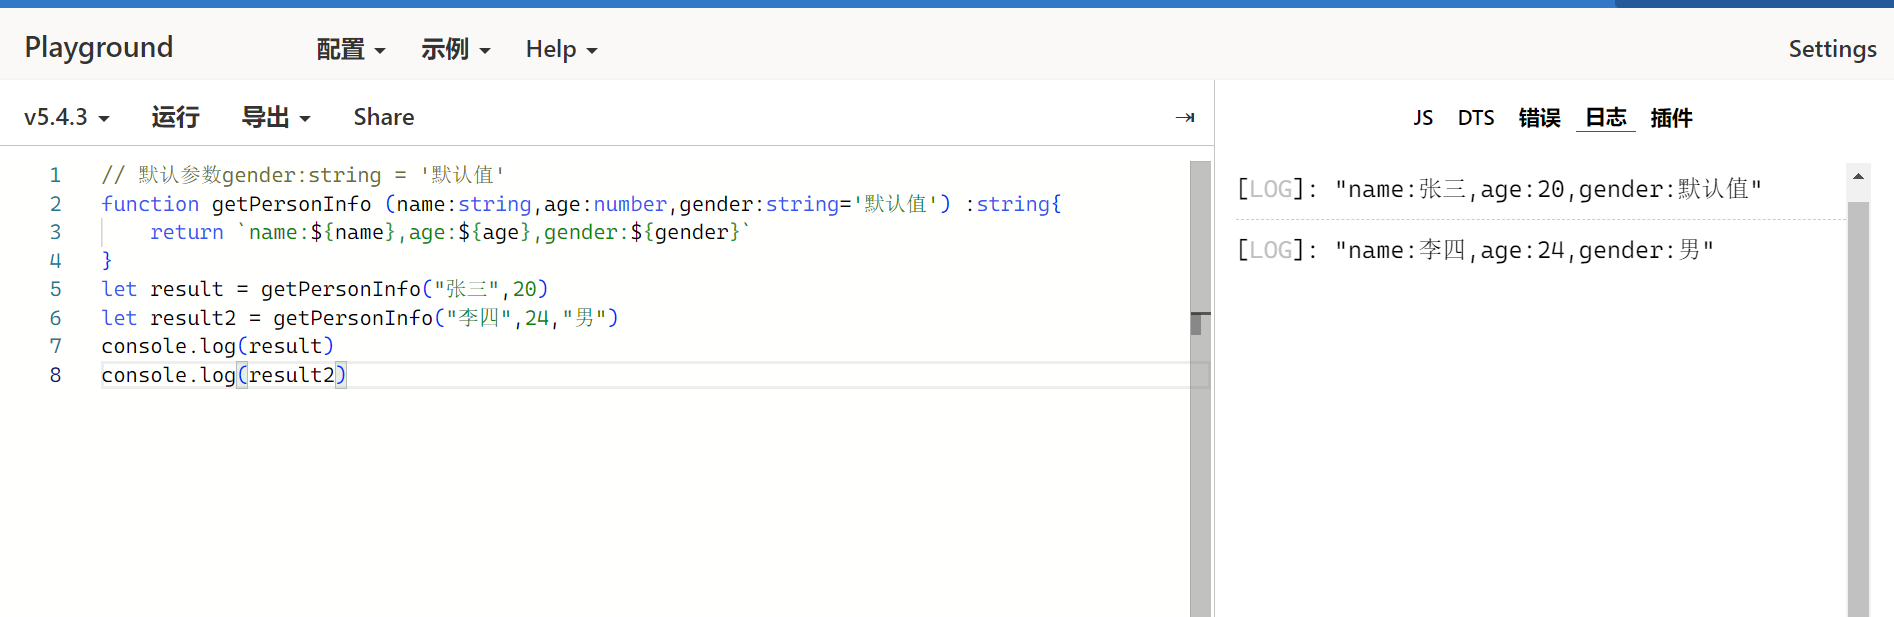
联合类型 |
// 联合类型 |
function printNumberOrString(a:number|string){
    console.log(a)
}
printNumberOrString(1)
printNumberOrString("hello")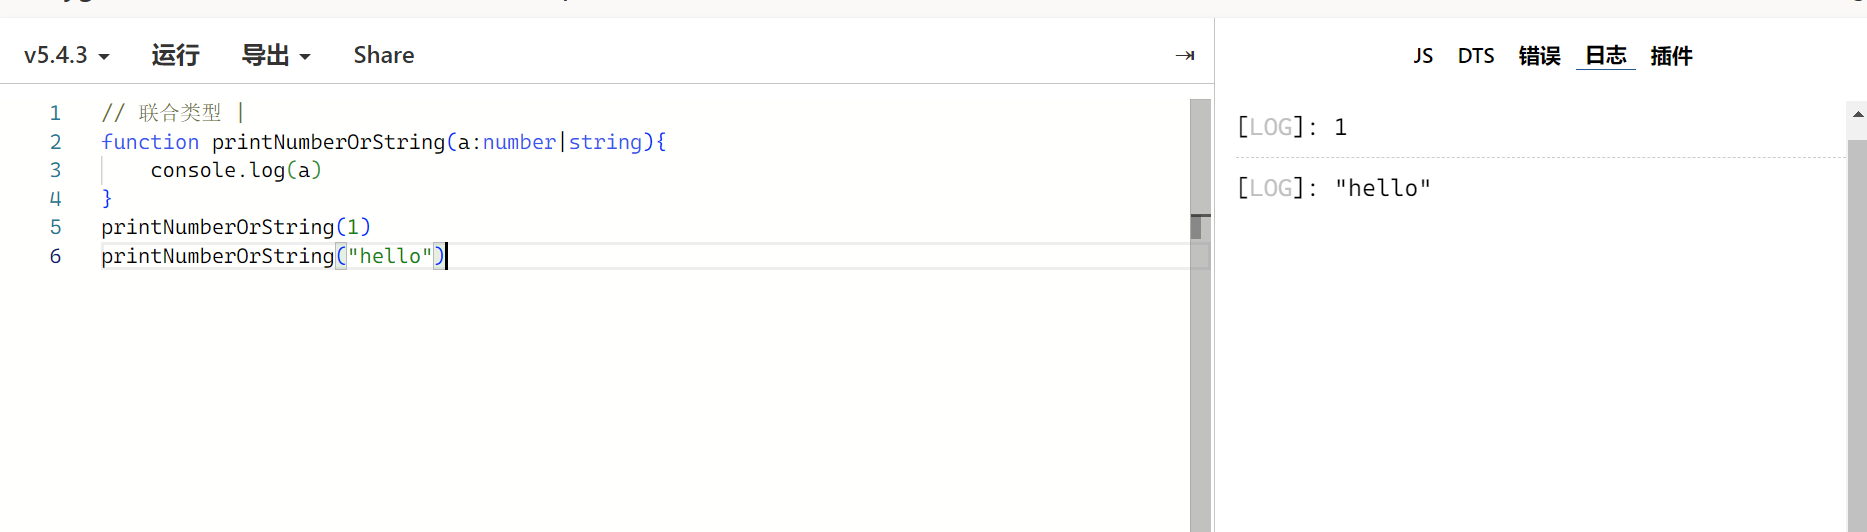
任意类型 any
// 任意类型 any
function printNumberOrString(a:any){
    console.log(`类型为${typeof a},值为${a}`)
}
printNumberOrString(1)
printNumberOrString("hello")
printNumberOrString(true) //布尔类型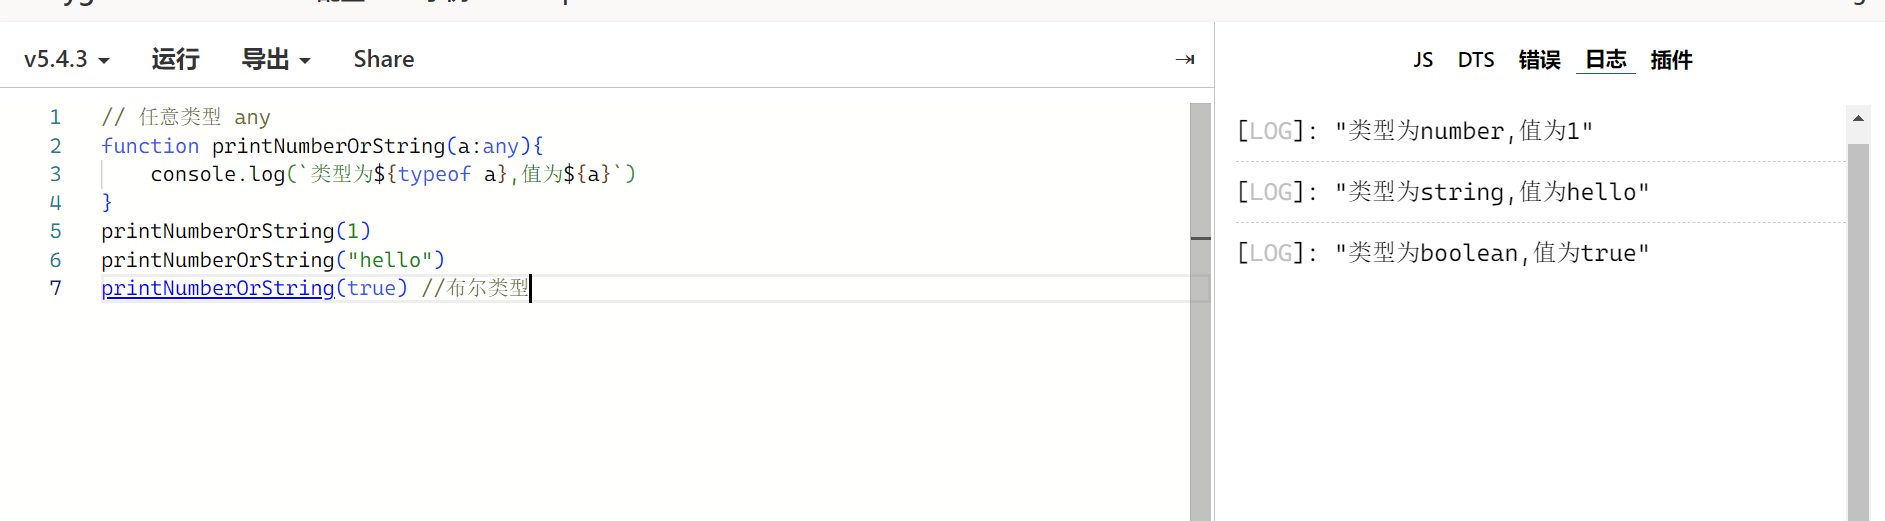
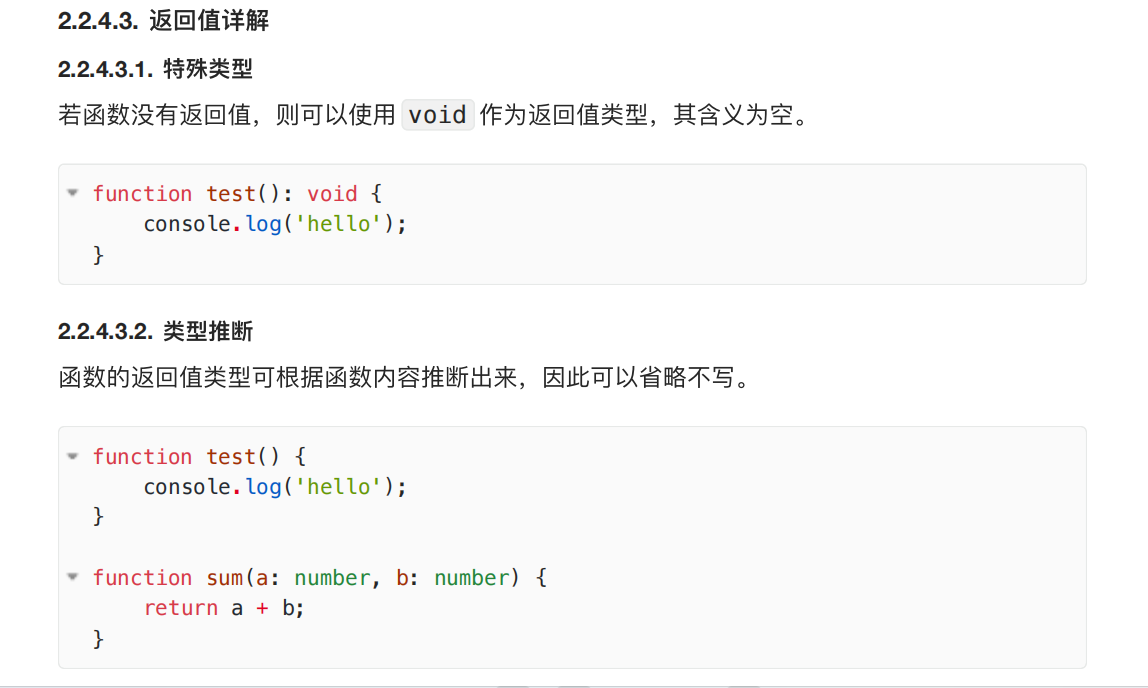
返回值类型
- 默认为void
- 类型推断
匿名函数:
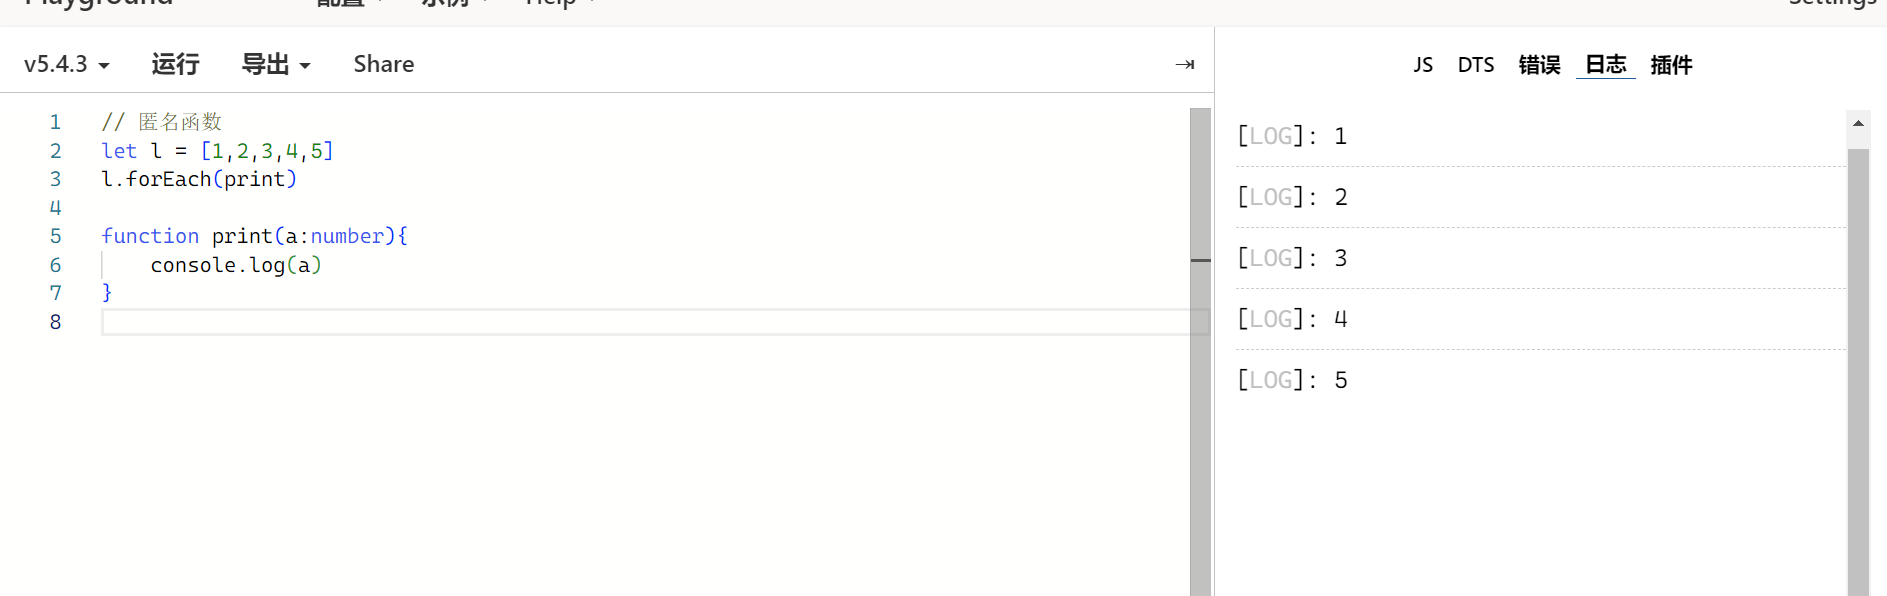
用了匿名函数之后:复制过来,把print删掉。
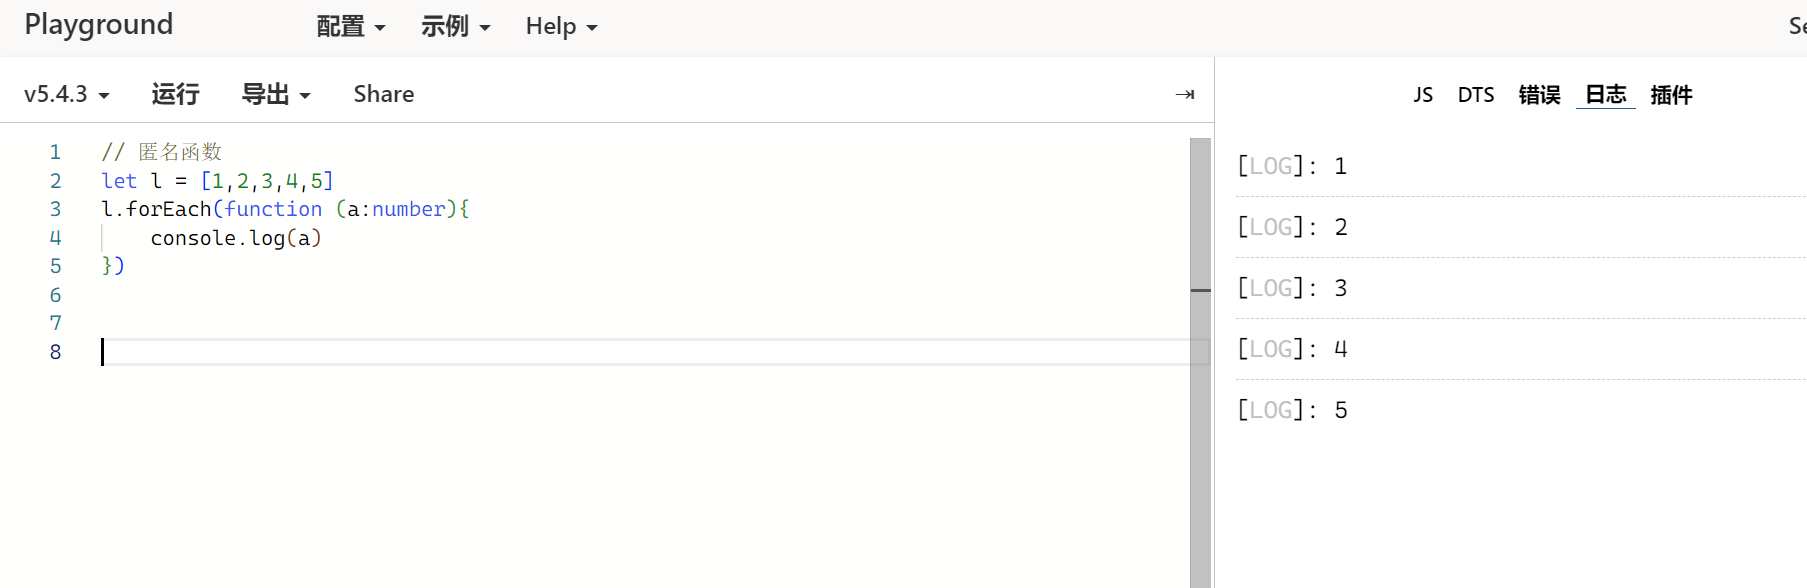
// 匿名函数 把print复制过来,然后把print删掉
let l = [1,2,3,4,5]
l.forEach(function (a:number){
    console.log(a)
})
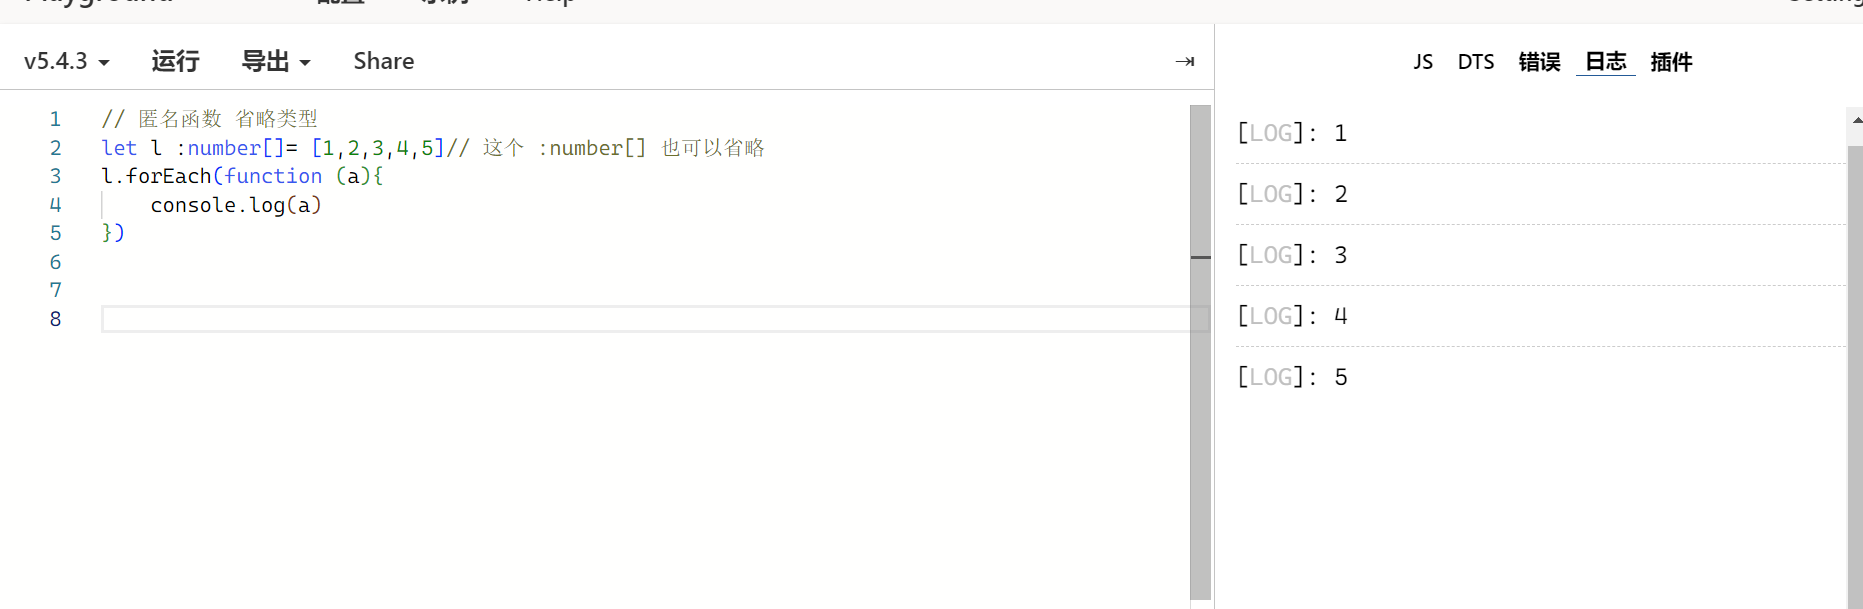
注意: 匿名函数,也具备类型推断功能,所以,可以省略类型。
// 匿名函数 省略类型
let l :number[]= [1,2,3,4,5]// 这个 :number[] 也可以省略
l.forEach(function (a){
    console.log(a)
})
箭头函数:
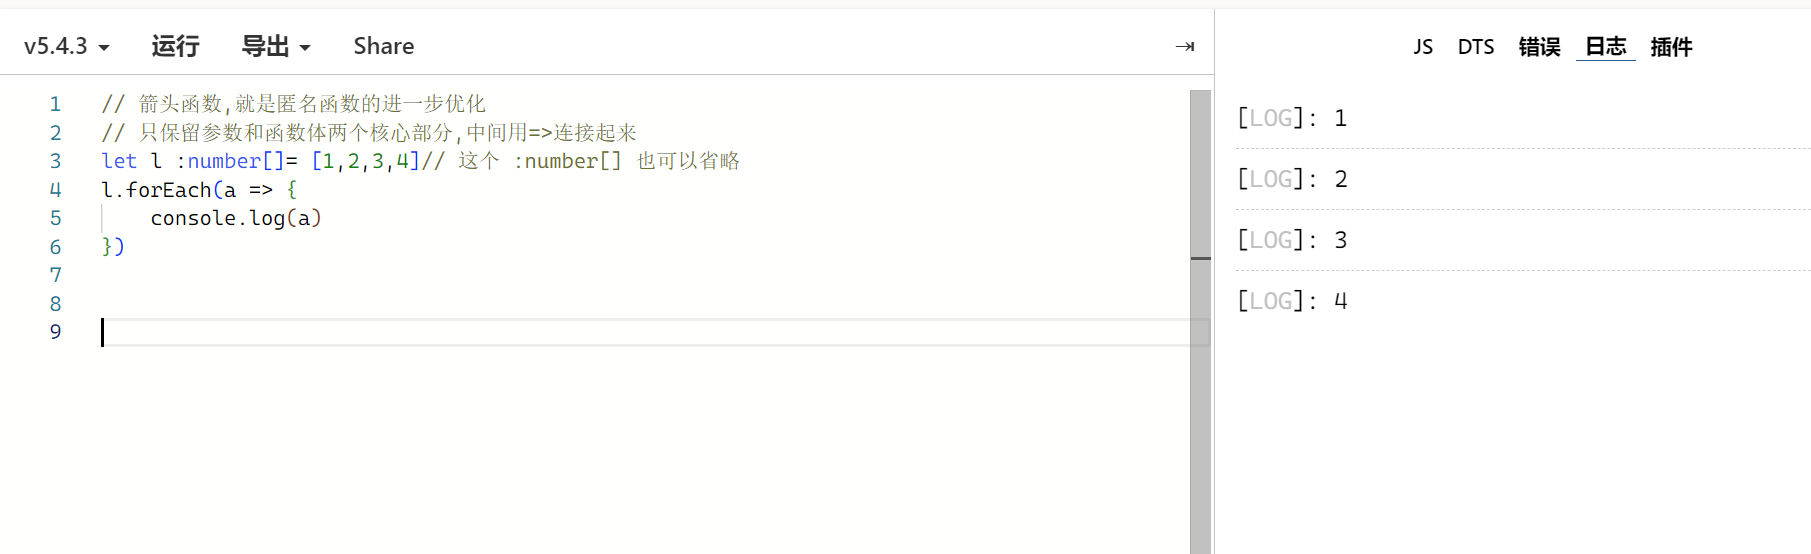
箭头函数,就是匿名函数的进一步优化。
只保留参数和函数体两个核⼼部分,中间用=>连接起来
// 箭头函数,就是匿名函数的进一步优化
// 只保留参数和函数体两个核⼼部分,中间用=>连接起来
let l :number[]= [1,2,3,4,5]// 这个 :number[] 也可以省略
l.forEach(a => {
    console.log(a)
})
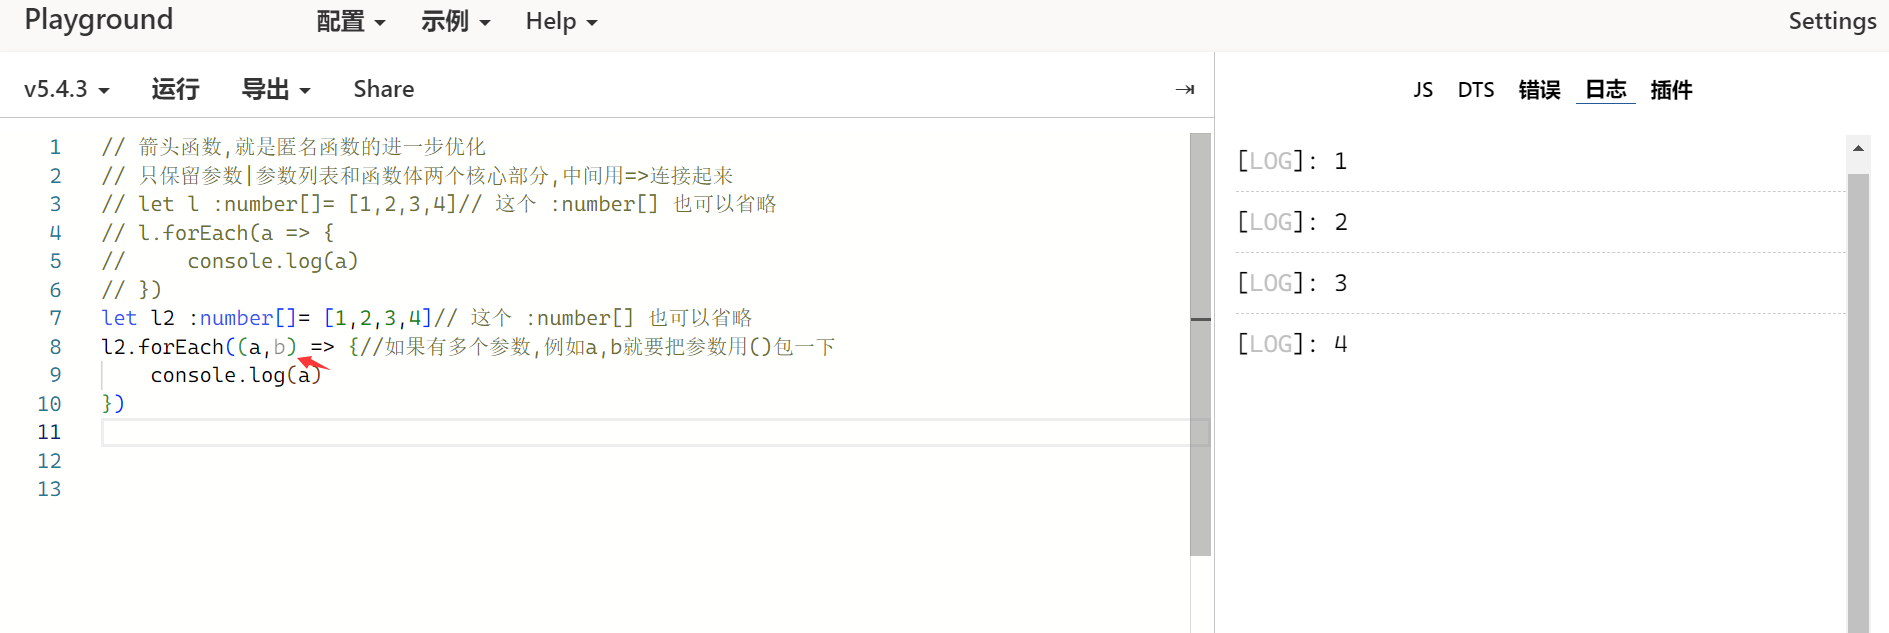
注意,多个参数用()包一下。一个参数可以省略这个()
//设计这个的人是真懒呀//
// 箭头函数,就是匿名函数的进一步优化
// 只保留参数|参数列表和函数体两个核⼼部分,中间用=>连接起来
// let l :number[]= [1,2,3,4]// 这个 :number[] 也可以省略
// l.forEach(a => {
//     console.log(a)
// })
let l2 :number[]= [1,2,3,4]// 这个 :number[] 也可以省略
l2.forEach((a,b) => {//如果有多个参数,例如a,b就要把参数用()包一下
    console.log(a)
})
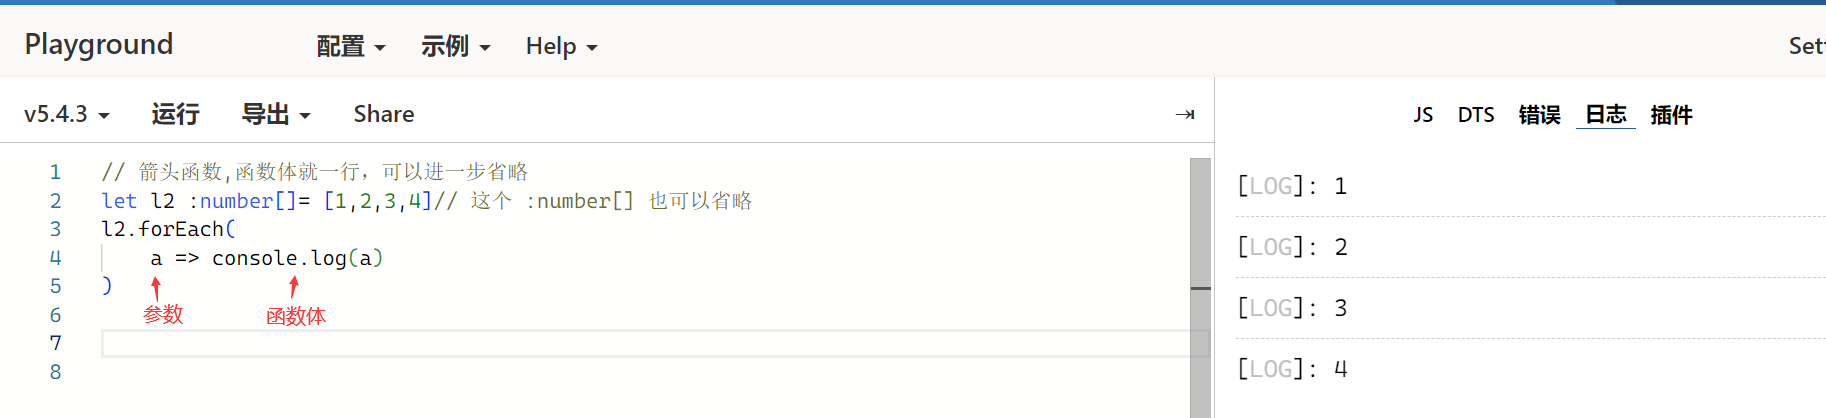
箭头函数,函数体就一行,可以进一步省略。
// 箭头函数,函数体就一行,可以进一步省略
let l2 :number[]= [1,2,3,4]// 这个 :number[] 也可以省略
l2.forEach(
    a => console.log(a)
)
类:概述
类是对象的蓝图或模板。
比如,余额,存款/取款。就是可以用一个类来表示。余额是属性(数据),存款/取款是行为(方法)。
然后通过这个类,来创建多个这样的对象。
类的定义
// 类的定义
class Person{
    name : string
    age : number
    gender:string='未知'

    constructor(name:string,age:number){
        this.name = name;
        this.age = age;

    }
    printInfo():string{
        return `我的名字是${this.name},年龄是${this.age},性别是${this.gender}`
    }

}

let p :Person= new Person("liqi",18)
console.log(p.name)
console.log(p.printInfo())  // 注意要加括号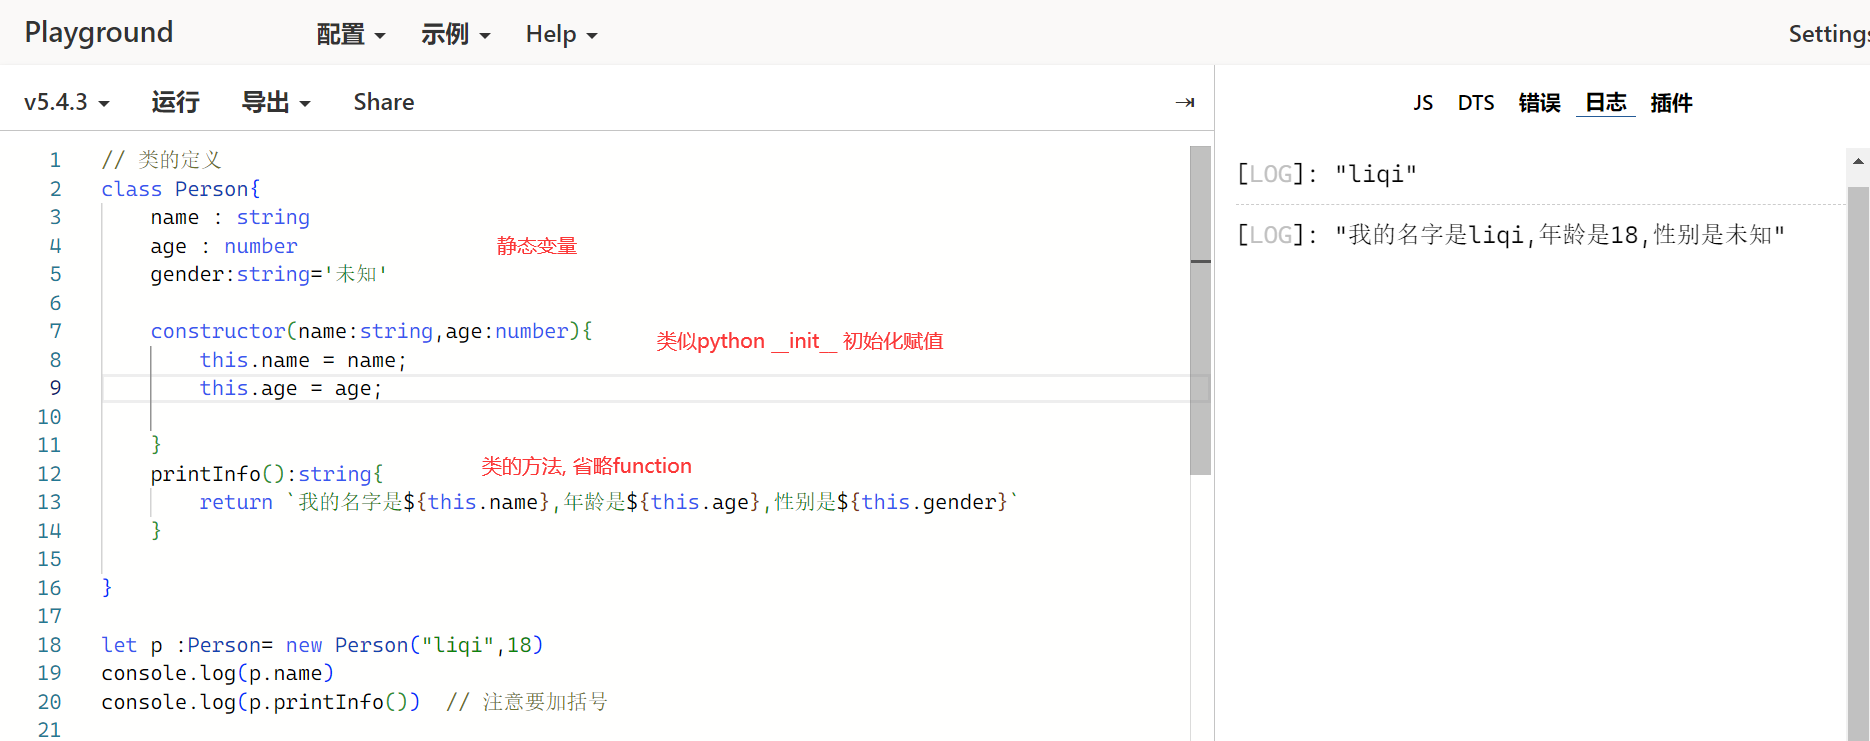
静态成员
静态成员 = 静态属性+静态方法
// 静态成员
// 解释:就是绑定给类的
class Constants{
    //静态属性
    static count:number = 1
}
class Utils{
    //静态方法
    static toLowerCase(str:string){//
        return str.toLowerCase()
    }
}
console.log(Constants.count)
console.log(Utils.toLowerCase("Hello World"))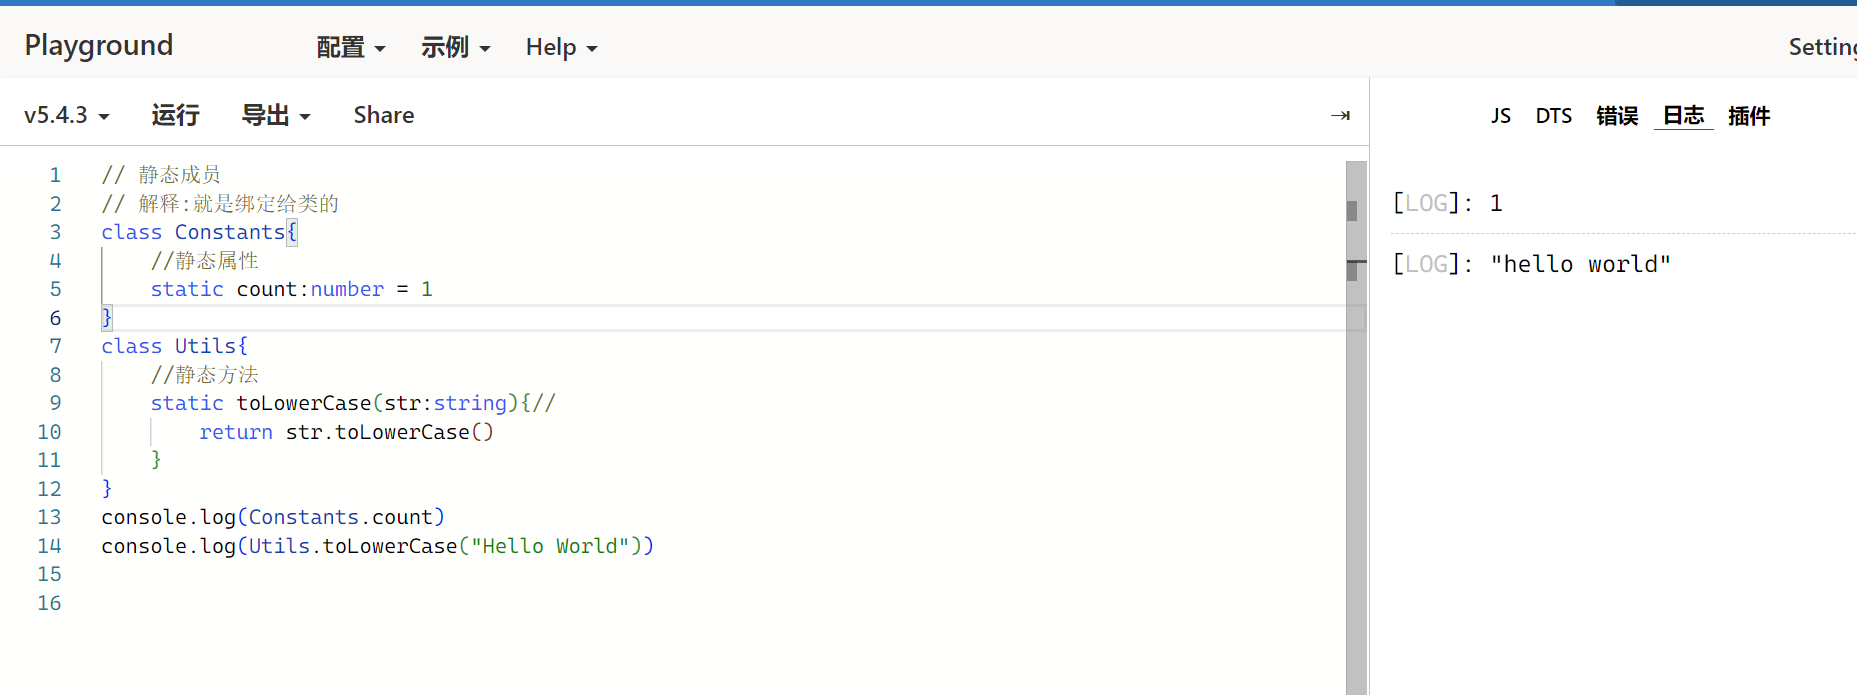
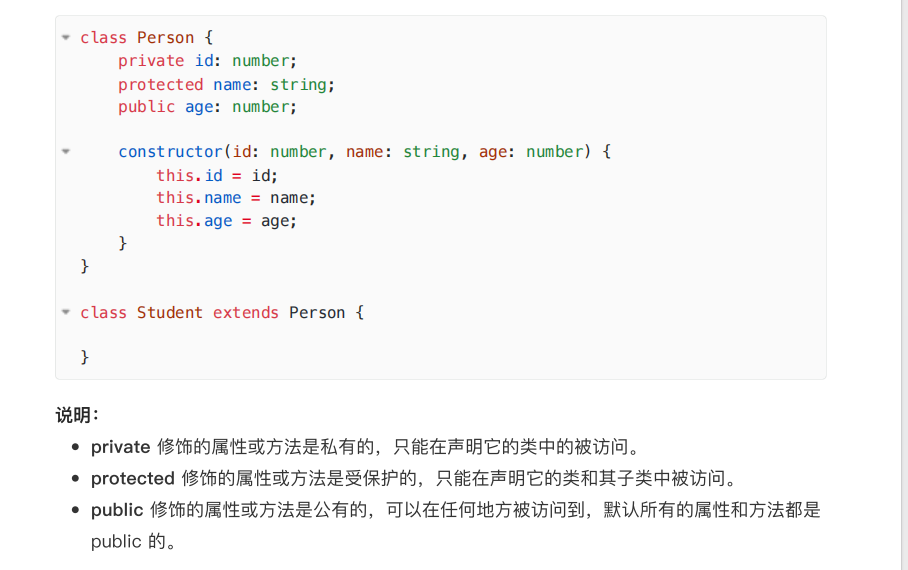
继承:
- 注意使用expend
- 注意super和this的区别
// 继承
class Person {
    id: number;
    name: string;
    age: number = 18;

    constructor(id: number, name: string) {
    this.id = id;
    this.name = name;
    }

    introduce(): string {
    return `hello,I am ${this.name},and I am ${this.age} years old,`
    }
}
// 子类
class Student extends Person{
    classNumber:string
    constructor(id:number,name:string,classNumber:string){
        super(id,name)
        this.classNumber = classNumber

    }
    introduce():string{
        return super.introduce() + `I am Student` //注意这里的super
    }
}
let p = new Student(1,'张三','三年一班')
console.log(p.classNumber)
console.log(p.introduce()) 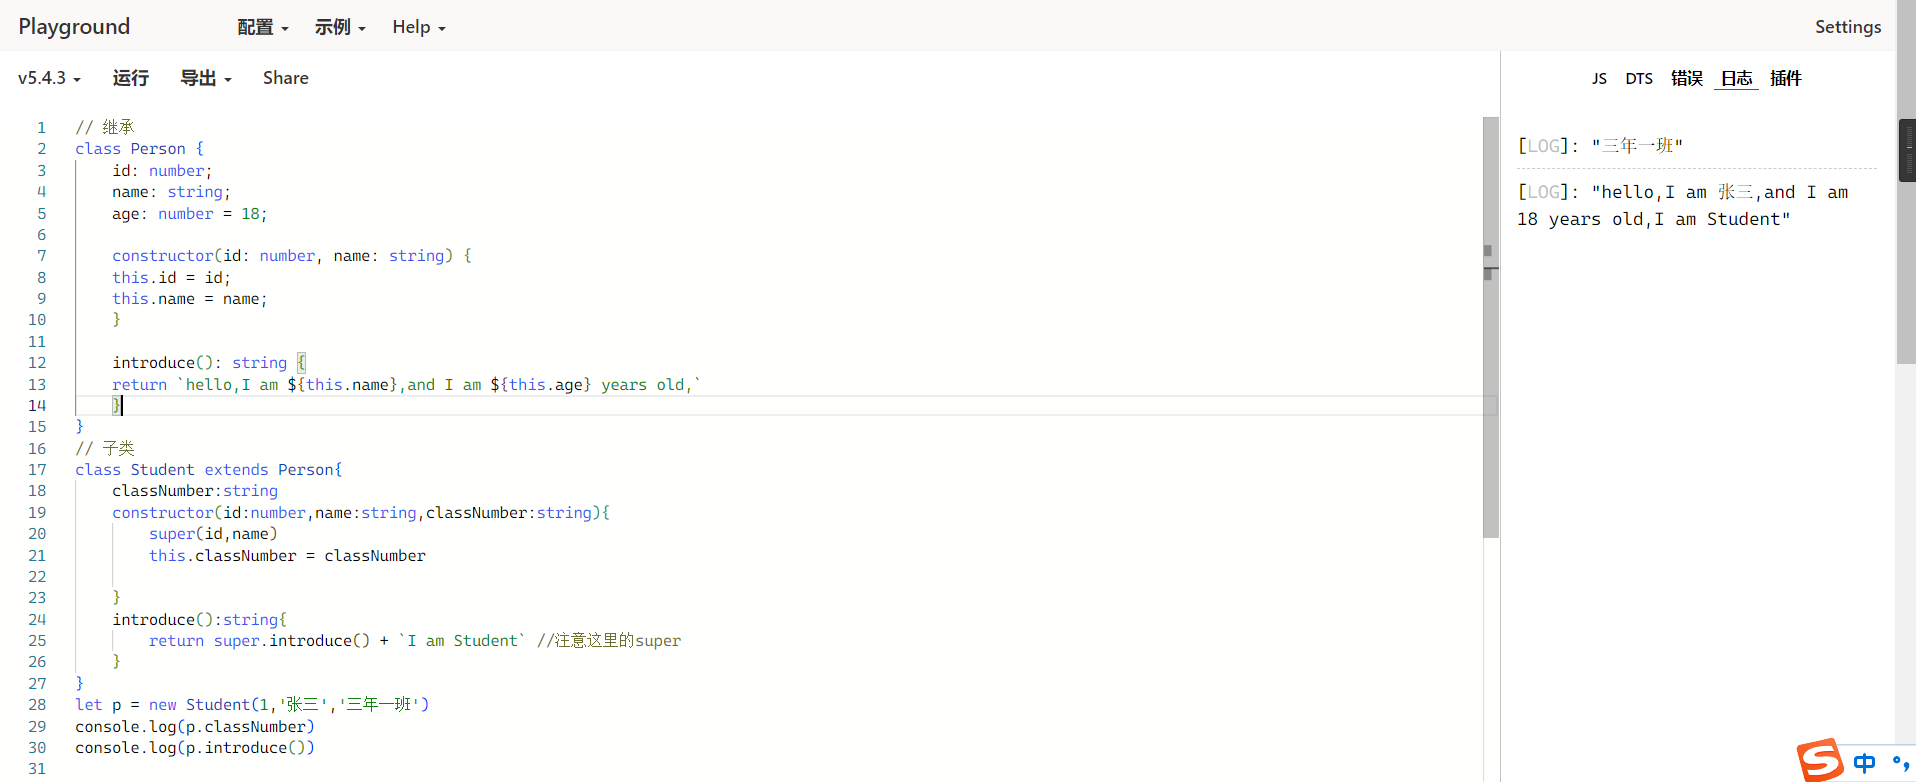
访问修饰符:
- 就是保护数据的,类似python的下划线
-
TS有private、protected和public 这三种
- private是自己这个类可以访问
- protected是自己这个类和继承的子类可以访问
- public是自己这个类+继承的子类+外部的都可以访问
实例:银行取款
未保护的写法
class BankAcount{
    balance:number = 0
    id:number
    constructor(id:number){
        this.id = id
    }
    deposit(amount:number){
        if (amount > 0 ){
            this.balance += amount
        }
        else{
            console.log("amount为负数")
        }

    }
    withdrawal(amount:number){
        if (amount>0){
            if (this.balance < amount){
                console.log("余额不够")
            }
            else{
                this.balance -= amount
            }
        }
        else{
            console.log("amount为负数")
        }
    }
}
let p = new BankAcount(1)
p.deposit(100)
console.log(p.balance)
p.withdrawal(200)
console.log(p.balance)
p.balance = 999//可以外部更改余额
console.log(p.balance)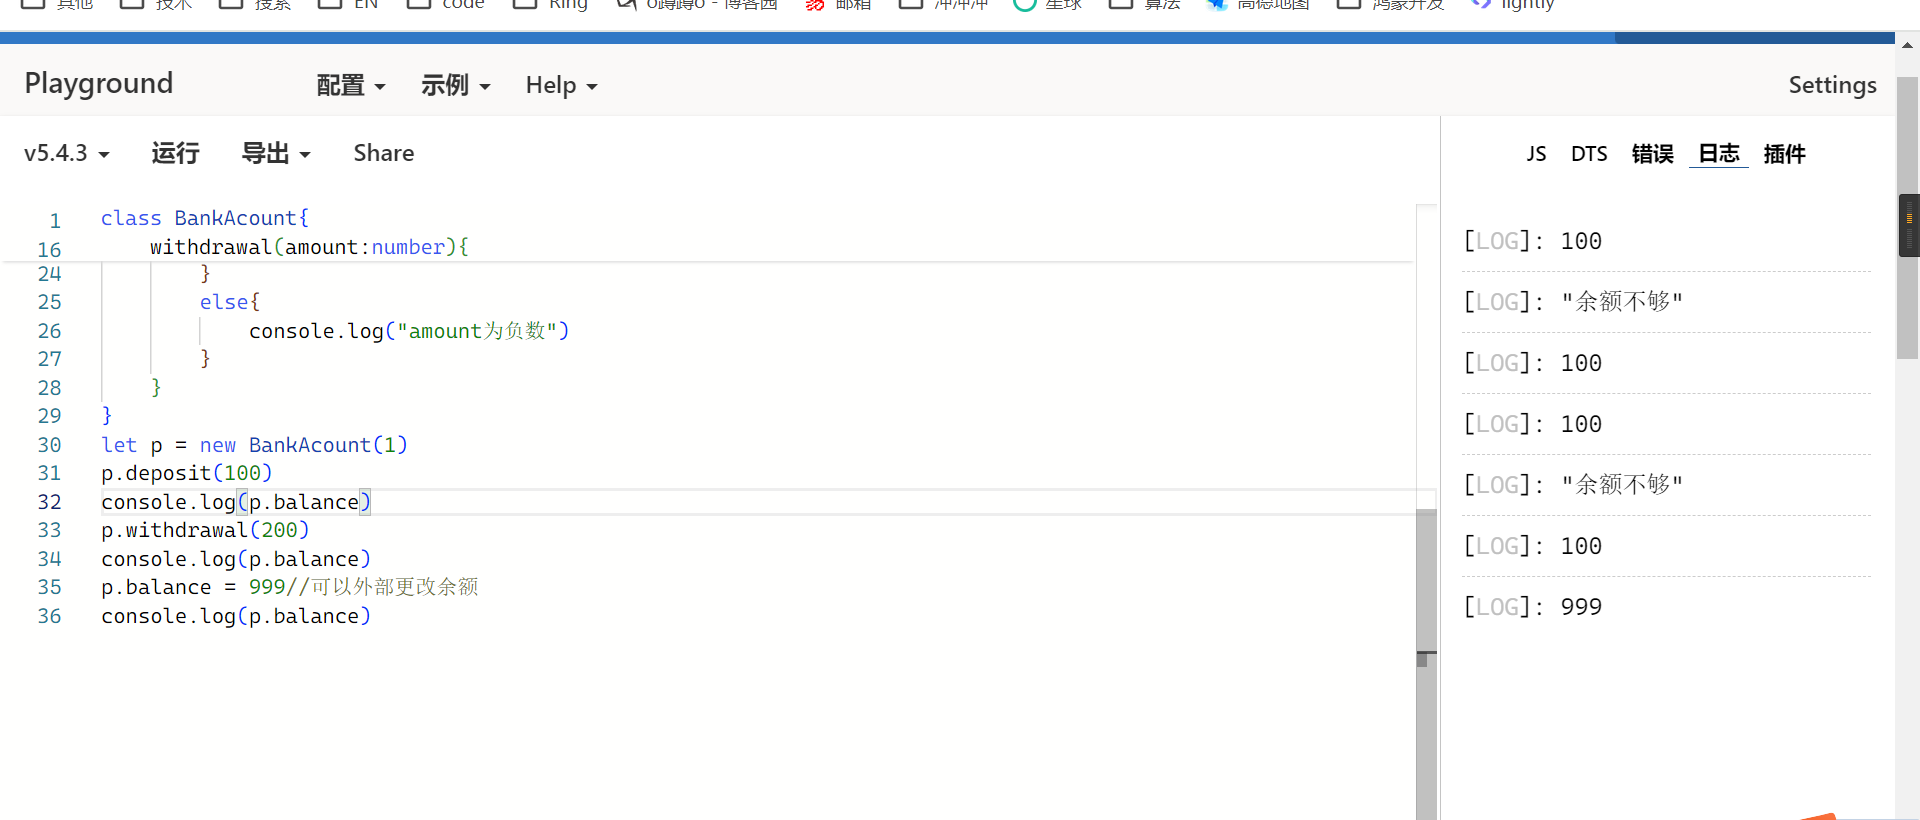
写了保护,防止外部更改银行余额
class BankAcount{
    private balance:number = 0
    id:number
    constructor(id:number){
        this.id = id
    }
    deposit(amount:number){
        if (amount > 0 ){
            this.balance += amount
        }
        else{
            console.log("amount为负数")
        }

    }
    withdrawal(amount:number){
        if (amount>0){
            if (this.balance < amount){
                console.log("余额不够")
            }
            else{
                this.balance -= amount
            }
        }
        else{
            console.log("amount为负数")
        }
    }
    getBalance(){
        return `余额为${this.balance}`
    }
}
let p = new BankAcount(1)
p.deposit(100)
console.log(p.getBalance())
p.withdrawal(50)
console.log(p.getBalance())
p.withdrawal(200)
console.log(p.getBalance())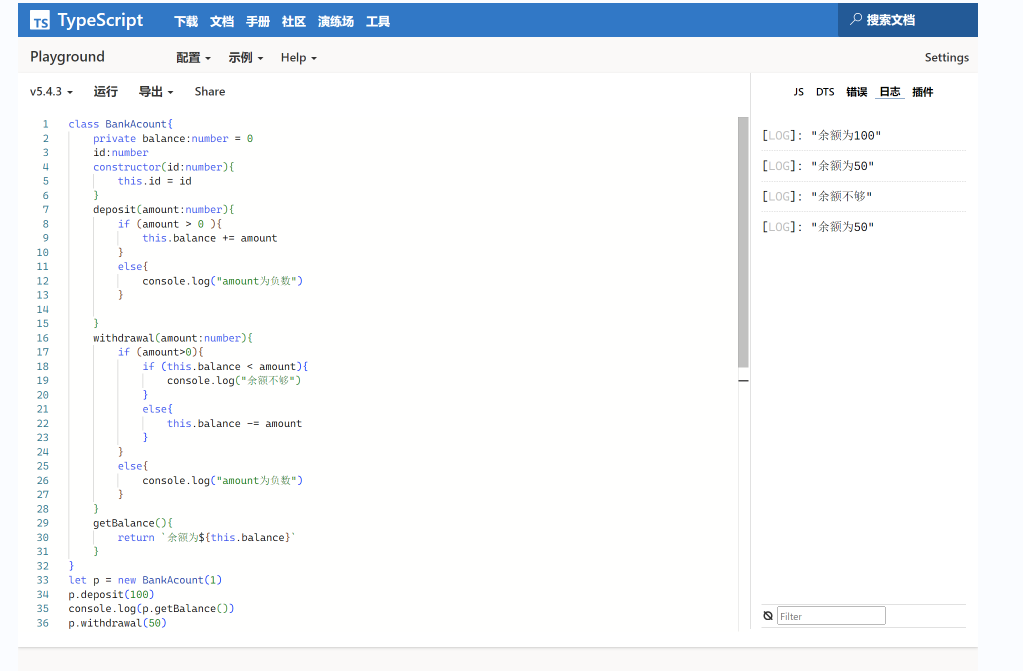
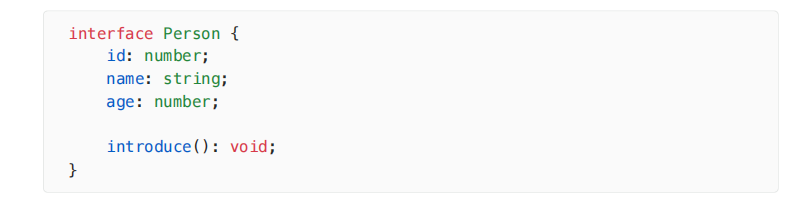
接口:
用interface关键字,只声明不实现。
interface Person {
 id: number;
 name: string;
 age: number;

 introduce(): void;
}
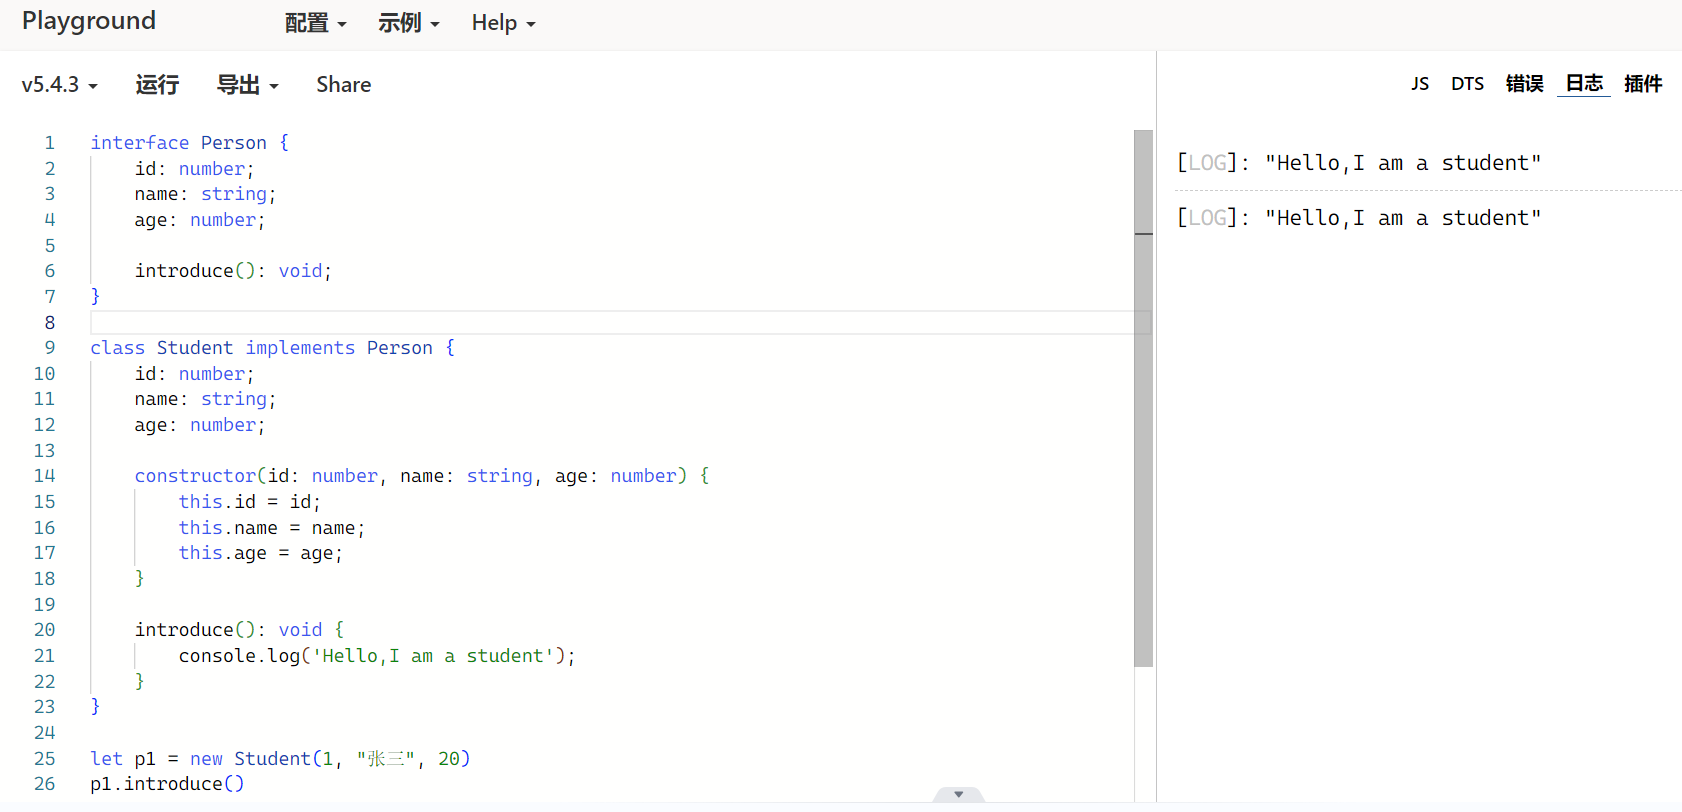
接口的实现:
用implenments
interface Person {
 id: number;
 name: string;
 age: number;

 introduce(): void;
}
class Student implements Person {
 id: number;
 name: string;
 age: number;
 constructor(id: number, name: string, age: number) {
 this.id = id;
 this.name = name;
 this.age = age;
 }
 introduce(): void {
 console.log('Hello,I am a student');
 }
}
let p1 = new Student(1,"张三",20)
p1.introduce()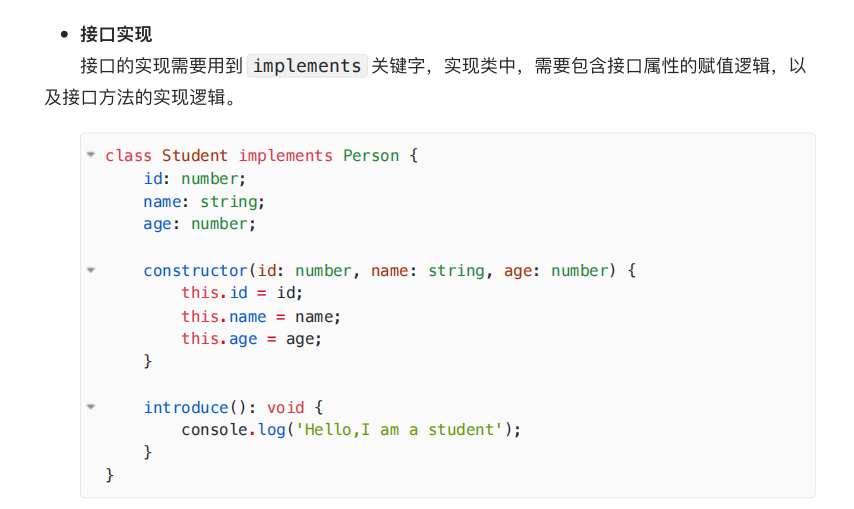
多态:
- 今天我是对多态理解更深了一些。
interface Person {
    id: number;
    name: string;
    age: number;

    introduce(): void;
}

class Student implements Person {
    id: number;
    name: string;
    age: number;

    constructor(id: number, name: string, age: number) {
        this.id = id;
        this.name = name;
        this.age = age;
    }

    introduce(): void {
        console.log('Hello,I am a 学生');
    }
}

class Teacher implements Person {
    id: number;
    name: string;
    age: number;

    constructor(id: number, name: string, age: number) {
        this.id = id;
        this.name = name;
        this.age = age;
    }

    introduce(): void {
        console.log('Hello,I am a 老师');
    }
}

let p1:Person = new Student(1, "张三", 20)
let p2:Person = new Teacher(2, "李四", 50)
// 多态,同一个类型都是Person,表现不同
p1.introduce()
p2.introduce()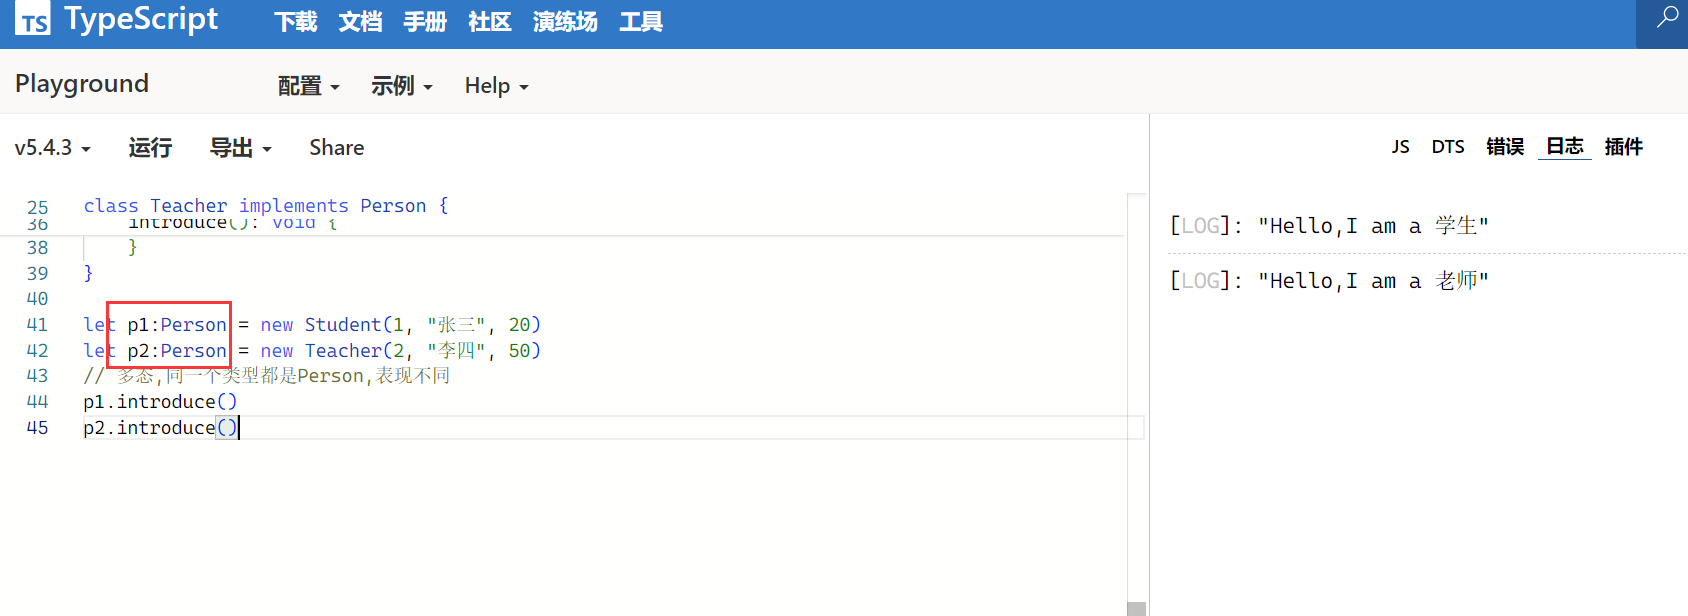
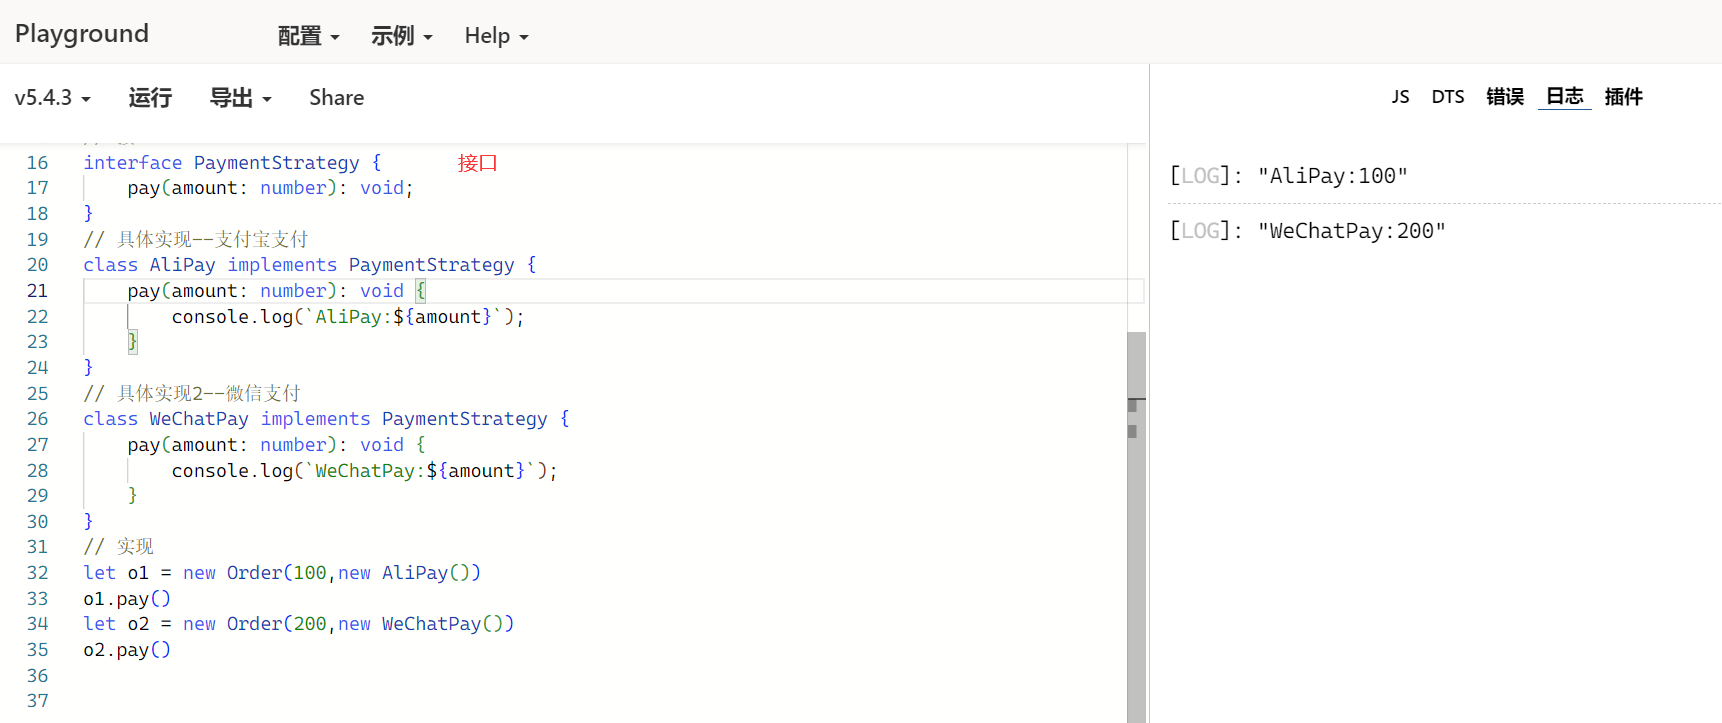
接口的作用:
-
接⼝主要⽤于设计和组织代码,使代码更加容易扩展和维护
// 订单
class Order {
    totalAmount: number;
    paymentStrategy: PaymentStrategy;// 定义一个支付策略

    constructor(totalAmount: number, paymentStrategy: PaymentStrategy) {
        this.totalAmount = totalAmount;
        this.paymentStrategy = paymentStrategy;
    }

    pay() {
        this.paymentStrategy.pay(this.totalAmount);
    }
}
// 接口
interface PaymentStrategy {
    pay(amount: number): void;
}
// 具体实现--支付宝支付
class AliPay implements PaymentStrategy {
    pay(amount: number): void {
        console.log(`AliPay:${amount}`);
    }
}
// 具体实现2--微信支付
class WeChatPay implements PaymentStrategy {
    pay(amount: number): void {
        console.log(`WeChatPay:${amount}`);
    }
}
// 实现
let o1 = new Order(100,new AliPay())
o1.pay()
let o2 = new Order(200,new WeChatPay())
o2.pay()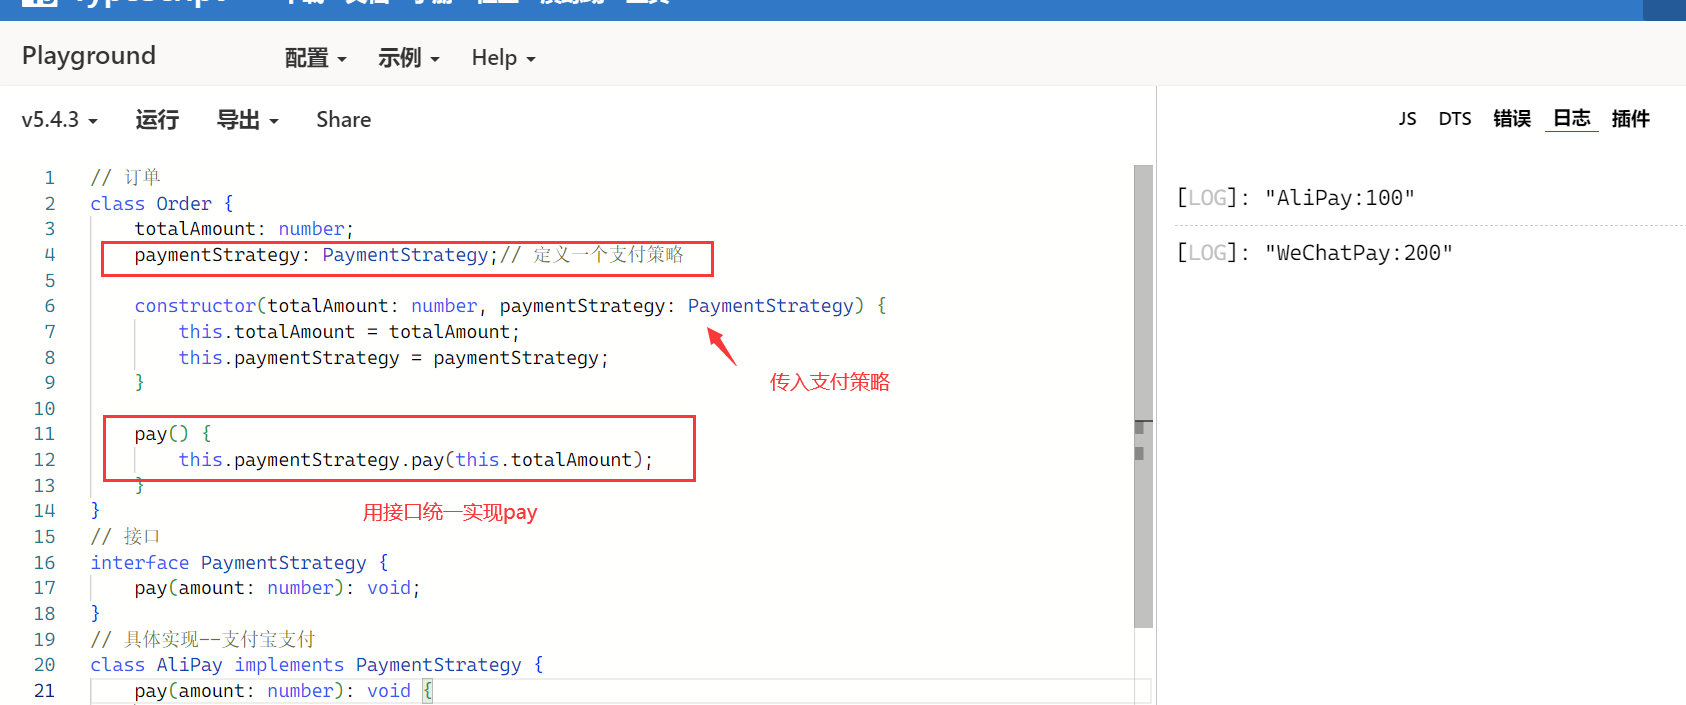
枚举:
- 枚举实际上是⼀个对象,而每个枚举值都是该对象的⼀个属性,并且每个属性都有具体的值,属性值只支持两种类型——数字或字符串。
// 枚举
enum Direction {
    UP,
    BOTTOM,
    LEFT,
    RIGHT
}

function move(direction: Direction) {
    if (direction === Direction.UP) {
        console.log('向上移动');
    } else if (direction === Direction.BOTTOM) {
        console.log('向下移动');
    } else if (direction === Direction.LEFT) {
        console.log('向左移动');
    } else {
        console.log('向右移动');
    }
}

move(Direction.UP);
// 枚举类型是个对象,可以赋值(数字或字符串)
console.log(Direction.UP) //0
console.log(Direction.BOTTOM) //1
console.log(Direction.LEFT) //2
console.log(Direction.RIGHT) //3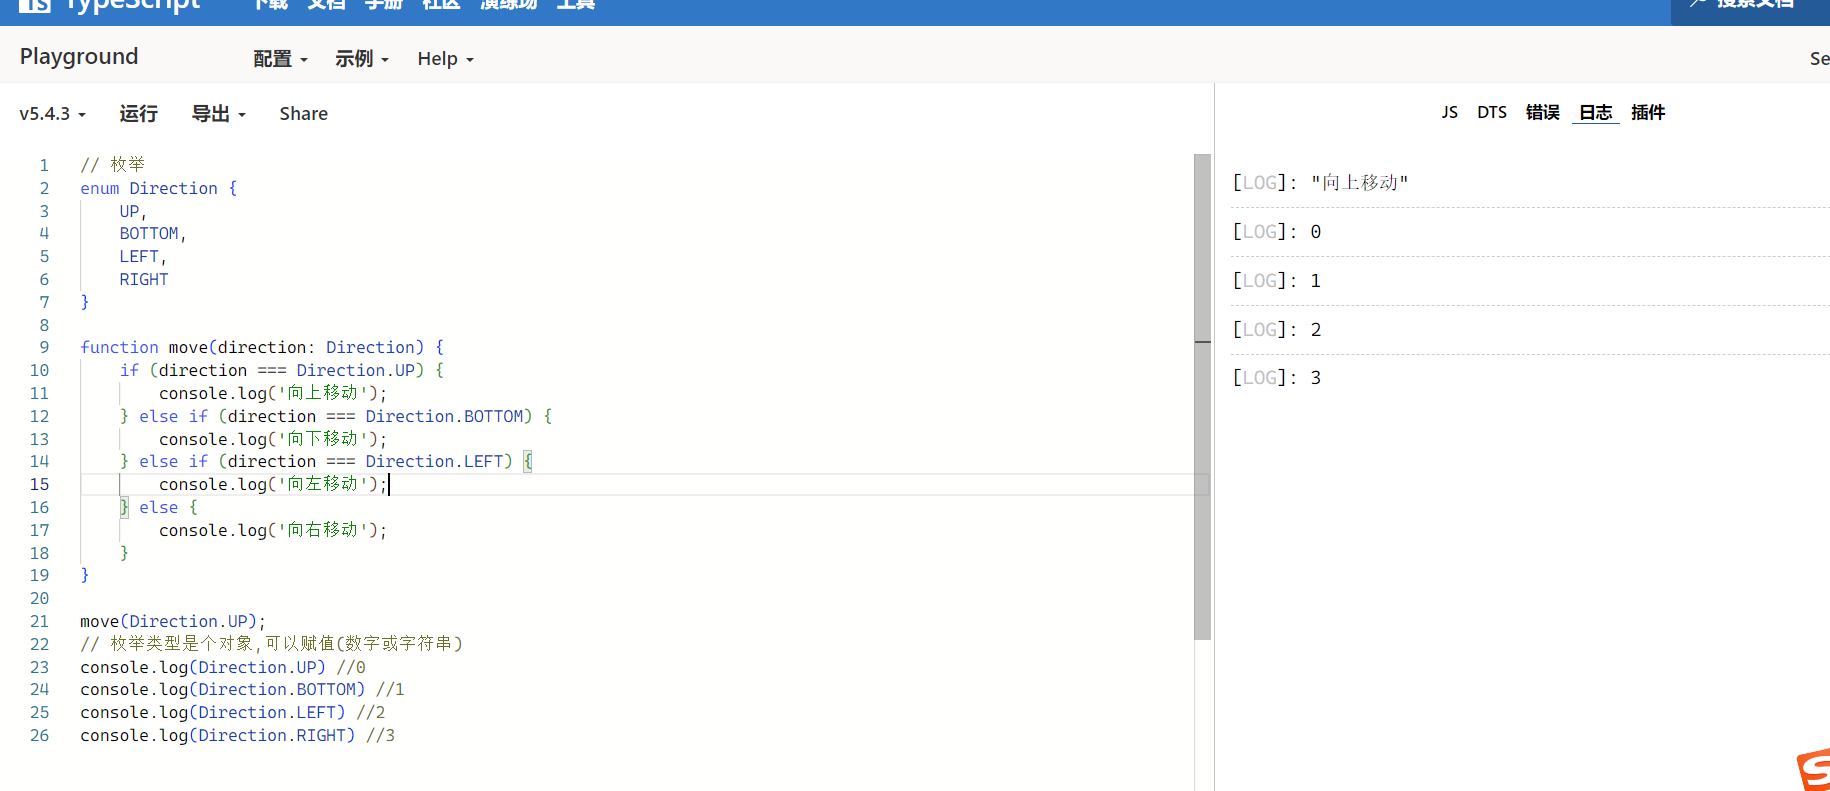
枚举应用:设置字体,颜色等
enum Color {
    Red = 0xFF0000,
    Green = 0x00FF00,
    Blue = 0x0000FF
}

enum FontSize {
    Small = 12,
    Medium = 16,
    Large = 20,
    ExtraLarge = 24
}
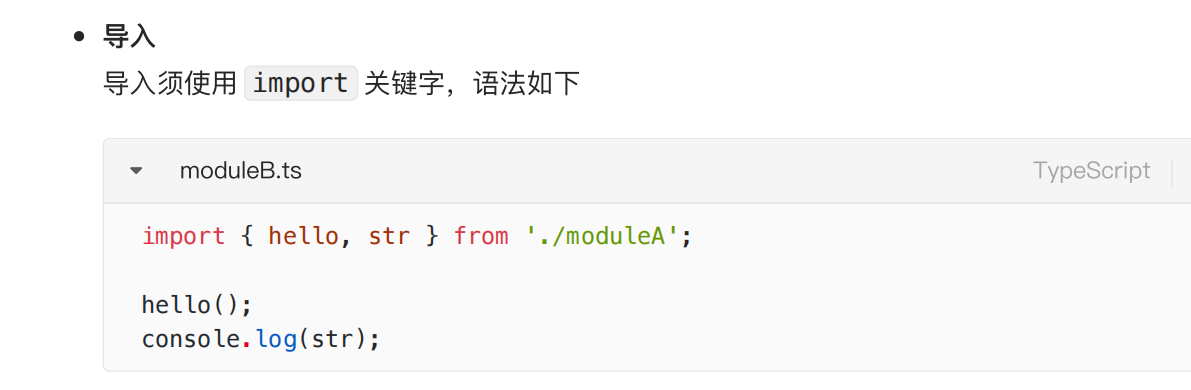
模块化:
- 可以导入模块,
- 有导入,
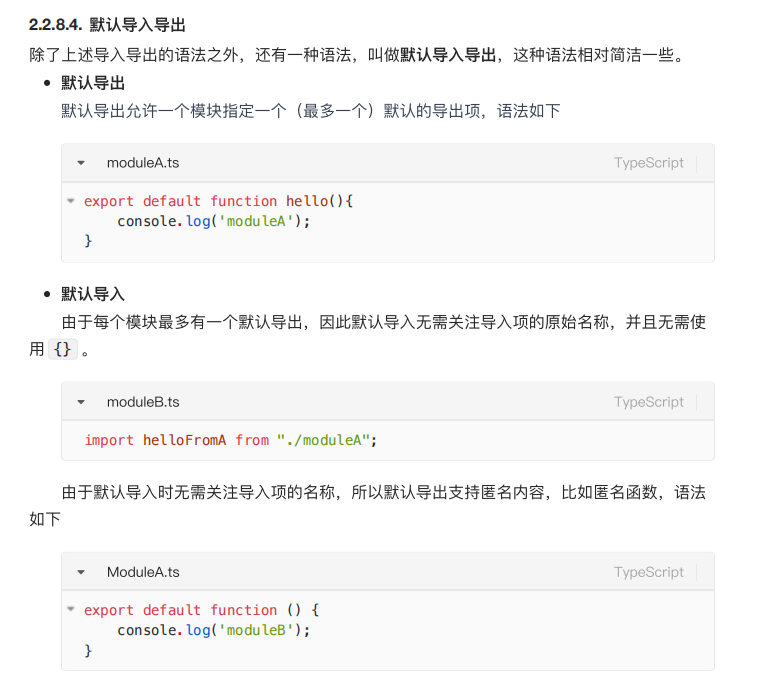
- 有默认导入
- 有默认导入+匿名。(某种情况下更简洁)

默认导出
==哈哈,快速入门完成了!!==
