conda
1 conda 更改清华镜像
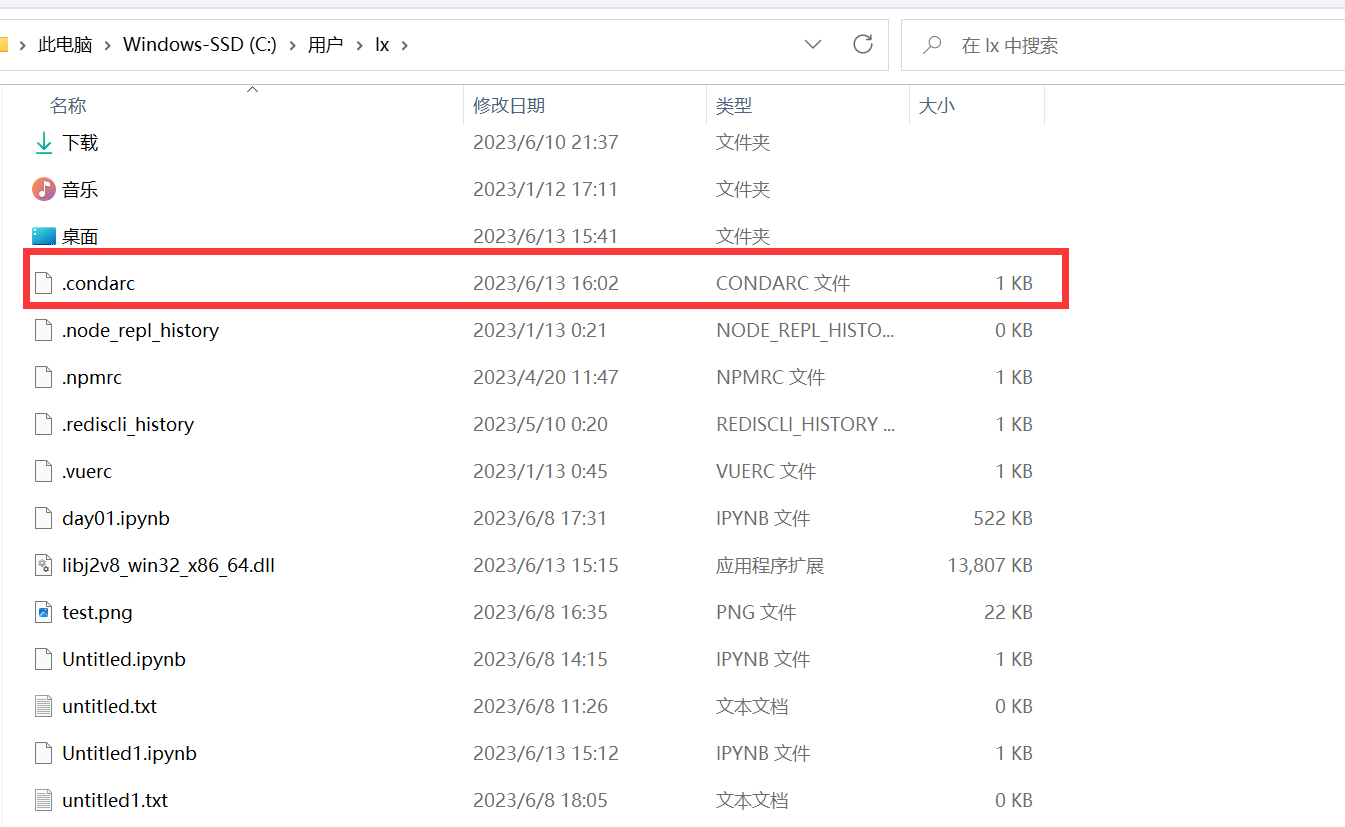
具体操作为,在 c盘用户目录下会有一个名为 .condarc 的文件。如果没有该文件,Windows 用户无法直接创建名为 .condarc 的文件,可先执行 conda config --set show_channel_urls yes 生成该文件之后再修改。
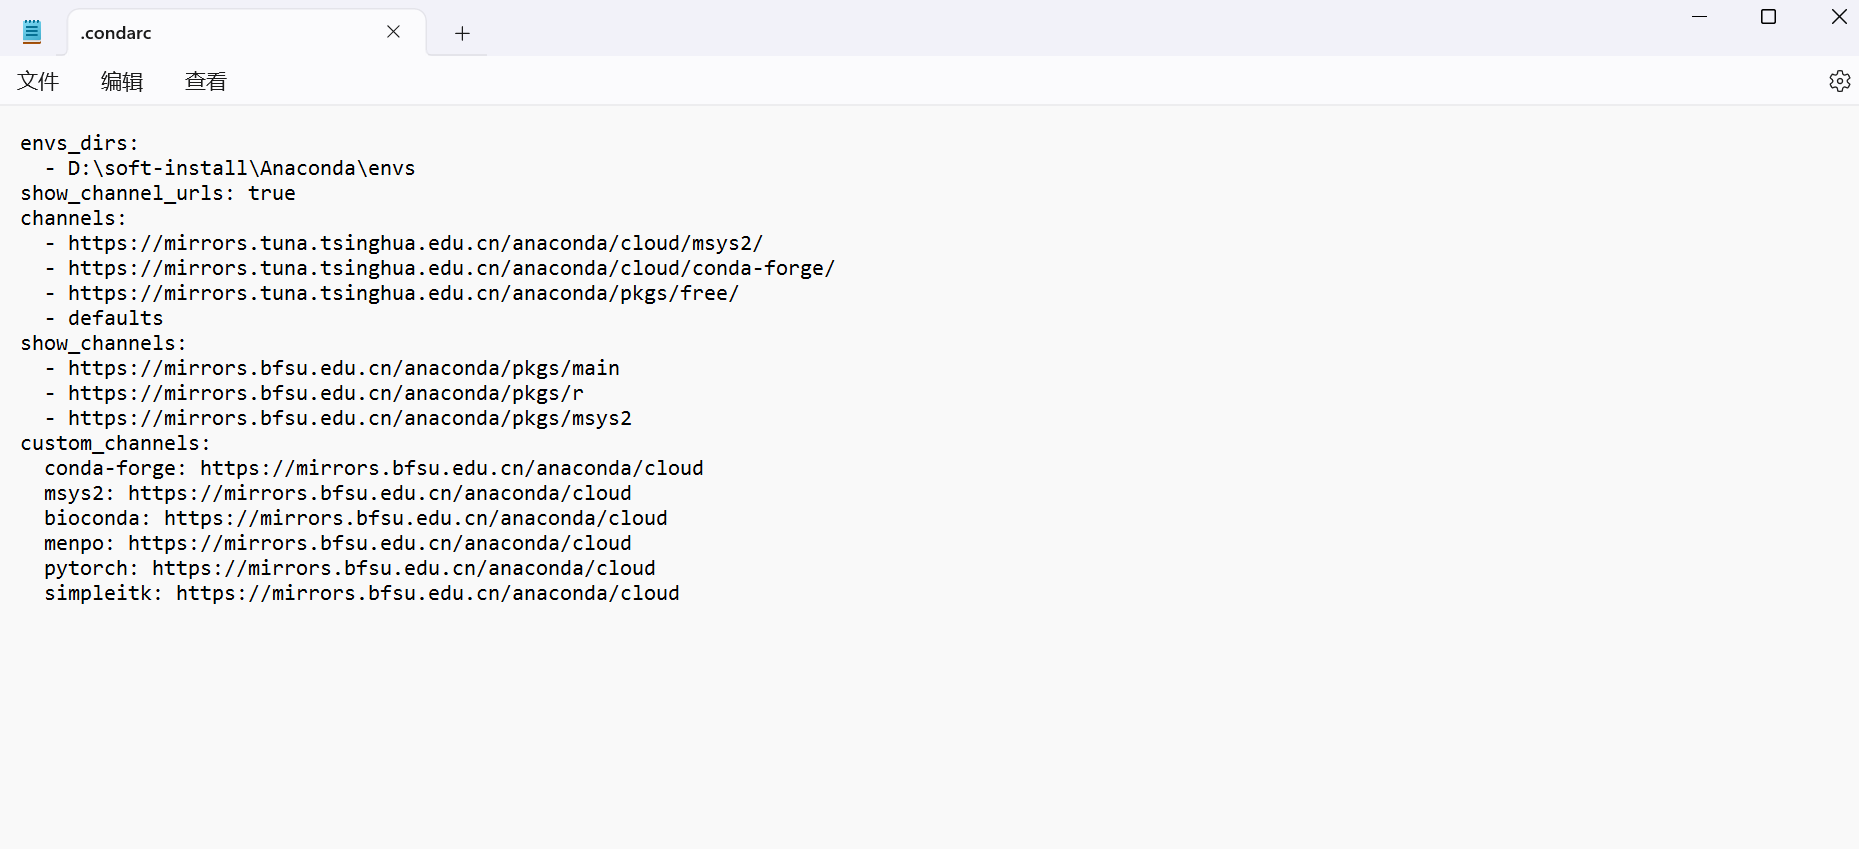
show_channel_urls: true
channels:
  - https://mirrors.tuna.tsinghua.edu.cn/anaconda/cloud/msys2/
  - https://mirrors.tuna.tsinghua.edu.cn/anaconda/cloud/conda-forge/
  - https://mirrors.tuna.tsinghua.edu.cn/anaconda/pkgs/free/
  - defaults
show_channels:
  - https://mirrors.bfsu.edu.cn/anaconda/pkgs/main
  - https://mirrors.bfsu.edu.cn/anaconda/pkgs/r
  - https://mirrors.bfsu.edu.cn/anaconda/pkgs/msys2
custom_channels:
  conda-forge: https://mirrors.bfsu.edu.cn/anaconda/cloud
  msys2: https://mirrors.bfsu.edu.cn/anaconda/cloud
  bioconda: https://mirrors.bfsu.edu.cn/anaconda/cloud
  menpo: https://mirrors.bfsu.edu.cn/anaconda/cloud
  pytorch: https://mirrors.bfsu.edu.cn/anaconda/cloud
  simpleitk: https://mirrors.bfsu.edu.cn/anaconda/cloud
2 conda更改虚拟环境安装路径
1.找到你的.condarc文件
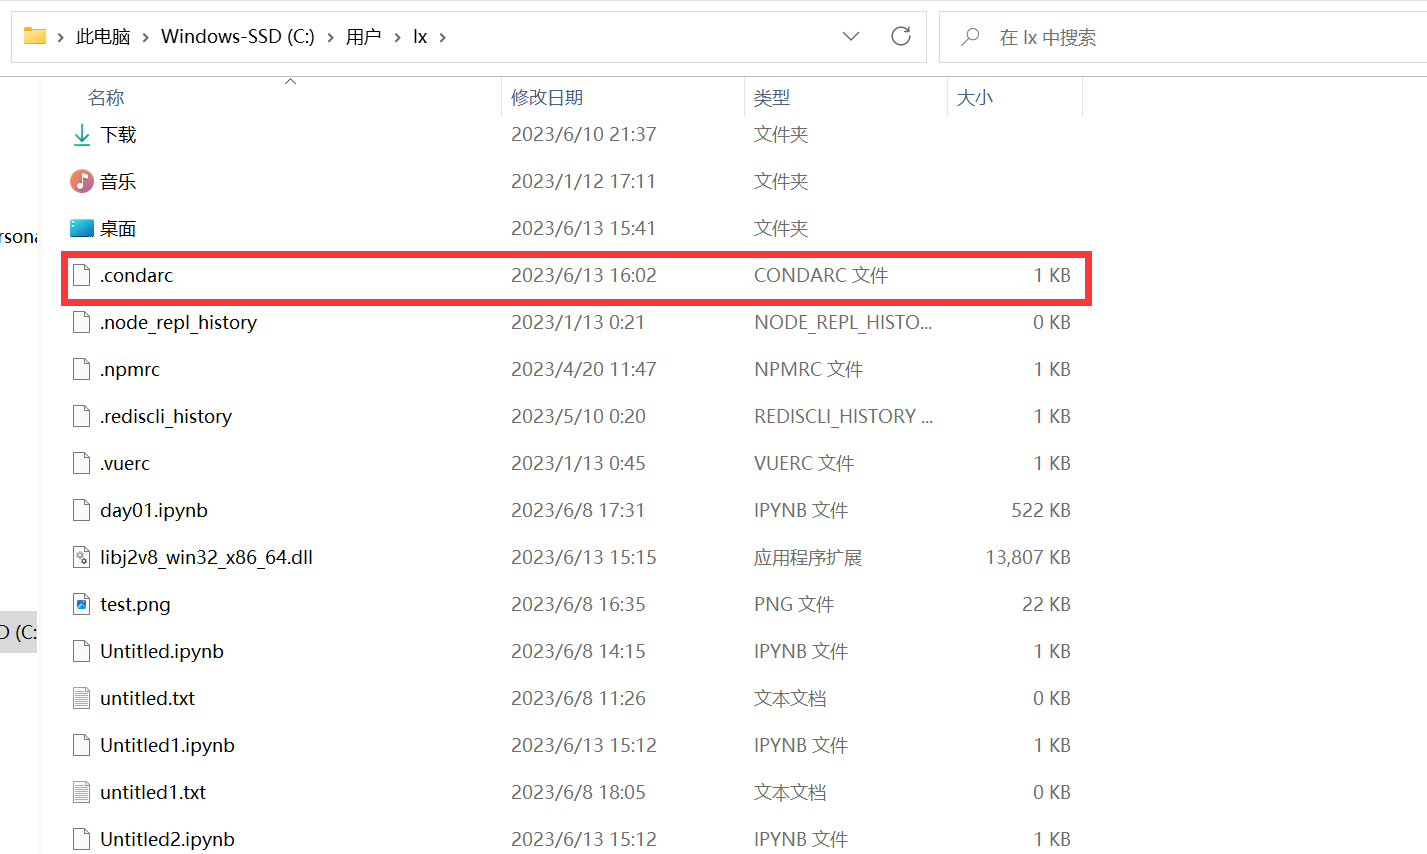
然后添加上这个
envs_dirs:
  - D:\soft-install\Anaconda\envs
根据自己的换一下路径
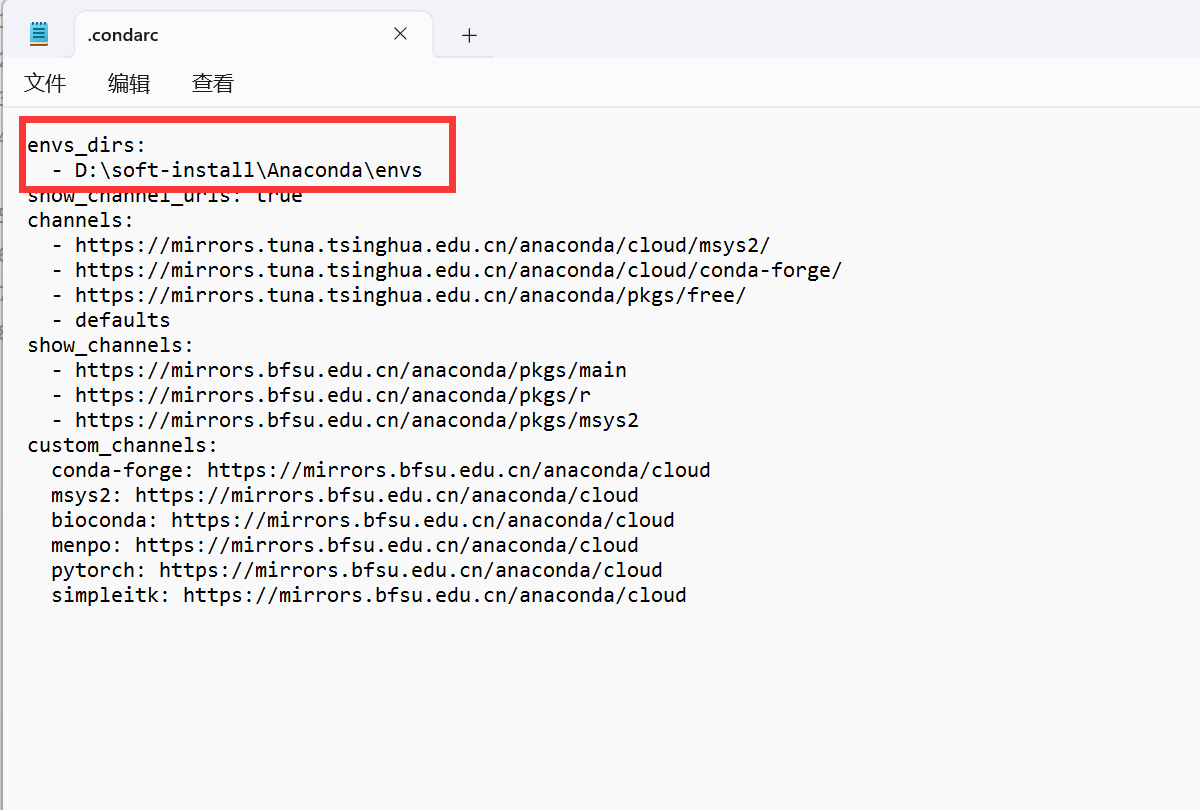
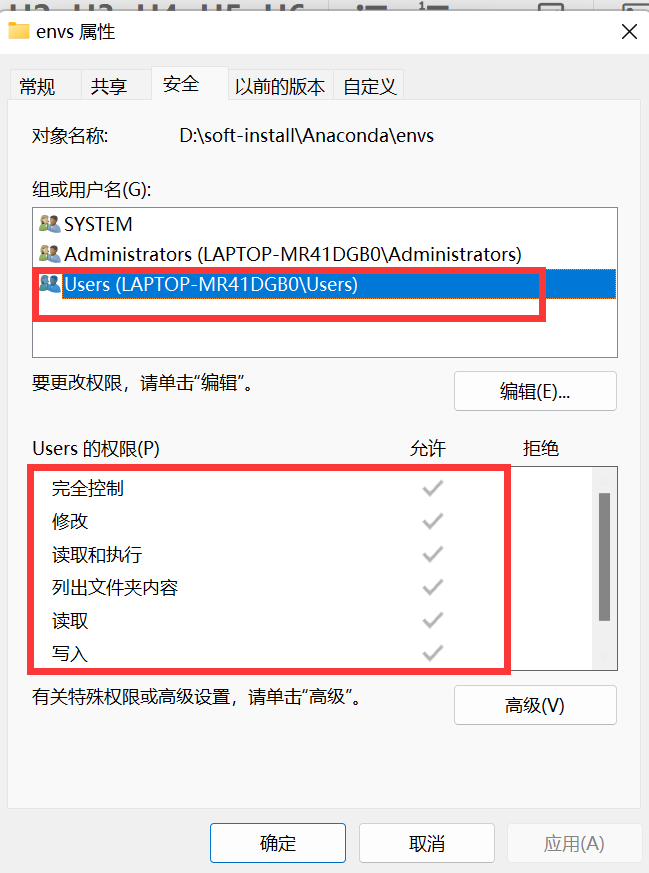
2.更改权限
找到那个问价所在位置然后跟新权限
3 修改 Jupyter 的工作路径
Jupyter 初始的工作路径为【C:\Users\用户名】,需要进行修正,将其转移到
新建的【D:\Jupyter】位置。
① 新建 D:\Jupyter;
② 打开桌面快捷方式中的 Prompt;
③ 输入 jupyter notebook --generate-config 命令并执行;
④ 打开上一步生成的配置文件地址,即
C:\Users\用户名.jupyter
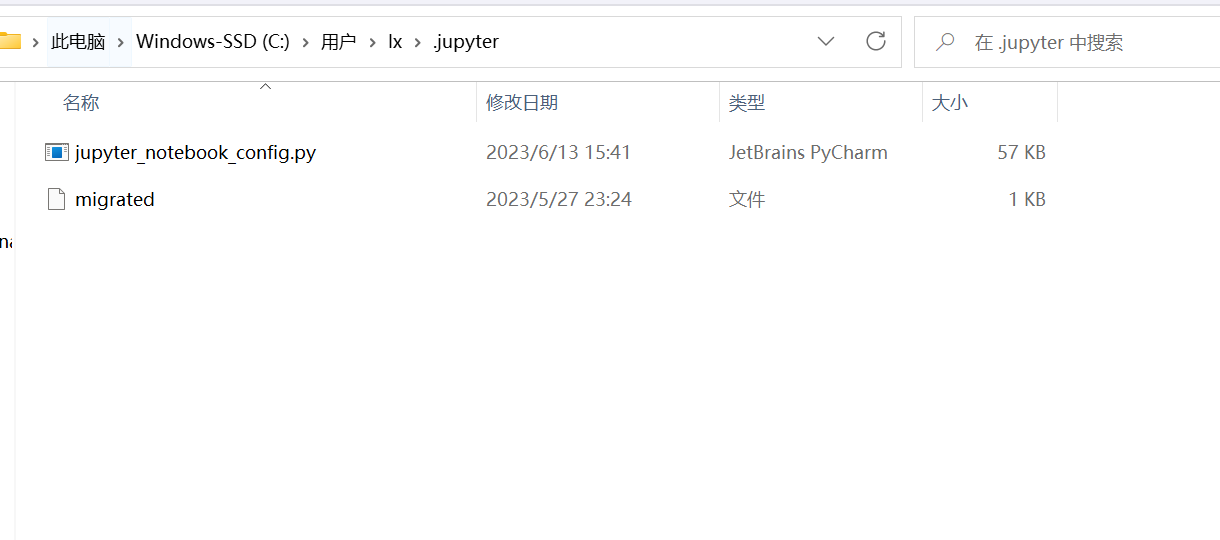
⑤ 在 jupyter_notebook_config.py(以记事本方式打开)中使用 Ctrl + F 查找
并且修改如下配置项:
修改前:# c.NotebookApp.notebook_dir = ''
修改后: c.NotebookApp.notebook_dir = 'D:\Jupyter'
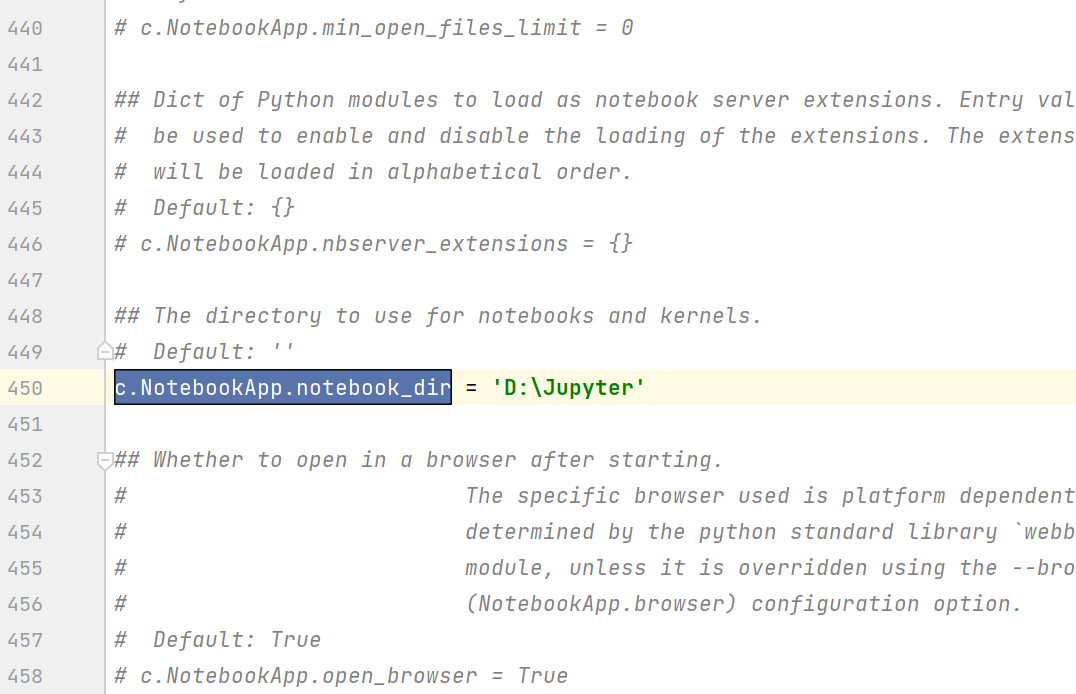
也即删除前面的#号注释,在后面的单引号里输入要设置的目录路径,注意,
'D:\Jupyter' 中不能有空格,否则 Jupyter 打开就闪退。保存后关闭。
⑥ 找到桌面的 jupyter notebook 快捷图标,鼠标反键>>属性>>快捷方式>>
目标,删除最后的"%USERPROFILE%/"。
4.虚拟环境基础命令
点击 Prompt 进入 Anaconda 的环境中,接下来的命令均在 Prompt 中执行。
(1)Prompt 清屏
cls
(2)base 环境下的操作
列出所有的虚拟环境
conda env list
创建名为“环境名”的虚拟环境,并指定 Python 解释器的版本
conda create -n 环境名 python=3.9
删除名为“环境名”的虚拟环境
conda remove -n 环境名 --all
进入名为“环境名”的虚拟环境
conda activate 环境名
(3)虚拟环境内的操作
列出当前环境下的所有库
conda list
安装 NumPy 库,并指定版本 1.21.5
pip install numpy==1.21.5 -i https://pypi.tuna.tsinghua.edu.cn/simple
安装 Pandas 库,并指定版本 1.2.4
pip install Pandas==1.2.4 -i https://pypi.tuna.tsinghua.edu.cn/simple
安装 Matplotlib 库,并指定版本 3.5.1
pip install Matplotlib==3.5.1 -i https://pypi.tuna.tsinghua.edu.cn/simple
查看当前环境下某个库的版本(以 numpy 为例)
pip show numpy
退出虚拟环境
conda deactivate
5 创建Jupyter 内核
请在 Prompt (base)的虚拟环境下操作下列命
令。若列出 Jupyter 的内核列表时反馈“Jupyter 不是内部或外部命令”,则先操
作后面两步,再回头列出 Jupyter 的内核列表即可。
1.列出 Jupyter 的内核列表
jupyter kernelspec list

2.安装 ipykernel

pip install -i https://pypi.tuna.tsinghua.edu.cn/simple ipykernel

3.将虚拟环境导入 Jupyter 的 kernel 中

python -m ipykernel install --user --name=环境名
删除虚拟环境的 kernel 内核
jupyter kernelspec remove 环境名

