github的用法
一. github注册
1. 此部分较简单,请自行脑补
二. 设置SSH key
2.1. 创建ssh key
<1>. 在用户主目录下看是否存在.ssh目录,如果存在,查看是否存在id_rsa与id_rsa.pub两个文件是否存在
<2>. 如果不存在,便打开终端,输入自己的邮箱地址,创建SSH Key
ssh-keygen -t rsa -C "youremail@example.com"
PS:在这个过程中会让用户设置密码

2.2. 在github端设置SSH Key
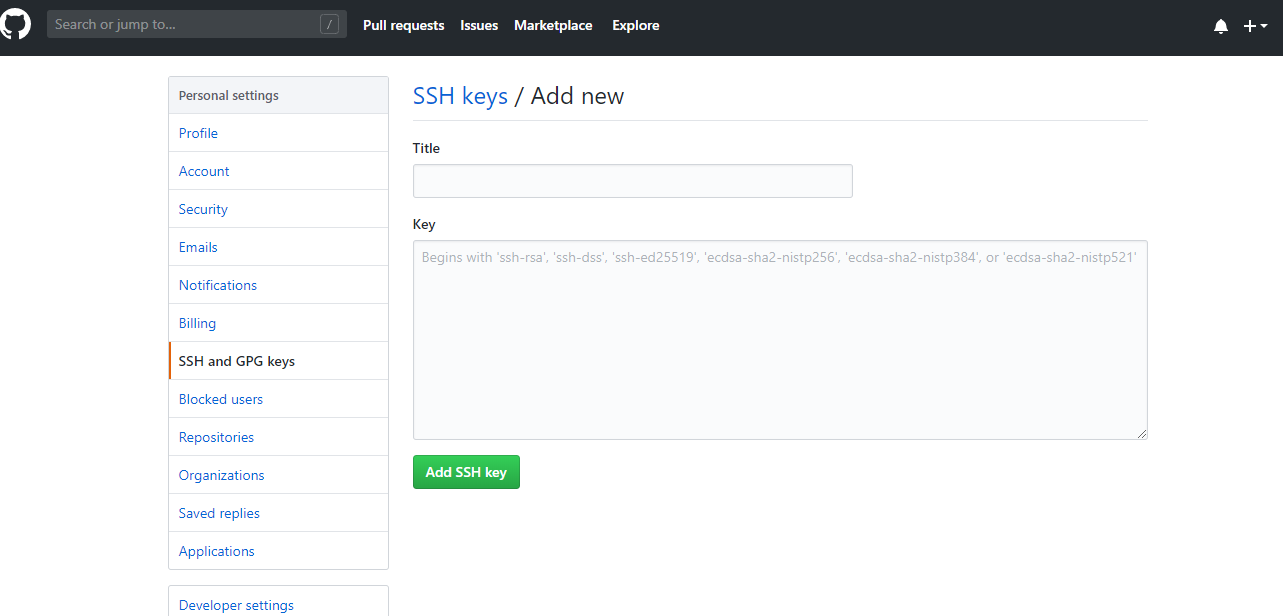
<1>. 登录GitHub,Settings -> Personal settings -> SSH and GPG keys。在SSH Keys标签右方点击New SSH Key。
<2>. 弹出两个文本框。其中的Title,可以随意命名。笔者此处随便命名为grq-Ubuntu。 另一个Key文本框,需要输入刚刚生成的id_rsa.pub文件中的内容。粘贴后点击Add SSH Key,即可生成SSH Key

三. 项目上传
3.1. git 软件安装
sudo apt-get install git
3.2. 本地仓处理
3.2.1. git init
<1>. 终端进入我们需要上传项目所在的文件夹。使用git的初始化命令

3.2.2. git config
git config --global user.name: 配置提交者名字
git config --global user.name "xxx"
git config --global user.email: 配置提交者邮件地址
git config --global user.email "xxx@xx.com"
3.2.3. git status
<1>. 指令可以查看当前的分支以及添加文件的情况
3.2.4. git commit
<1>.使用指令,将缓存区的修改提交到本地仓库
git commit -m "first commit" //-m 用于指定本次提交的描述信息
3.3. 添加文件到远程库
3.3.1. github仓库创建
<1>. 可自行百度
3.3.2. 远程仓库配置
3.3.2.1. 查看配置
git remote -v
3.3.2.2 添加一个远程仓库,命名为origin,这样随后才可以添加文件到远程库中
git remote rm origin
git remote add origin 你的git仓库地址

或者:
git remote set-url origin 你的git仓库地址
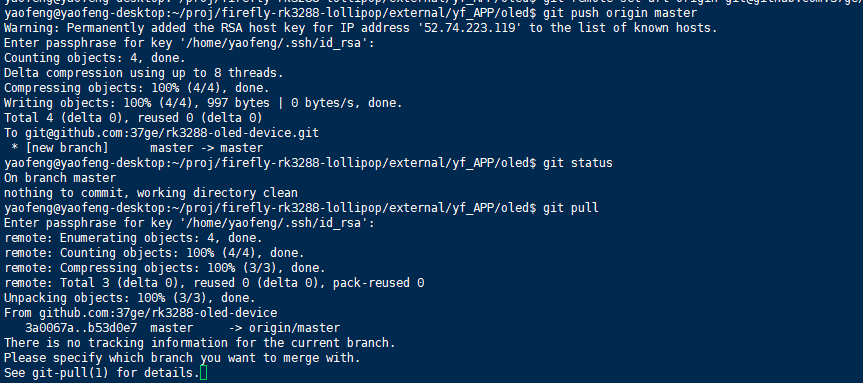
3.3.4. 使用push指令进行上传。
<1>. 如果该仓库是第一次进行push
git push origin master
<2>. 之后已经传输过,此处只是更新,所以只需输入:
git push

四. 拓展
4.1. 本地新建分支并提交到远程仓库
4.1.1. 新建分支
git checkout -b xxx
4.1.2. 切换分支
git checkout xxx
4.1.3. 上传到服务器
git push origin xxx
4.2. 关于分支的那点事
4.2.1. git clone与git clone -b 的差别
a. git clone 默认是克隆Head指向的branch,大多数默认是master分支
b. git clone -b xxx; 指定克隆xxx这个分支
c. 分支的差异,git clone的话可以将包含所有remotes分支,而git clone -b xxx 的话只会包含xxx的remotes分支
4.2.2. git clone -b后拉取其他分支
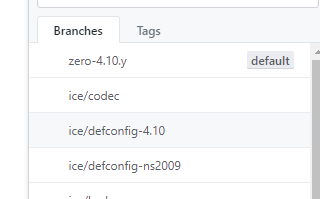
4.2.2.1. 查看分支git branch -a,可以看到没有其他远程分支,但我们的github上是有点


4.2.2.2. 新增xxx分支到本地
$ git remote set-branches origin xxx
$ git fetch --depth 1 origin xxx                  //--depth 1,depth用于指定克隆深度,为1即表示只克隆最近一次commit.可以避免文件很大
$ git checkout -b xxx origin/xxx


 浙公网安备 33010602011771号