一、cronsun介绍
1)cronsun产生的背景
大量的 crontab 任务散布在各台服务器,带来了很高的维护成本
任务没有按时执行,甚至失败了很久才发现,需要重试或排查
crontab 分散在很多集群上,需要一台一台去看日志分析,头都大了
crontab 存在单点问题,对于不能重复执行的定时任务很伤脑筋
因此,我们非常需要一个集中管理定时任务系统
2)github官网
https://github.com/shunfei/cronsun
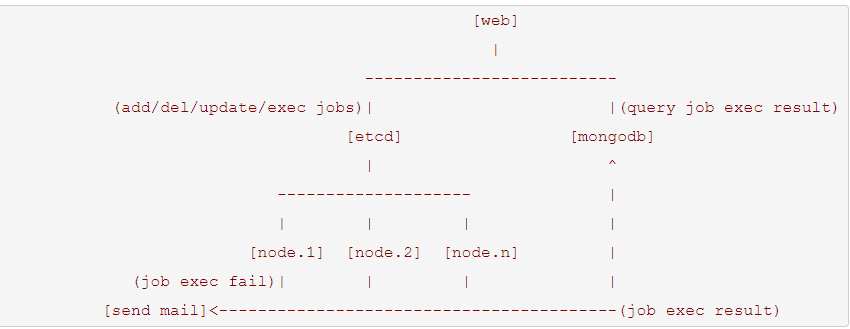
3)架构图
cronsun的重要组件:

cronsun架构图

二、环境准备
1.1)单节点安装etcd服务
下载安装包,下载地址:https://github.com/etcd-io/etcd/releases
wget https://github.com/etcd-io/etcd/releases/download/v3.3.13/etcd-v3.3.13-linux-amd64.tar.gz

解压文件
tar -zxvf etcd-v3.3.13-linux-amd64.tar.gz
cd etcd-v3.3.13-linux-amd64

目录下有两个可执行文件etcd 和 etcdctl
cp etcd /usr/bin/
cp etcdctl /usr/bin/

配置服务
# vim /usr/lib/systemd/system/etcd.service    (添加以下内容)
[Unit]
Description=Etcd Server
After=network.target

[Service]
Type=simple
WorkingDirectory=/var/lib/etcd/
EnvironmentFile=-/etc/etcd/etcd.conf
ExecStart=/usr/bin/etcd

[Install]
WantedBy=multi-user.target

创建工作文件夹
mkdir -p /var/lib/etcd
mkdir -p /etc/etcd


vim /etc/etcd/etcd.conf     (添加以下内容)
#[member]
ETCD_NAME=default
ETCD_DATA_DIR="/var/lib/etcd/default.etcd"
ETCD_LISTEN_CLIENT_URLS="http://127.0.0.1:2379"
ETCD_ADVERTISE_CLIENT_URLS="http://127.0.0.1:2379"
1.2)启动服务。
systemctl daemon-reload
systemctl enable etcd.service
systemctl start etcd.service

测试服务状态:
etcdctl cluster-health
[root@node01 ~]# etcdctl cluster-health
member 8e9e05c52164694d is healthy: got healthy result from http://127.0.0.1:2379
cluster is healthy
2)单节点mongodb的安装
https://www.cnblogs.com/linu/articles/10135432.html
三、部署 cronsun 任务管理器
1)下载并安装
1 下载 cronsun:https://github.com/shunfei/cronsun/releases (选择最新版本即可)
https://github.com/shunfei/cronsun/releases/download/v0.3.5/cronsun-v0.3.5-linux-amd64.zip

2 解压后修改 conf 目录下的配置文件:db.json 和 etcd.json,分别修改 MongoDB 和 etcd 的实际地址。
由于是单节点安装。所以不需要进行修改

3 启动 web:./cronweb -conf conf/base.json (若要后台运行则使用 nohup)
nohup /usr/local/cronsun-v0.3.5/cronweb -conf /usr/local/cronsun-v0.3.5/conf/base.json  &

4 启动 node:./cronnode -conf conf/base.json (若要后台运行则使用 nohup)
nohup /usr/local/cronsun-v0.3.5/cronnode -conf /usr/local/cronsun-v0.3.5/conf/base.json  &

5 访问前台:http://x.x.x.x:7079/ui/  默认用户密码: admin@admin.com / admin
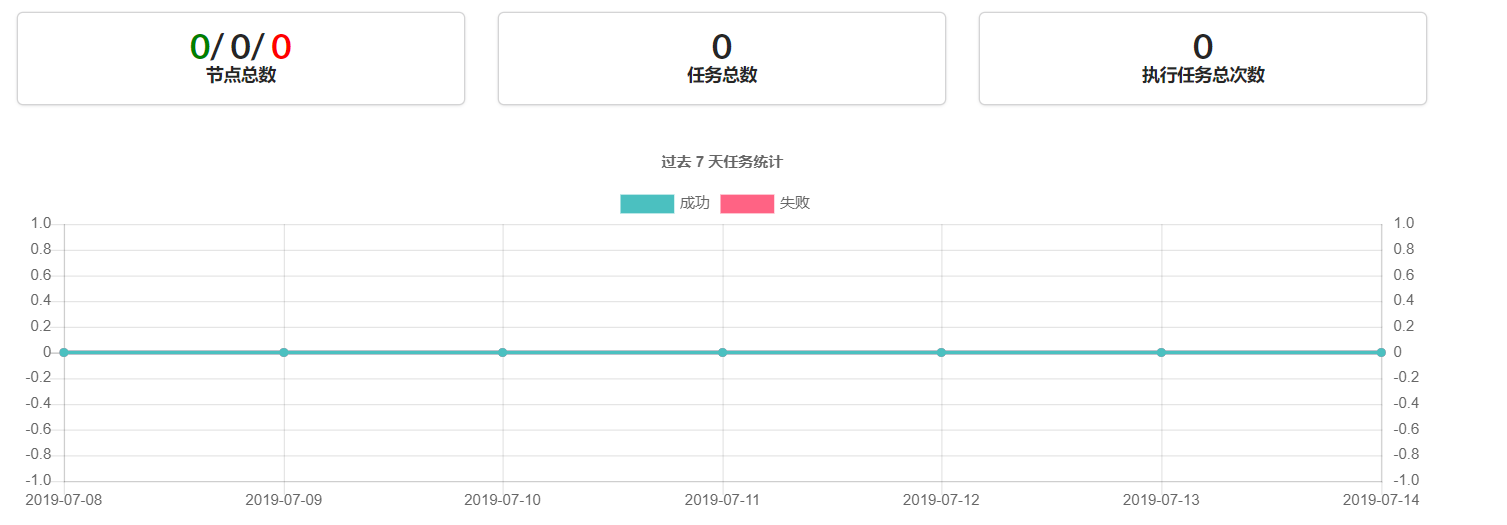
2)访问 web界面

四、任务管理的基本使用
1) 查看所以节点,进行分组


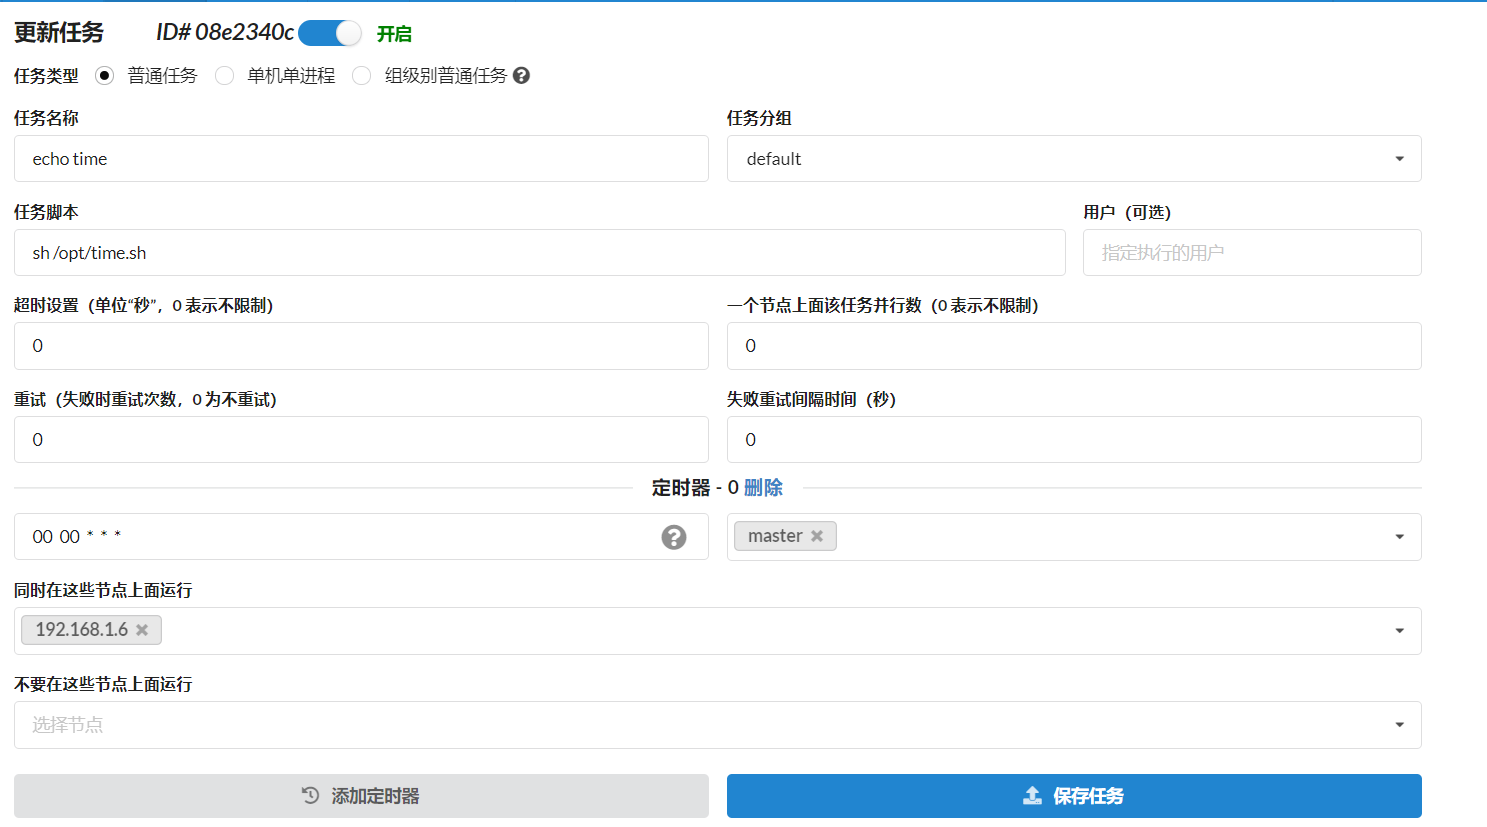
2)添加任务


