上一篇中Spring Boot 属性配置中的启动类加载器有实现EnvironmentAware接口,这里我们就介绍下Spring Aware
一、Aware介绍
Spring框架有点: Bean感知不到容器的存在
使用场景: 需要使用Spirng容器的功能资源
引入缺点: Bean和容器强耦合
二、常用Aware
| 类名 | 作用 |
| BeanNameAware | 获取容器中bean名称 |
| BeanClassLoaderAware | 获得类加载器 |
| BeanFactoryAware | 获得bean创建工厂 |
| EnviromentAware | 获得环境变量 |
| EnvironmentValueResolverAware | 获取spring容器加载的properties文件属性值 |
| ResourceLoaderAware | 获得资源加载器 |
| ApplicationEventPublisherAware | 获得应用程序发布器 |
| MessageSourceAware | 获得文本信息 |
| ApplicationContextAware | 获得当前应用上下文 |
三、Aware调用原理
我们以ResultCommandLineRunner启动类加载器为例。实现了EnvironmentAware接口,目的就是为了获得environment,从而打印属性
@Component
public class ResultCommandLineRunner implements CommandLineRunner, EnvironmentAware , MyAware{

    private Environment env;

    private  Flag flag;

    @Override
    public void run(String... args) throws Exception {
        System.out.println(flag.isCanOperate());
        System.out.println(env.getProperty("weburl"));
        System.out.println(env.getProperty("weburl.random"));
        System.out.println(env.getProperty("weburl.vm.name"));
    }

    @Override
    public void setEnvironment(Environment environment) {
        this.env = environment;
    }

    @Override
    public void setFlag(Flag flag) {
        this.flag = flag;
    }
}
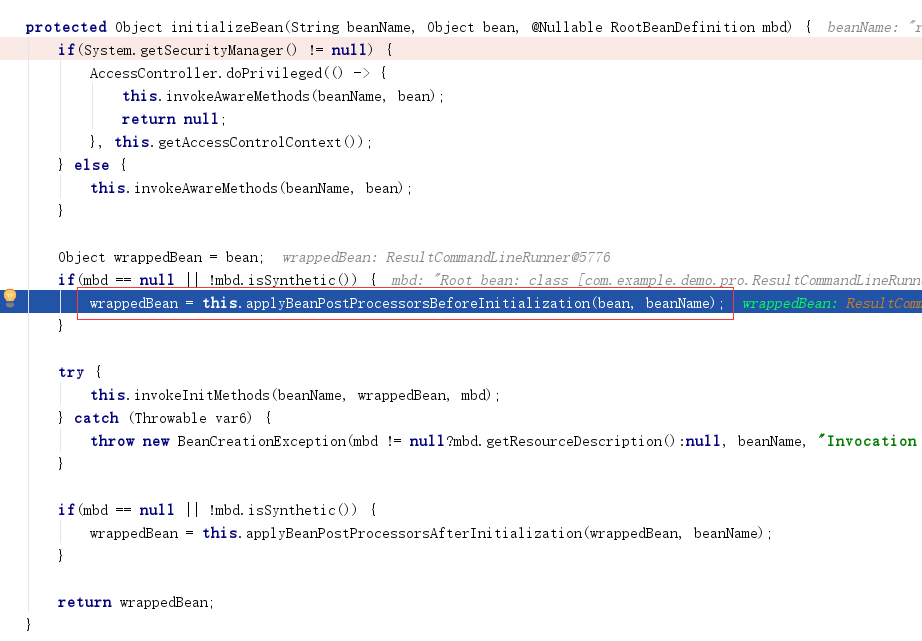
1、Debug运行程序,定位到initializeBean方法

2、进入initializeBean。beanName为resultCommandLineRunner(可以根据beanName设置条件断点)

下面是initializeBean的方法

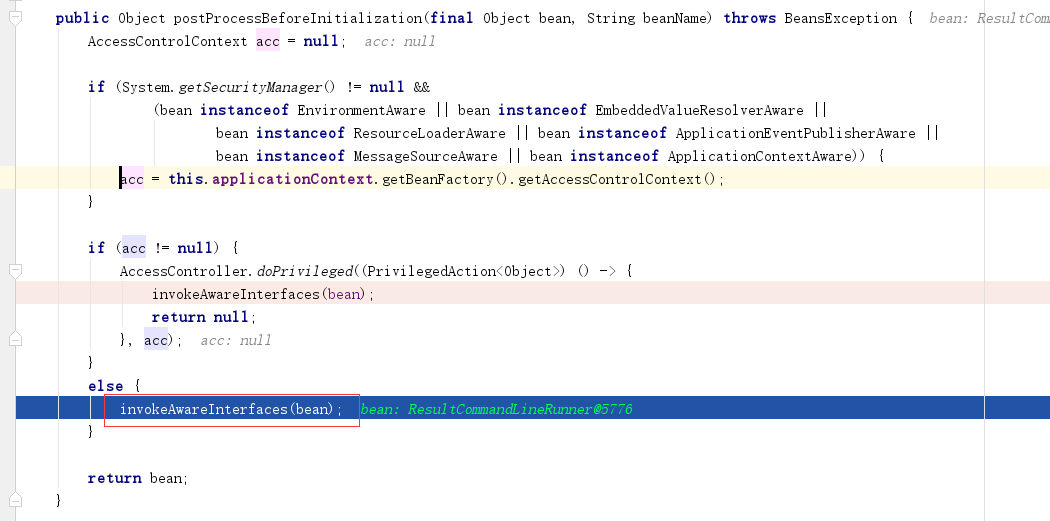
3、进入postProcessBeforeInitialization方法

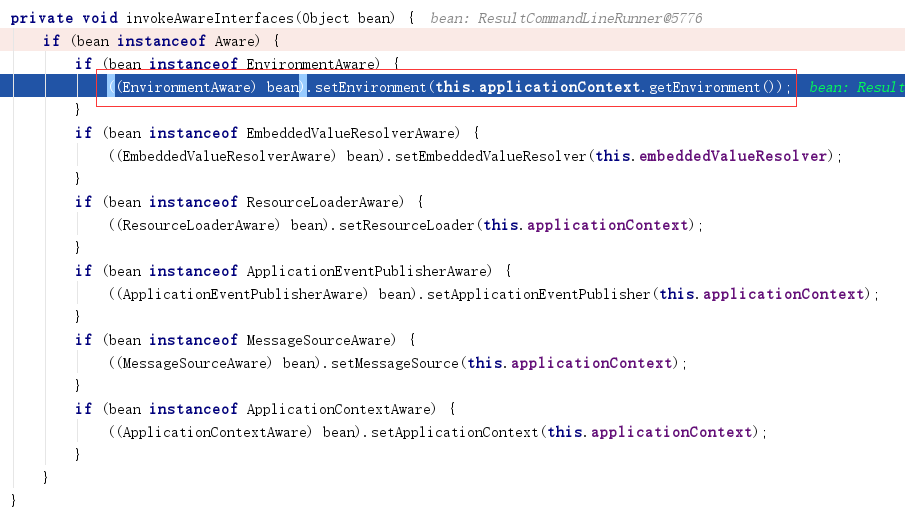
4、进入ApplicationContextAwareProcessor类的invokeAwareInterfaces方法

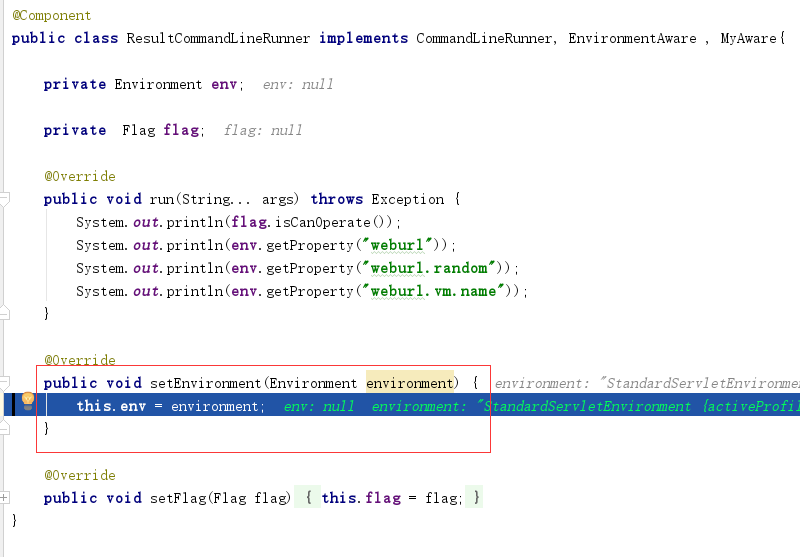
5、然后就进入了setEnvironment方法,参数为environment。

这就是通过启动类加载器,实现EnvironmentAware,从而获得Environment的流程
四、模拟创建自定义Aware
1、创建Flag类
@Component
public class Flag
{
    private boolean canOperate = true;

    public boolean isCanOperate() {
        return canOperate;
    }

    public void setCanOperate(boolean canOperate) {
        this.canOperate = canOperate;
    }
}
2、创建自定义Aware接口,目的就是为了获得Flag。继承Aware接口
public interface MyAware extends Aware{

    void setFlag(Flag flag);
}
3、创建处理器
@Component
public class MyAwareProcess implements BeanPostProcessor{

    private final ConfigurableApplicationContext configurableApplicationContext;

    public MyAwareProcess( ConfigurableApplicationContext configurableApplicationContext){
        this.configurableApplicationContext = configurableApplicationContext;
    }

    @Nullable
    @Override
    public Object postProcessBeforeInitialization(Object bean, String beanName) throws BeansException {
        if(bean instanceof Aware){
            if(bean instanceof  MyAware){
                ((MyAware)bean).setFlag((Flag) configurableApplicationContext.getBean("flag"));
            }
        }
        return bean;
    }
}
4、启动类加载器增加flag变量
@Component
public class ResultCommandLineRunner implements CommandLineRunner, EnvironmentAware , MyAware{

    private Environment env;

    private  Flag flag;

    @Override
    public void run(String... args) throws Exception {
        System.out.println(flag.isCanOperate());
        System.out.println(env.getProperty("weburl"));
        System.out.println(env.getProperty("weburl.random"));
        System.out.println(env.getProperty("weburl.vm.name"));
    }

    @Override
    public void setEnvironment(Environment environment) {
        this.env = environment;
    }

    @Override
    public void setFlag(Flag flag) {
        this.flag = flag;
    }
}
5、运行。输出flag为true

作者:Work Hard Work Smart
出处:http://www.cnblogs.com/linlf03/
欢迎任何形式的转载,未经作者同意,请保留此段声明!


