GitLab数据迁移
一、需求说明
公司原GitLab搭建在192.168.113.7机器上,采用yum安装;现需要将GitLab迁移到192.168.113.53机器上并以Docker方式进行部署,需要保证数据的一致。
二、准备工作
-
在原GitLab主机中备份数据:
gitlab-rake gitlab:backup:create RAILS_ENV=production备份后的文件一般是位于/var/opt/gitlab/backups下, 自动生成文件名如:1605236222_2020_11_13_11.9.8_gitlab_backup.tar
-
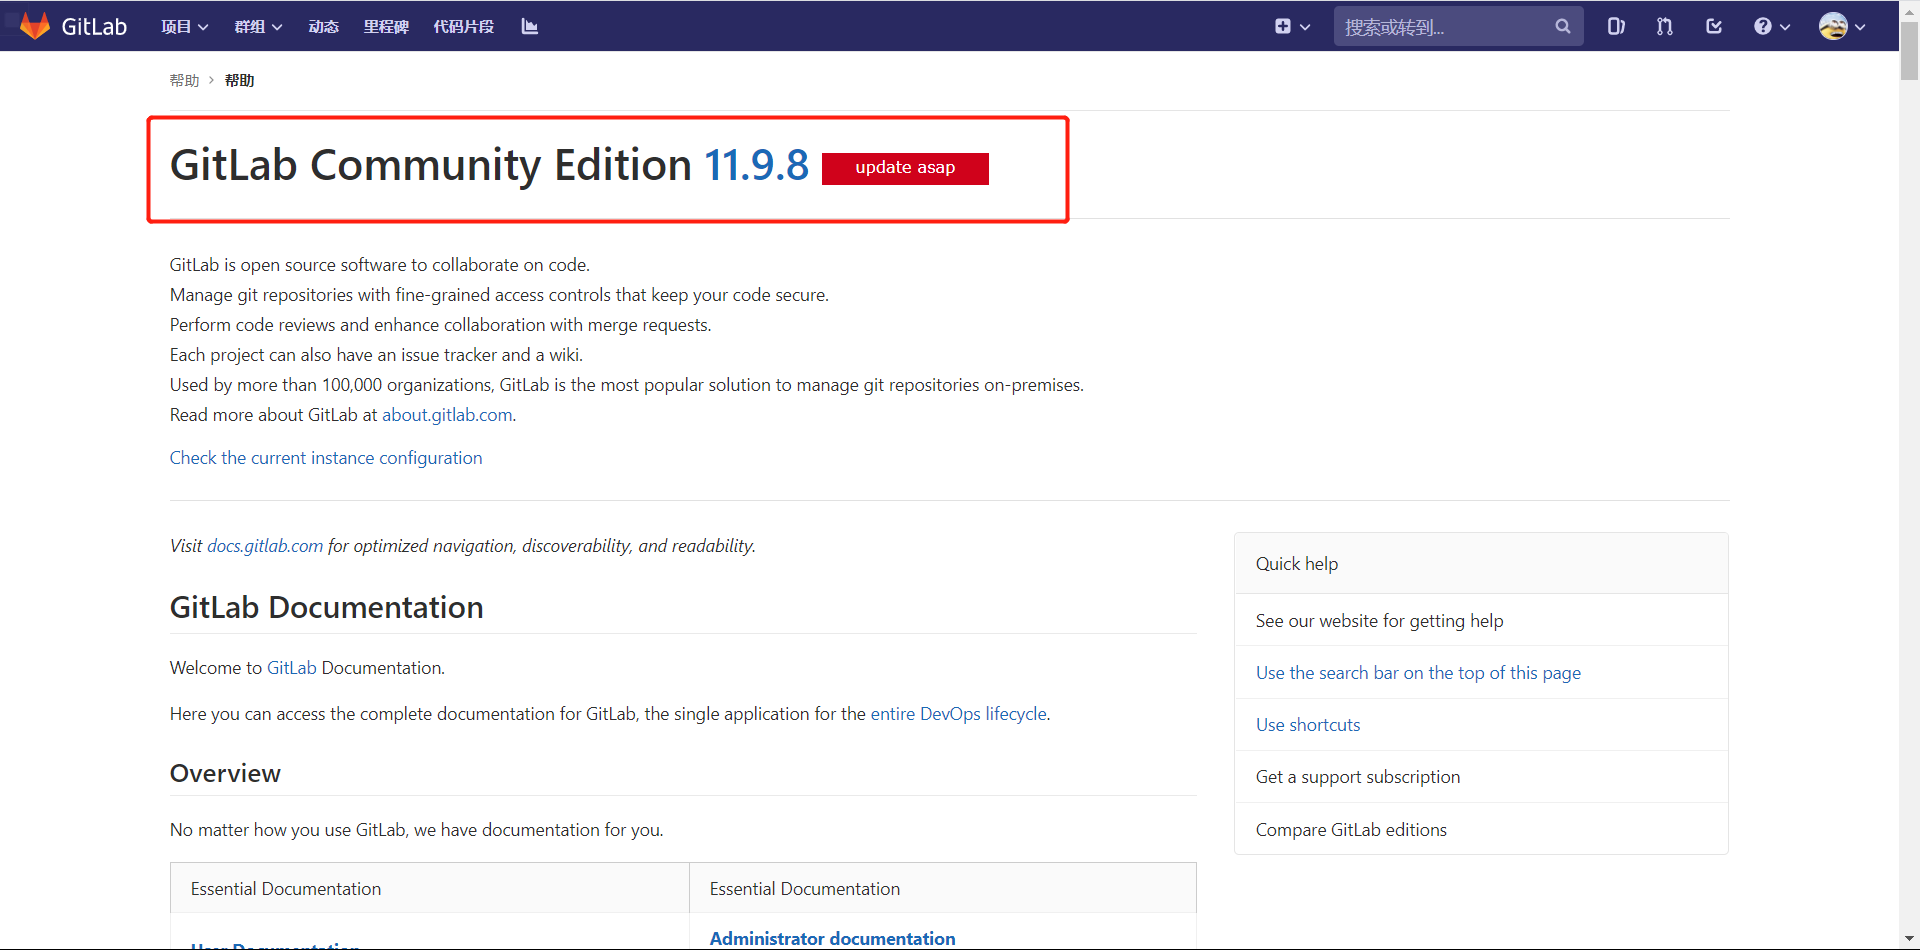
查看GitLab版本
方式一:登录到GitLab页面,点击头像左边"帮助",可以在页面中查看GitLab版本;
方式二:在安装GitLab的主机上执行以下命令,同样能获取到GitLab的版本号
[root@root7 ~]# gitlab-rake gitlab:env:info System information System: Current User: git Using RVM: no Ruby Version: 2.5.3p105 Gem Version: 2.7.6 Bundler Version:1.16.6 Rake Version: 12.3.2 Redis Version: 3.2.12 Git Version: 2.18.1 Sidekiq Version:5.2.5 Go Version: unknown GitLab information Version: 11.9.8 Revision: 48528bc Directory: /opt/gitlab/embedded/service/gitlab-rails DB Adapter: postgresql URL: http://gitlab.example.com HTTP Clone URL: http://gitlab.example.com/some-group/some-project.git SSH Clone URL: git@gitlab.example.com:some-group/some-project.git Using LDAP: no Using Omniauth: yes Omniauth Providers: GitLab Shell Version: 8.7.1 Repository storage paths: - default: /var/opt/gitlab/git-data/repositories GitLab Shell path: /opt/gitlab/embedded/service/gitlab-shell Git: /opt/gitlab/embedded/bin/git -
在另外一台机器上,利用docker-compose部署GitLab,需要注意的是,新安装的GitLab需要和原GitLab保持一致的版本,因为高版本的GitLab无法恢复低版本备份的数据。docker-compose部署GitLab教程
docker-compose.yml示例:
version: '3'
services:
  gitlab:
    image: 'gitlab/gitlab-ce:11.9.8-ce.0'
    container_name: gitlab
    restart: always
    environment:
      GITLAB_OMNIBUS_CONFIG: |
        external_url 'http://192.168.113.53'
        gitlab_rails['gitlab_shell_ssh_port'] = 2224
    ports:
      - '80:80'
      - '2224:22'
    volumes:
      - './config:/etc/gitlab'
      - './logs:/var/log/gitlab'
      - './data:/var/opt/gitlab'
与教程中yml文件有所不同,因为原GitLab采用80端口,所以这里也采用80端口,
-
利用docker-compose命令进行编排,当容器成功启动之后,将第一步中准备好的tar包拷贝到数据映射目录下的backups目录当中
执行docker-compose up -d命令之后,在浏览器中输入ip:端口,若出现了设置新密码页面,不需要在页面中设置新密码,因为后面还需要进行数据恢复,所以不用设置新密码;出现设置密码页面说明GitLab已部署成功,可以进行下一步。
[root@localhost backups]# pwd /home/work/docker-gitlab/data/backups [root@localhost backups]# ls 1605236222_2020_11_13_11.9.8_gitlab_backup.tar tmp -
进入GitLab容器当中,执行以下命令恢复tar包中的数据:
gitlab-rake gitlab:backup:restore RAILS_ENV=production BACKUP=1605236222_2020_11_13_11.9.8BACKUP后的时间点要和原GitLab中导出的tar包保持一致,执行命令后,中途会让你选择yes/no,一路yes即可,当命令执行结束之后,在浏览器中输入迁移后GitLab的ip:端口,用原GitLab中的用户可以正常登录,且项目数据都在其中。至此,GitLab迁移结束。
