DAY1-WPF布局基础
一、布局容器
1、首先建立一个WPF(基于.NET FPRMWORK)项目
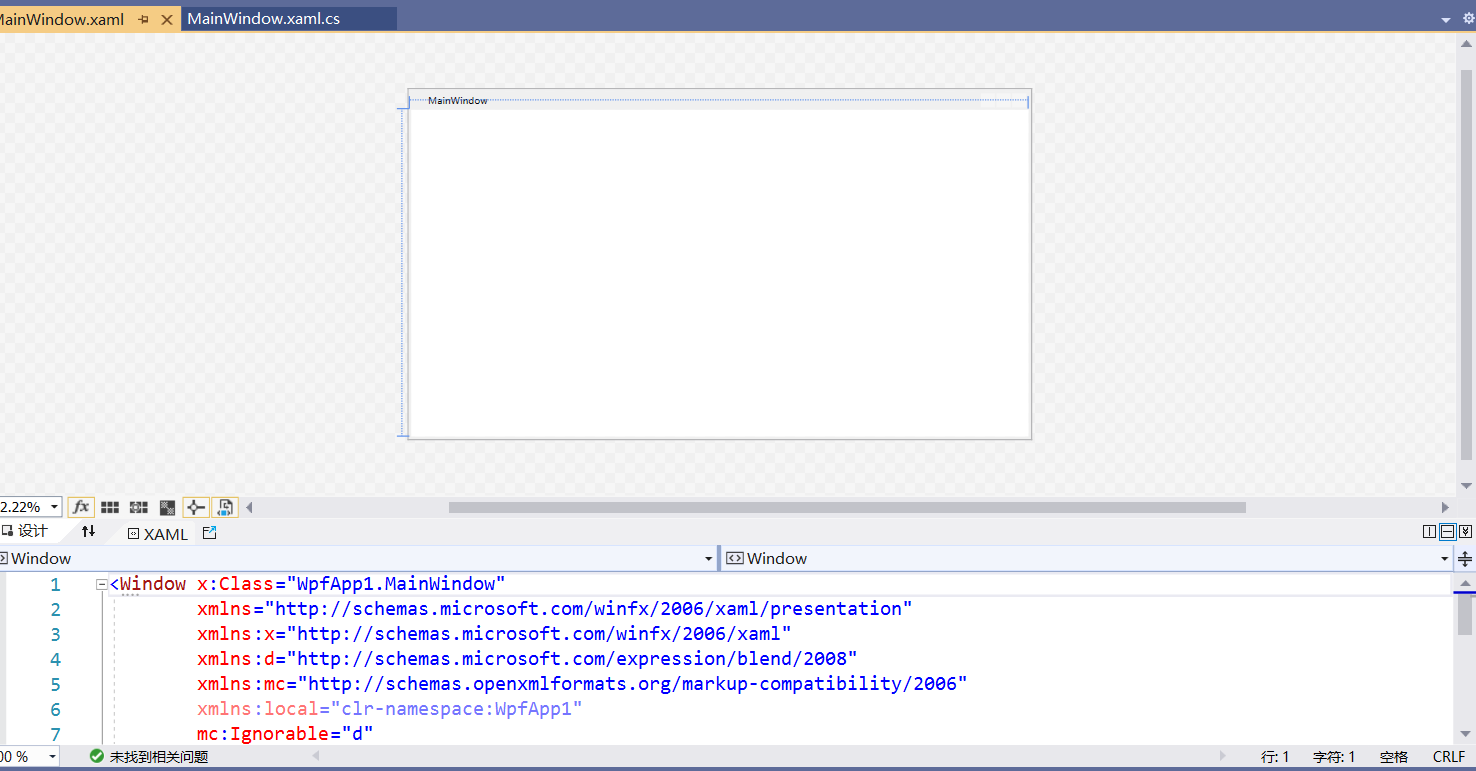
页面展示如下:

2、Grid——整体容器
 <Grid>
        <Grid.RowDefinitions><RowDefinition/> //改变高度,可以用Height,例如高度是下一列的俩倍。可以写成Height="2*"
            <RowDefinition/>
        </Grid.RowDefinitions>
        <Grid.ColumnDefinitions>
            <ColumnDefinition/>
            <ColumnDefinition/>
        </Grid.ColumnDefinitions>
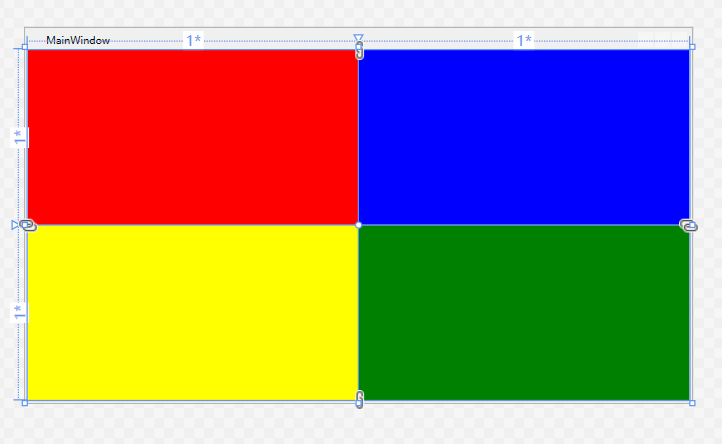
        <Border Background="Red"/>//设置背景颜色 如果想让列占好几列,就可以用Grid.ColumnSpan="2"
        <Border Grid.Row="1" Background="Yellow"/>//排的第二个。二维数组。<0,0>排序,但是实操,数字不影响
        <Border Grid.Column="1" Background="Blue"/>
        <Border Grid.Row="1" Grid.Column="1" Background="Green"/>
    </Grid>
效果图:

3、StackPanel——局部容器
默认居中垂直排序
<StackPanel Orientation="Horizontal">//加了Horizontal排序方式变成了水平居中排序
            <Button Width="100" Height="40"/>
            <Button Width="100" Height="40"/>
            <Button Width="100" Height="40"/>
            <Button Width="100" Height="40"/>
            <Button Width="100" Height="40"/>
</StackPanel>
3、WrapPanel——局部容器
默认靠左水平排序(流式布局)
<WrapPanel Grid.Row="1" Orientation="Vertical">//加了Horizontal排序方式变成了垂直左边排序
 <Button Width="100" Height="40"/>
<Button Width="100" Height="40"/>
<Button Width="100" Height="40"/>
<Button Width="100" Height="40"/>
<Button Width="100" Height="40"/>
</WrapPanel>
4、DockPanel——停靠容器
当长度有限的时候,会断掉,在其他区域补充。

可以使用LastChilFill选择是否将多余的那个控件连接起来,如果是false,那么控件就会连接在一起。除了最后一个child也,也可以选择随意的一个,在对于控件后面写上:DockPanel.Dock="Left"(选择连接的方向)
5、UniformGrid
有限空间内尽可能的分布资源
6、Canvas
使用固定的坐标设置元素的位置,不具备锚定停靠的功能。


