个人微信小程序开发入门教程:云开发云存储的应用
学习开发微信小程序最最最最重要的就是学习微信小程序官方文档,因为文档可以解决我们在学习过程中遇到的大部分麻烦,所以先附上官方文档链接:
https://developers.weixin.qq.com/doc/
目录
写以下内容时有一些知识点已经在之前的博客中出现过,这里就不过多解释,有不理解的可以看我之前的博客。
一、上传图片到云储存
1、在【cloud.wxml】中创建一个按钮
<button class = "banner" bindtap="upload">上传图片</button>
2、在【cloud.js】里面创建【upload】的函数组件
  upload:function(){
    wx.chooseImage({
      count: 1,//上传图片数量为1
      sizeType: ['original', 'compressed'],
      //上传图片是原图还是压缩图片
      sourceType: ['album', 'camera'],
      //图片来源是相册还是现拍
      success (res) {
        // tempFilePath可以作为img标签的src属性显示图片
        const tempFilePaths = res.tempFilePaths
        console.log(tempFilePaths);
        //在调试器中打印出图片的临时路径
        wx.cloud.uploadFile({
          cloudPath:new Date().getTime()+'.png',
          // 上传至云端的路径,这里为了避免图片的路径重复后覆盖原有图片,采用这种不是很方便的方法
          filePath: tempFilePaths[0],
          // 小程序临时文件路径
          success: res => {
            // 返回文件 ID
            console.log(res.fileID)
            //在调试器中打印出文件的fileID
            db.collection('images').add({//这个前面有介绍
              data:{
                fileID:res.fileID
              }
            }).then(res =>{
              console.log(res);
            }).catch(err =>{
              console.error(err);
            })
          },
          fail: console.error
        })
      }
    })
  },
3、调试器效果如下

3、云端效果如下
[https://live.csdn.net/v/embed/194916]
二、展示云储存的图片
1、在【cloud.wxml】中创建一个按钮
<button class = "banner" bindtap="getFile">文件展示</button>

<block wx:for="{{images}}" wx:key="index">
  <image src = "{{item.fileID}}"></image>
</block>
2、在【cloud.js】里面创建【getFile】的函数组件
  getFile:function(){
    wx.cloud.callFunction({
      name:'login',//云函数名称,之前有讲
    }).then(res =>{
      db.collection("images").where({
      //imgges是我的一个云数据库的名称,之前有讲
        _openid:res.result.openid
      }).get().then(res2 =>{
        console.log(res);
        this.setData({
          images:res2.data
        });
      })
    })
  },
3、调试器效果如下

3、效果如下
[https://live.csdn.net/v/embed/194915]
三,下载图片至相册
1、在【cloud.wxml】中创建一个按钮
<block wx:for="{{images}}" wx:key="index">
  <image src = "{{item.fileID}}"></image>
  <button size = "mini" data-fileid=  "{{item.fileID}}" bindtap="downloadFile">文件下载</button>
//这里因为图片不止一张,所以添加【data-fileid】来保证下载的是对应的图片
</block>
2、在【cloud.js】里面创建【downloadFile】的函数组件
  downloadFile:function(event){
    wx.cloud.downloadFile({
      fileID: event.target.dataset.fileid, // 文件 ID
      success: res => {
        // 返回临时文件路径
        console.log(res.tempFilePath)
        //保存图片到相册
        wx.saveImageToPhotosAlbum({
          filePath:res.tempFilePath,
          success(res) {
            wx.showToast({
              title: '保存成功',
            })
          }
        })
      },
      fail: console.error
    })
  },
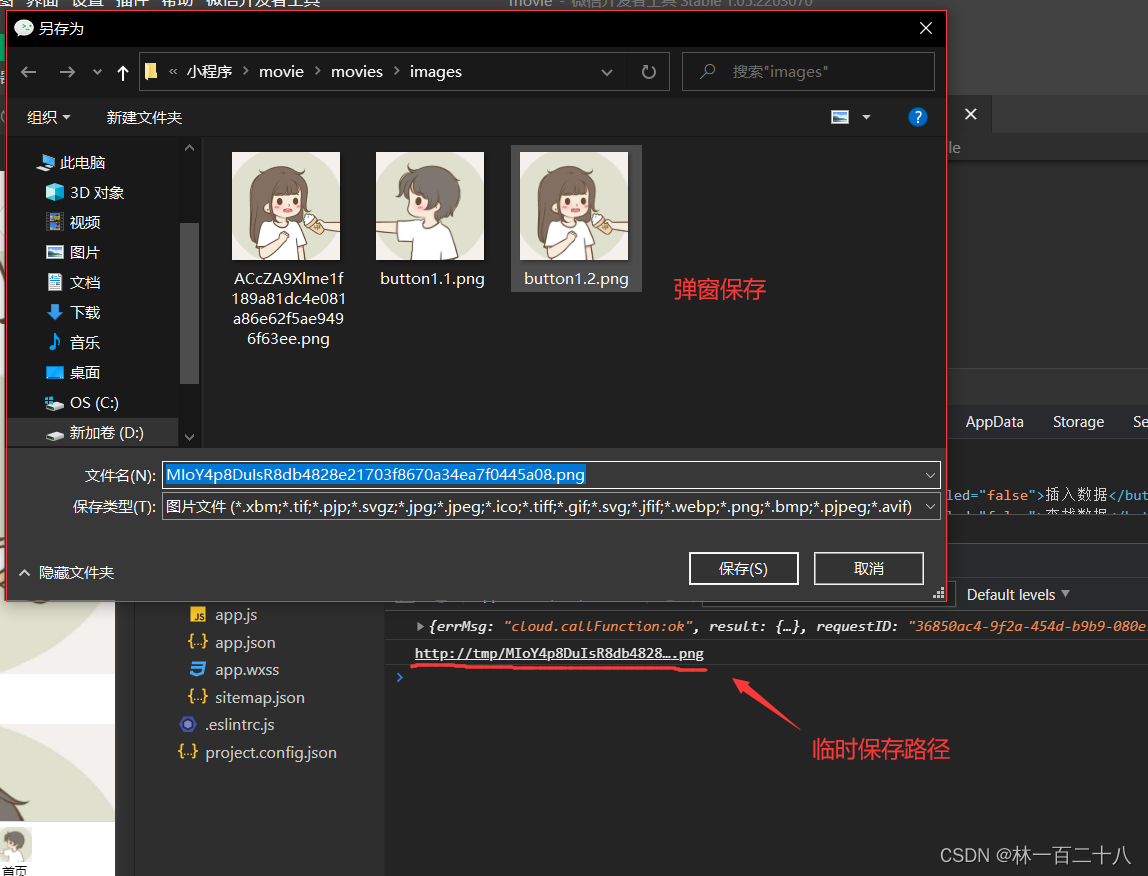
3、调试器效果如下

4、效果如下
[https://live.csdn.net/v/embed/194916]
总结
这里介绍的内容其实在小程序官方开发文档里已经有详细的介绍了,所以说官方文档是非常重要的,很重要,很重要,很重要,重要的事情说四遍。
建议浏览,链接如下:


【推荐】国内首个AI IDE,深度理解中文开发场景,立即下载体验Trae
【推荐】编程新体验,更懂你的AI,立即体验豆包MarsCode编程助手
【推荐】抖音旗下AI助手豆包,你的智能百科全书,全免费不限次数
【推荐】轻量又高性能的 SSH 工具 IShell:AI 加持,快人一步
· 震惊!C++程序真的从main开始吗?99%的程序员都答错了
· 【硬核科普】Trae如何「偷看」你的代码?零基础破解AI编程运行原理
· 单元测试从入门到精通
· 上周热点回顾(3.3-3.9)
· winform 绘制太阳,地球,月球 运作规律