1、custom\b2c\site.xml 新增
<module id='b2c' controller='site_employee' >
        <name>employee</name>
        <title>企业员工</title>
        <disable>false</disable>
    </module>
2、b2c下面新增employee.php
class b2c_ctl_site_employee extends b2c_frontpage
{
    function __construct(&$app)
    {
        parent::__construct($app);
//        $shopname = app::get('site')->getConf('site.name');
//        if (isset($shopname)) {
//            $this->title = app::get('b2c')->_('员工中心') . '_' . $shopname;
//            $this->keywords = app::get('b2c')->_('员工中心') . '_' . $shopname;
//            $this->description = app::get('b2c')->_('员工中心') . '_' . $shopname;
//        }
//
//        $this->member = $this->get_current_member();

        /** end **/
    }
    function index()
    {
        $this->set_tmpl('employee');
        $this->page('site/employee/index.html');
    }
}
3、Ecstore添加自定义的模板页面类型
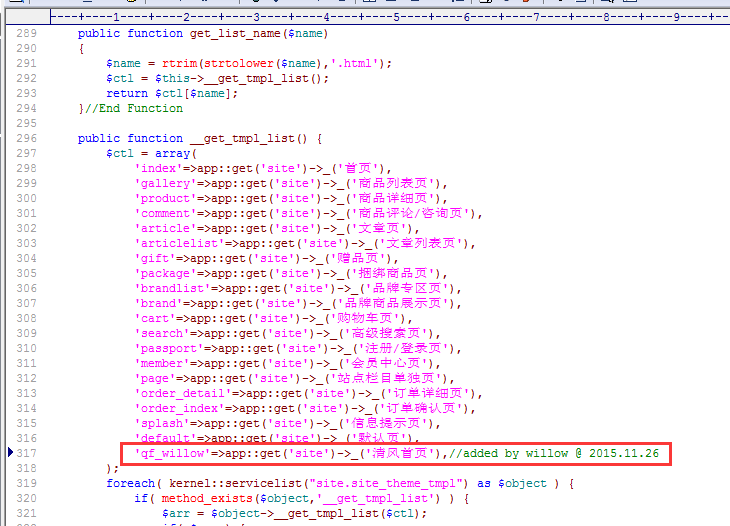
第一步:
修改/app/site/lib/theme/tmpl/dbsave.php和/app/site/lib/theme/tmpl/fssave.php中的函数:
__get_tmpl_list,"qf_willow" 为app/自建模块/site.xml中的module>name

第二步:
在自建模块的controller中,模板文件输出(即 $this->page('site/qf_willow.html'); )前添加: $this->set_tmpl('qf_willow');

update app


