Vue瞎j学 组件
Vue学过但也没学过,主要把不清楚的地方记一记。这篇主要记录组件相关的内容。
组件Prop的Attribute继承#
单根组件#
单根组件,外部设置的属性会被设置到组件根元素上。
<div id="app">
    <custom-component style="background-color: black;"></custom-component>
</div>
<script>
    // ...
    app.component('custom-component', {
        template: `<header></header>`
    });
</script>
这个设置到custom-component上的style属性会被设置到渲染后的header上。
如果你不想要这个默认行为,可以设置inheritAttrs为false。
app.component('custom-component', {
    inheritAttrs: false,
    template: `<header></header>`
});
多根组件#
对于多根组件,默认不会将属性绑定到任何根子元素上,而且会在控制台输出警告
<div id="app">
    <custom-layout style="background-color: black;"></custom-layout>
</div>
<script>
    // ...
    app.component('custom-layout', {
        template: `
        <header></header>
        <main></main>
        <footer></footer>
        `
    });
</script>
如果想将属性绑定到某个子根元素上,可以使用
app.component('custom-layout', {
    template: `
    <header v-bind="$attrs"></header>
    <main v-bind="$attrs"></main>
    <footer></footer>
    `
});
emit验证#
在子组件中向父组件发射事件时,可以使用emits进行验证
<template id="custom-form">
    <form>
        Email:
        <input type="text" v-model="email"> <br>
        Password:
        <input type="text" v-model="password"> <br>
        <button @click.prevent="submitForm(email, password)">提交</button>
    </form>
</template>

<script>

    app.component('custom-form', {
        emits: {
            submit: ({ email, password }) => {
                return email && password && email.length>0 && password.length>0;
            }
        },
        data () {
            return {
                email: '',
                password: ''
            }
        },
        methods: {
            submitForm (email, password) {
                this.$emit('submit', { email, password });
            }
        },
        template: '#custom-form'
    });

</script>
这里验证了事件发生时email和password的长度并且,除了控制台多出了一条warning外,我没看出有什么区别。
组件中的v-model#
组件中的子元素没法直接通过v-model和父级进行双向数据绑定。但是,v-model不过是v-bind和事件组合使用的语法糖。
这两条代码,一个是通过v-model写的,一个是通过v-bind和事件组合编写的,其效果一致。
message: {{message}}
<input type="text" v-model="message">
<input type="text" :value="message" @input="message=$event.target.value">
所以在组件中也可以按照这种办法恢复v-model的使用权。
组件中的v-model:属性名="data中的变量",实际上是把这个变量以prop的形式传递到组件中,prop的名字就是冒号后面的属性名。所以我们可以通过v-bind的方式将用户通过v-model传入的prop绑定到对应位置,再通过监听不同的事件,向父组件发送数据已被更改的事件即可。
<template id="name-editor">
    <div>
        firstName:
        <input type="text" :value="firstName"
                @input="$emit('update:firstName', $event.target.value)"> <br>
        lastName:
        <input type="text" :value="lastName"
                @input="$emit('update:lastName', $event.target.value)">
    </div>
</template>
app.component('name-editor', {
    template: '#name-editor',
    props: ['firstName', 'lastName']
});
然而默认情况下,如果你不给v-model传递参数,它会绑定到modelValueprop上,你要通过update:modelValue更新它。
这段代码是Vue3的,Vue2中应该不是这样写,不过原理一致
Vue2中的这里我虽然能写出来,但一直迷糊,可能是因为Vue2默认情况下的处理太让人迷惑了,Vue3很清晰。
v-model修饰符#
对于传递到子组件中的v-model修饰符,会被注入到名字Modifiers中。
例如给firstName添加一个Modifiers,用于指定该字段中的所有字符都变成大写。
app.component('name-editor', {
    template: '#name-editor',
    props: ['firstName', 'lastName', 'firstNameModifiers'],
    methods: {
        emitValue (e) {
            let value = e.target.value;
            if(this.firstNameModifiers.capitalize) {
                value = value.toUpperCase();
            }
            this.$emit('update:firstName', value);
        }
    }
});
<name-editor v-model:first-name.capitalize="firstName"
            v-model:last-name="lastName"></name-editor>
对于没有参数的v-model,修饰符会被注入到名字为modelModifiers的prop中。
始终记住,要使用这些功能,请先在props中声明
插槽渲染作用域#
<template id="component">
    <div>
        <slot>Default Text</slot>
    </div>
</template>
<div id='app'>
    <component>
        ABCDEFG {{message}}
    </component>
</div>
这个message一定要定义在和引用组件同级别的作用域里,在这个例子中就是#app中。不能这样访问定义在组件data中的数据。
具名插槽#
有时候组件中需要由多个插槽,这时候就要给插槽命名。
<template id="ui-container">
    <header>
        <slot name="header"></slot>
    </header>
    <main>
        <slot></slot>
    </main>
    <footer>
        <slot name="footer"></slot>
    </footer>
</template>
在使用时,需要使用一个template并加上v-slot来指定使用哪一个插槽。
<div id='app'>
    <ui-container>
        <template v-slot:header>
            <h1>Header</h1>
        </template>
        <template v-slot:default>
            <p>Content</p>
        </template>
        <template v-slot:footer>
            <p>Footer</p>
        </template>
    </ui-container>
</div>
作用域插槽#
有时候还需要在父组件的插槽中引用子组件中定义的数据。比如这里,我想把列表项结构的选择权留给外部,而不是定义在组件内部。
app.component('todo-list', {
    data () {
        return {
            todoList: [
                {id: 0, todo: '洗脸'},
                {id: 1, todo: '刷牙'},
                {id: 2, todo: '上厕所'},
            ]
        }
    },
    template: `
    <ul>
        <li v-for="item in todoList">
            <slot></slot>
        </li>
    </ul>
    `
    });
可以通过给slot绑定属性
template: `
<ul>
    <li v-for="item in todoList">
        <slot :todo-item="item"></slot>
    </li>
</ul>
`
在外部通过一个template选择插槽并指定插槽属性要设置到的对象名,Vue会创建这个对象,你就可以使用这些数据了
<todo-list>
    <template v-slot:default="slotProps">
        <h1>{{slotProps.todoItem.todo}}</h1>
    </template>
</todo-list>
由于只有一个插槽,可以简写成如下形式
<todo-list v-slot="slotProps">
  <h1>{{ slotProps.todoItem.todo }}</h1>
</todo-list>
如果有多个插槽,请始终使用完整的template写法。
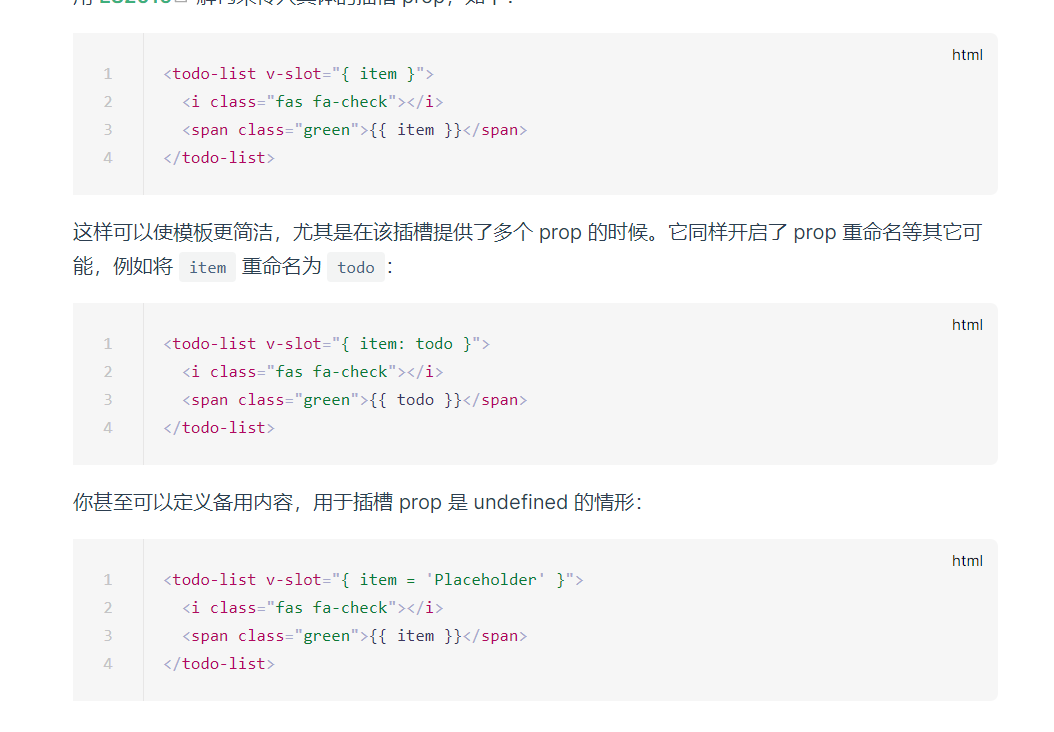
这有些骚操作可以对这个插槽prop解构
Provide/Inject#
这好像是Vue3才有的新功能,我在Vue2文档里和学校的课程里都没听说过。
早先在开发嵌套层级很深的组件,传值时很费劲,需要使用props逐级传递。
其实仔细考虑下,子组件依赖层级很高的祖先组件中的状态,可能有不少时候是设计失误。
不管咋的Provide/Inject提供了这么个功能,让子组件和祖先组件不管中间跨越了多少组件都可以直接传值。
app.component('grand-child', {
    template: 'rootValue:{{valueFromRoot}}',
    inject: ['valueFromRoot']
});
app.component('child', {
    template: '<grand-child></grand-child>'
});
app.component('root', {
    template: '<child></child>',
    provide: {
        valueFromRoot: 666
    }
});
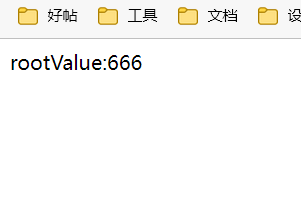
这里孙子组件跨越了子组件直接访问了根组件中的属性。
有一个问题是,provide中的this并访问不到组件data中的数据。这是一个错误的例子
app.component('root', {
    template: '<child></child>',
    data () {
        return {
            value: 666
        }
    },
    provide: {
        valueFromRoot: this.value
    }
});
如果想要引用data中的数据,请将provide转换为方法。
app.component('root', {
    template: '<child></child>',
    data () {
        return {
            value: 666
        }
    },
    provide () {
        return {
            valueFromRoot: this.value
        }
    }
});
我感觉,一直使用方法不也挺好吗,至少和data的写法保持一致。
处理响应性#
不过这样的话,就相当于在provide中直接将valueFromRoot设置成this.value,只是一次简单的赋值,并没有响应式。
可以使用computed
provide () {
    return {
        valueFromRoot: Vue.computed(() => this.value)
    }
}
这是Vue3的组合式API,我还不太明白,以后再说。
keep-alive#
这是一个简单的用Vue写的分页
<div id='app'>
    <div class="btn-group">
        <button v-for="page in pages" @click="currentPage=page.component">
            {{page.pageName}}
        </button>
        <component :is="currentPage"></component>
    </div>
</div>
关键是组件的状态不会被记录,像这样
加上keepalive,就可以记录状态了。
<keep-alive>
    <component :is="currentPage"></component>
</keep-alive>
异步组件#
const asyncComponent = Vue.defineAsyncComponent(
    () => new Promise((resolve, reject) => {
        setTimeout(function(){
            resolve({
                template: '<div>I am async!</div>'
            })
        }, 1000)
    })
)

app.component('async-component', asyncComponent);
作者:Yudoge
出处:https://www.cnblogs.com/lilpig/p/15356974.html
版权:本作品采用「署名-非商业性使用-相同方式共享 4.0 国际」许可协议进行许可。
欢迎按协议规定转载,方便的话,发个站内信给我嗷~


【推荐】国内首个AI IDE,深度理解中文开发场景,立即下载体验Trae
【推荐】编程新体验,更懂你的AI,立即体验豆包MarsCode编程助手
【推荐】抖音旗下AI助手豆包,你的智能百科全书,全免费不限次数
【推荐】轻量又高性能的 SSH 工具 IShell:AI 加持,快人一步
· AI与.NET技术实操系列:向量存储与相似性搜索在 .NET 中的实现
· 基于Microsoft.Extensions.AI核心库实现RAG应用
· Linux系列:如何用heaptrack跟踪.NET程序的非托管内存泄露
· 开发者必知的日志记录最佳实践
· SQL Server 2025 AI相关能力初探
· 震惊!C++程序真的从main开始吗?99%的程序员都答错了
· 【硬核科普】Trae如何「偷看」你的代码?零基础破解AI编程运行原理
· 单元测试从入门到精通
· winform 绘制太阳,地球,月球 运作规律
· 上周热点回顾(3.3-3.9)