AIStation制作DeepSpeed镜像
如何在AIStation训练平台中制作DeepSpeed镜像
需要注意:以下操作都是在普通账户操作的,管理员无法操作
一、导入NGC镜像
1.1到NGC官网连接https://catalog.ngc.nvidia.com/orgs/nvidia/containers/pytorch/tags,根据需求torch及cuda版本,选择对应的NGC镜像地址,并复制,如选择希望导入21.10-py3版本的pyrorch镜像,点击复制。

1.2登录Ai staion平台 在“业务管理-镜像管理-导入-外部导入”


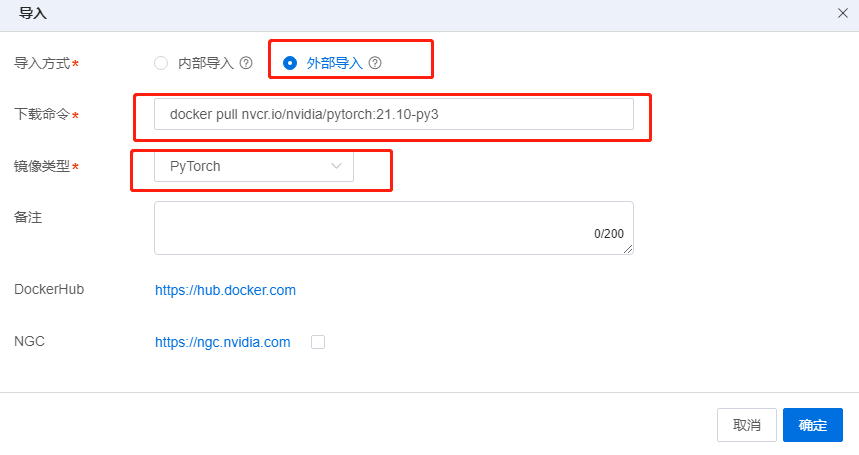
下载命令输入:docker pull nvcr.io/nvidia/pytorch:21.10-py3
镜像类型选择为:pytorch
最后点击确定
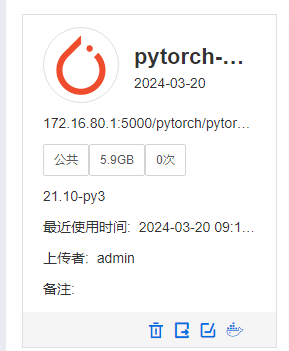
在传输列表中可以看到进度


完成后可以看到
二、创建开发环境
2.1在“业务管理-开发环境-创建”选择刚才导入的镜像,资源选择GPU及CPU,创建开发环境。

2.2默认是这样的
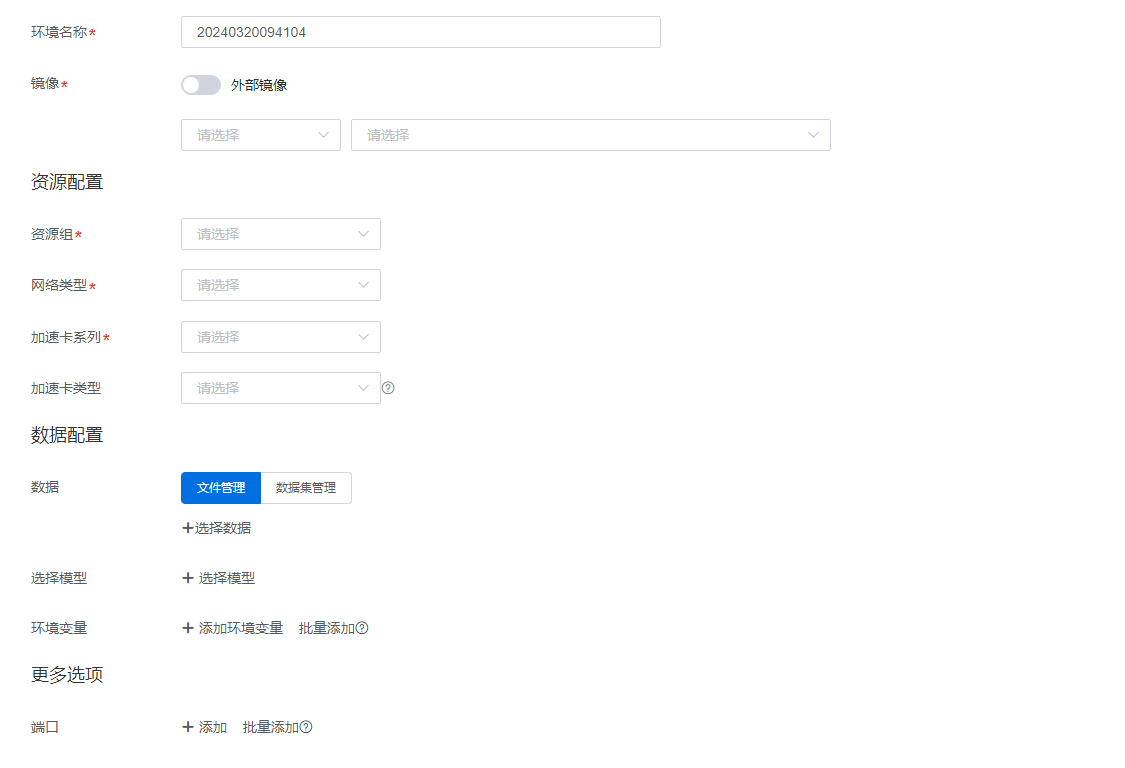
2.3选择刚刚导入的镜像

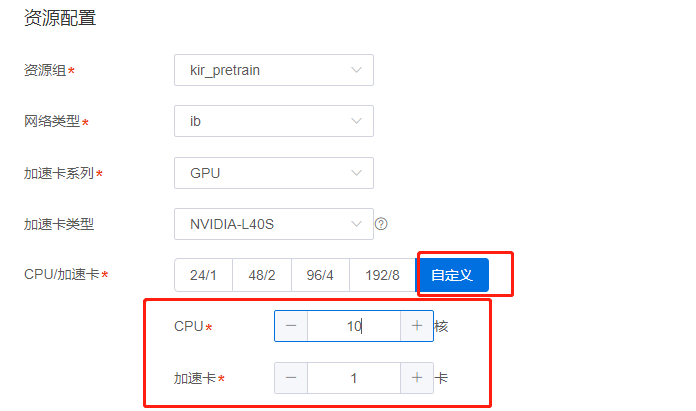
2.4资源配置
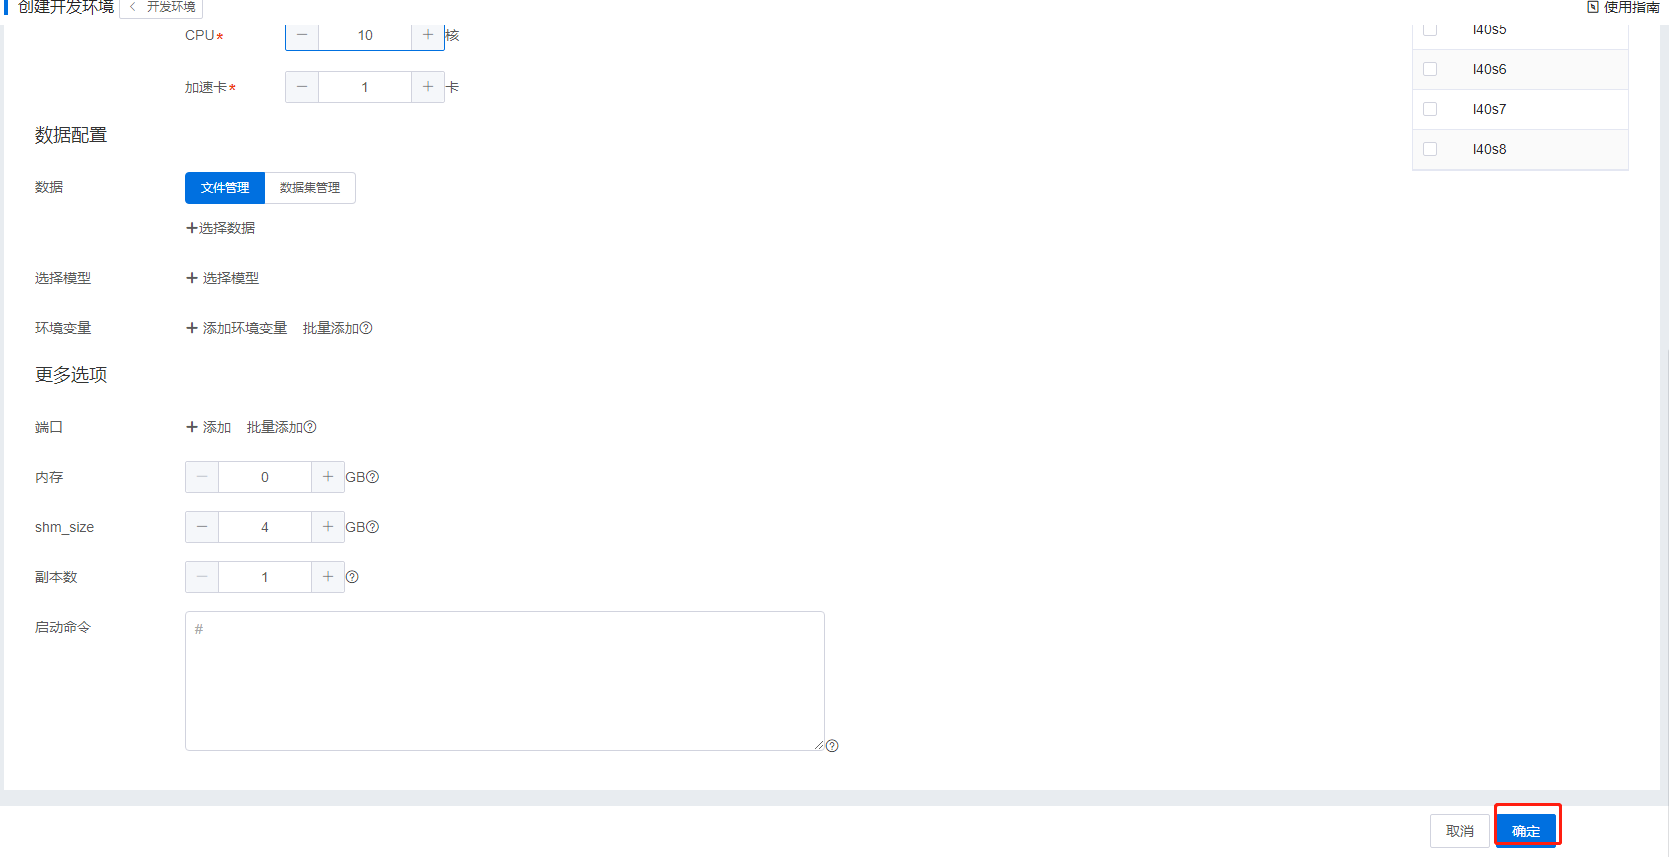
最后点击确定
可以看到正在排队

三、在开发环境安装依赖组件
3.1点击进入

3.2选择shell终端
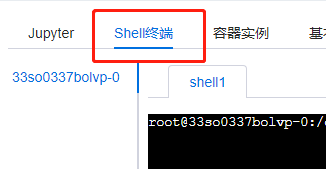
3.3使用pip安装deepspeed及其依赖组件:
3.3.1安装依赖组件(如果使用其他镜像,安装的依赖组件可能不同)
pip install deepspeed ninja -i https://pypi.tuna.tsinghua.edu.cn/simple
3.3.2安装cuda
wget https://developer.download.nvidia.com/compute/cuda/12.2.0/local_installers/cuda_12.2.0_535.54.03_linux.run
sh cuda_12.2.0_535.54.03_linux.run # 版本需要根据实际需求替换
3.3.3如果报错./cuda-installer: error while loading shared libraries: libxml2.so.2: cannot open shared object file: No such file or directory
那么证明你是在docker里安装的
需要执行下面两条命令
#更新源
apt update
#安装libxml2插件
apt -y install libxml2
然后再安装
sh cuda_12.2.0_535.54.03_linux.run
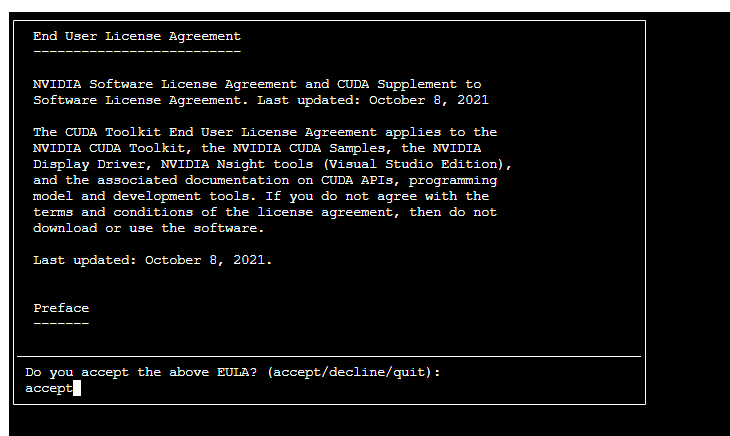
3.3.4如果提示: Installation failed. See log at /var/log/cuda-installer.log for details.
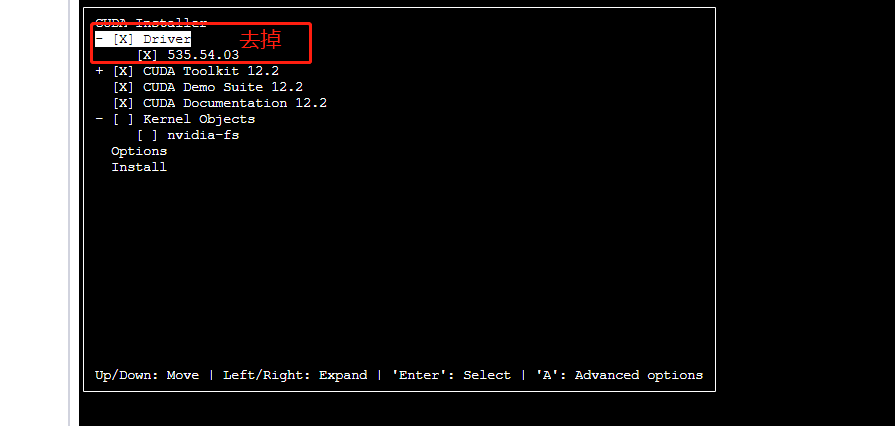
那么需要把-[x]Drive去掉 详见下图
sh cuda_12.2.0_535.54.03_linux.run
执行后输入accpet
然后会到这个界面
回车去掉-[x]Drive
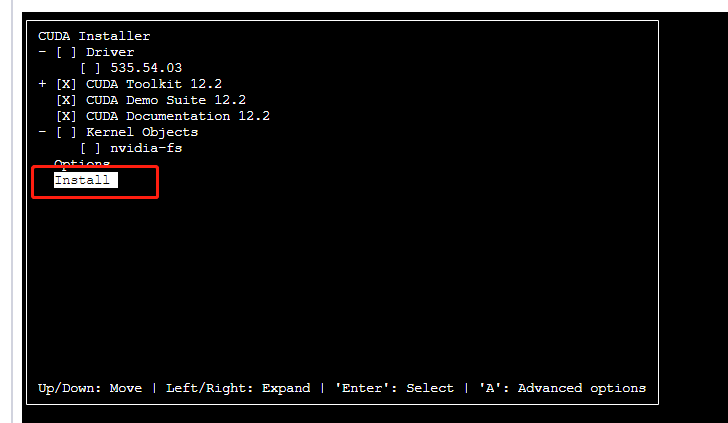
最后选择Install
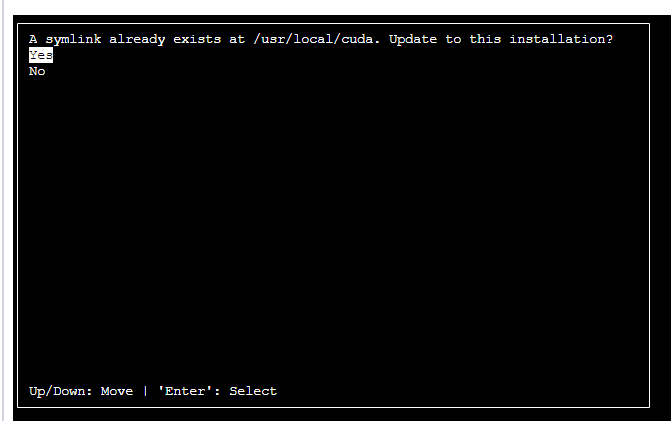
选择Yse覆盖
提示安装成功

3.3.5输入nvcc -V
查看版本

注意:
容器镜像的/usr/bin 目录的owner 是1000 修改root就新可以了
chown root:root /usr/lib
3.3.6安装pdsh
apt-get update && apt-get install pdsh
3.3.7安装ssh服务
apt-get update && apt-get install openssh-server && mkdir –p /run/sshd
如果openssh-server 安装不上就更换成阿里云源或者多安装几次
更换阿里云源操作:
先复制一份
cp -i /etc/apt/sources.list /etc/apt/sources.list.backup
vim /etc/apt/sources.list
按esc后输入以下两条命令进行替换
:%s/http:\/\/security\.ubuntu\.com\/ubuntu\//http:\/\/mirrors\.aliyun\.com\/ubuntu\//g
:%s/http:\/\/archive\.ubuntu\.com\/ubuntu\//http:\/\/mirrors\.aliyun\.com\/ubuntu\//g
然后保存退出
清理缓存然后更新安装
apt clean
apt-get update
apt-get install openssh-server
就可以正常安装了
如果提示报错:
E: The repository 'http://mirrors.aliyun.com/ubuntu xenial-backports InRelease' is not signed.
N: Updating from such a repository can't be done securely, and is therefore disabled by default.
N: See apt-secure(8) manpage for repository creation and user configuration details.
那么就把镜像源再换回来
cp -r /etc/apt/sources.list.backup /etc/apt/sources.list
重新安装发现成功
apt clean
apt-get update
apt-get install openssh-server
3.3.8修改/etc/ssh/sshd_config文件,允许root登陆
添加以下内容
PermitRootLogin yes

然后保存退出
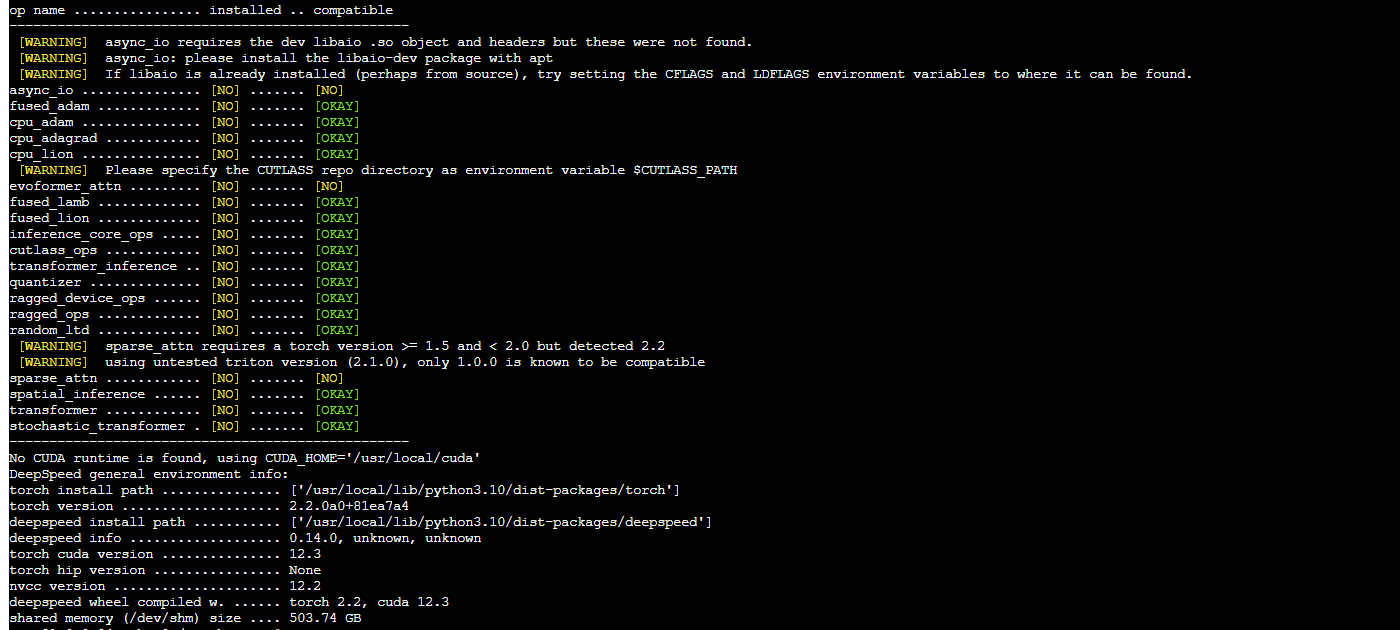
3.4查看结果
输入:
ds_report
显示如下:
四、保存镜像
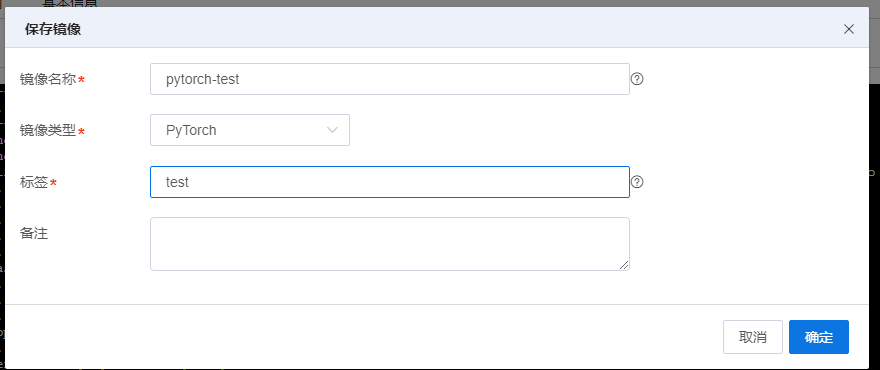
点击保存镜像

输入名称和标签
