SenjuFamily项目总结 之 Activiti 学习总结(一)
项目干了一年了,最近开始整理一下项目中用到的知识,算是年末总结了。
大概有如下几个点:
1.Actitivi
2.JPA
3.WebService
4.JVM使用以及代码优化(这个地方,主要参考周志明的《Java虚拟机》)
一、Activiti Explorer
1.安装Activiti Explorer
进入正题,本篇,主要整理工作流中用到的技术Activiti。
我使用的版本是5.2.2。我讲zip文件放到百度云盘中了,大家需要的话,自行下载。
https://pan.baidu.com/disk/home#list/vmode=list&path=%2F%E6%88%91%E7%9A%84%E8%B5%84%E6%BA%90
下载完后,自己解压,解压后会有readme.html这个文件,里面是官方文档,当然是最权威,最详细的了,如果不爱看文档,那么可以看我下面的介绍,一步步跟着做。
①安装java和tomcat,相信大多数人都有,没有的话自己安装。
②将\activiti-5.22.0\wars中的activiti-explorer.war和activiti-rest.war,复制到tomcat下的webapps目录下,然后启动tomcat
③启动tomcat之后,在浏览器下输入如下地址:http://localhost:8080/activiti-explorer
注意,tomcat端口号默认是8080,如果你的不是这个,改成你自己的端口号。
④登录用户
kermit password:kermit
gonzo password:gonzo
fozzie password:fozzie
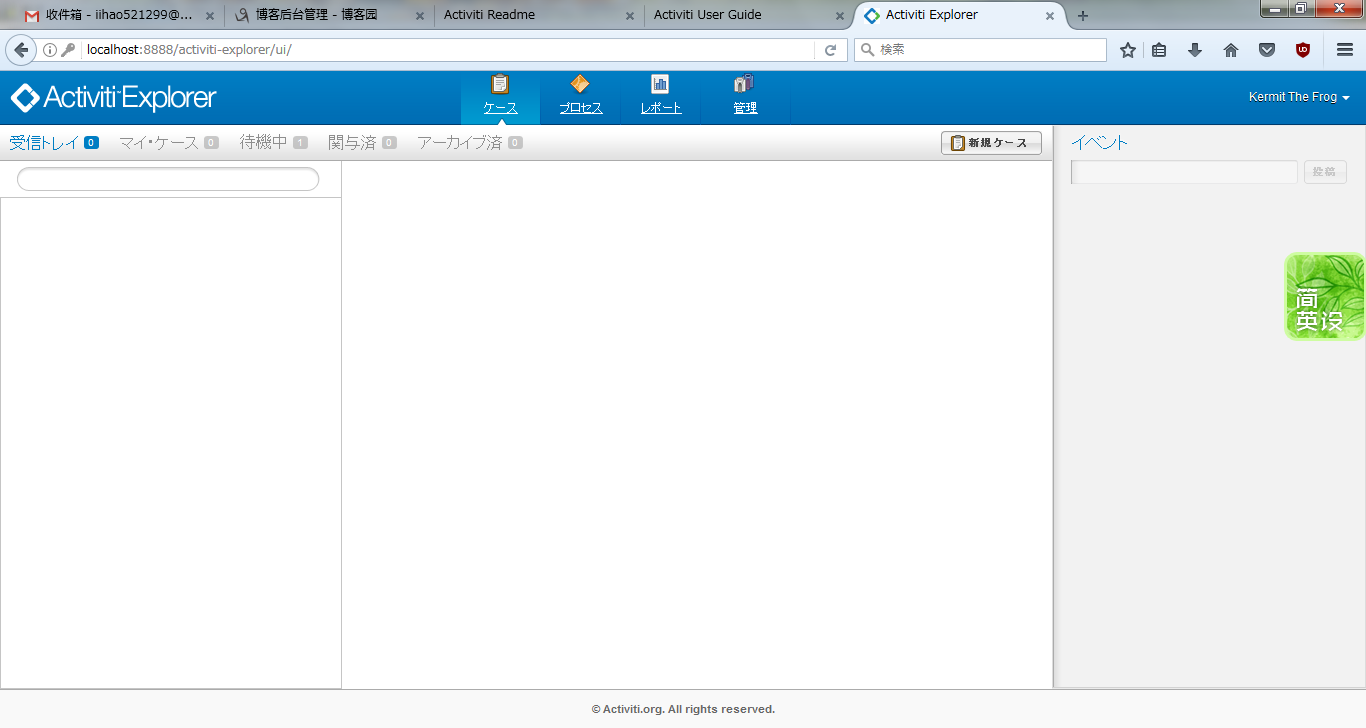
⑤登录成功会显示下面的画面

2.插入数据表
我用的是Mysql的数据库。win7 32bit。注意,版本要求Mysql至少是5.7的,否则会报错。接下来我进行我数据库5.6到5.7的升级,如果您的数据库已经是5.7的,直接越过升级的部分。
(1)数据库升级
①关闭原先的数据库服务(服务名称区分大小写,同时注意后面不要打分号;)
cmd下 mysqld --remove mysql5.6
②下载5.7的压缩包
https://dev.mysql.com/downloads/mysql/
③将5.6中的data文件夹和my.ini文件复制到5.7中,my.ini文件内容如下

 1 # For advice on how to change settings please see
 2 # http://dev.mysql.com/doc/refman/5.6/en/server-configuration-defaults.html
 3 # *** DO NOT EDIT THIS FILE. It's a template which will be copied to the
 4 # *** default location during install, and will be replaced if you
 5 # *** upgrade to a newer version of MySQL.
 6
 7 [mysqld]
 8
 9 # Remove leading # and set to the amount of RAM for the most important data
10 # cache in MySQL. Start at 70% of total RAM for dedicated server, else 10%.
11 # innodb_buffer_pool_size = 128M
12
13 # Remove leading # to turn on a very important data integrity option: logging
14 # changes to the binary log between backups.
15 # log_bin
16
17 # These are commonly set, remove the # and set as required.
18  basedir = C:\d\install_software\mysql-5.7.20
19  datadir = C:\d\install_software\mysql-5.7.20\data
20  port = 3306
21 # server_id = .....
22
23
24 # Remove leading # to set options mainly useful for reporting servers.
25 # The server defaults are faster for transactions and fast SELECTs.
26 # Adjust sizes as needed, experiment to find the optimal values.
27 # join_buffer_size = 128M
28 # sort_buffer_size = 2M
29 # read_rnd_buffer_size = 2M
30
31 # 允许最大连接数
32 max_connections=200
33 # 服务端使用的字符集默认为8比特编码的latin1字符集
34 character-set-server=utf8
35 # 创建新表时将使用的默认存储引擎
36 default-storage-engine=INNODB
37 sql_mode=NO_ENGINE_SUBSTITUTION,STRICT_TRANS_TABLES
38 [mysql]
39 # 设置mysql客户端默认字符集
40 default-character-set=utf8
④添加5.7的服务,并启动
mysqld --install mysql5.7
net start mysql5.7
⑤升级mysql.
在这里有几个坑,我遇到了,大家注意。
首先要先停掉mysql,然后cmd下输入mysqld --skip-grant-tables & 这时光标会一直停在这里,然后在启动一个新的cmd窗口,输入如下命令:mysql_upgrade
这样你就可以成功升级了。
⑥重新启动db服务
我重启的时候,启动失败,我试了几个方法都失败了,最后重启了电脑,好使了!!!!
net start mysql服务名字
⑦路径activiti-5.22.0\database\create下的mysql对应sql文件,执行。OK!到此为止数据库表插入成功。
3.Activiti Explorer的使用
我考虑了一下,关于使用的这个部分,用文字来描述实在是非常的困难。所以我推荐几个youtube的一些视频,作为参考。
https://www.youtube.com/watch?v=KvYixeucMog&list=PLrO6-gUPtOCtjkv99j5YDc5oOgv-MBi9I
https://www.youtube.com/watch?v=CRvwGXEfVDU&list=PLrO6-gUPtOCtjkv99j5YDc5oOgv-MBi9I&index=2


