IdentityServer4与API单项目整合(net core 3.X)
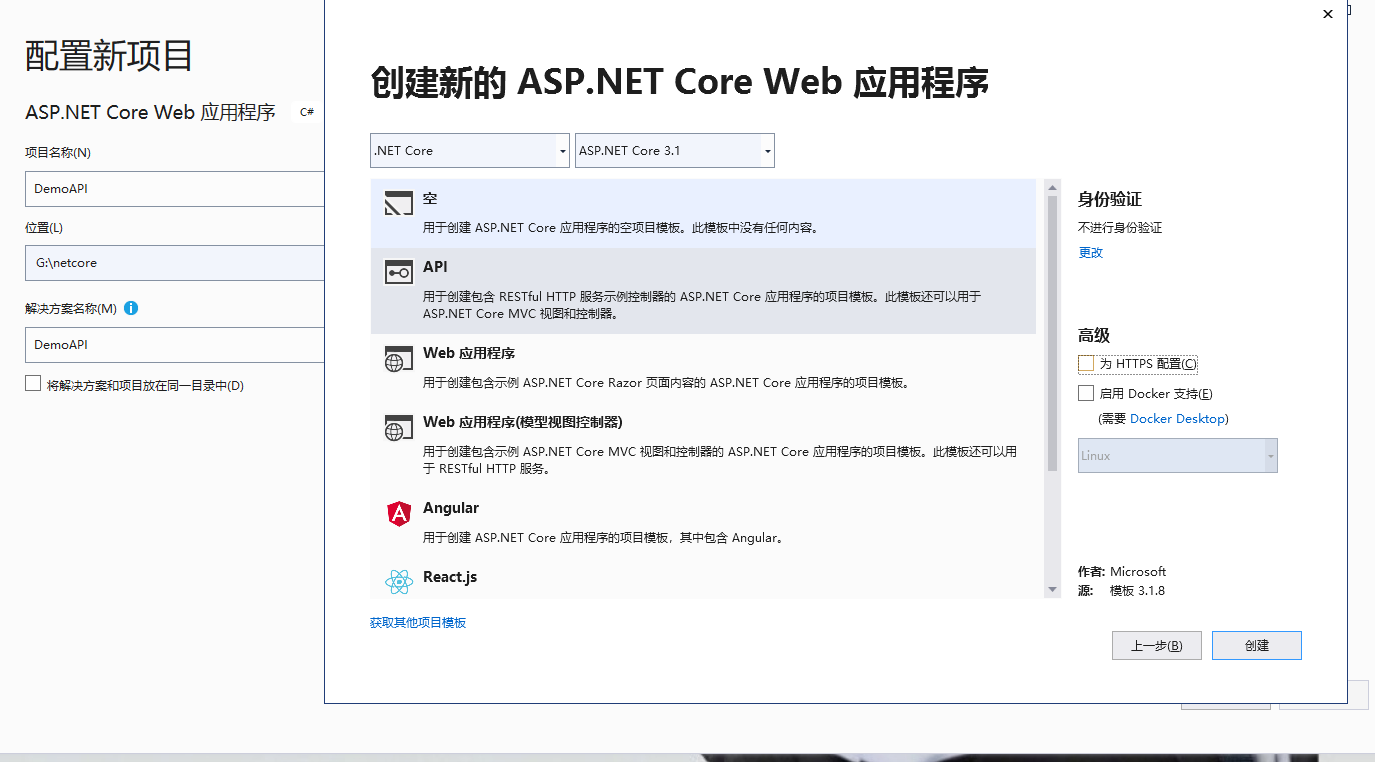
一、创建一个空的api项目
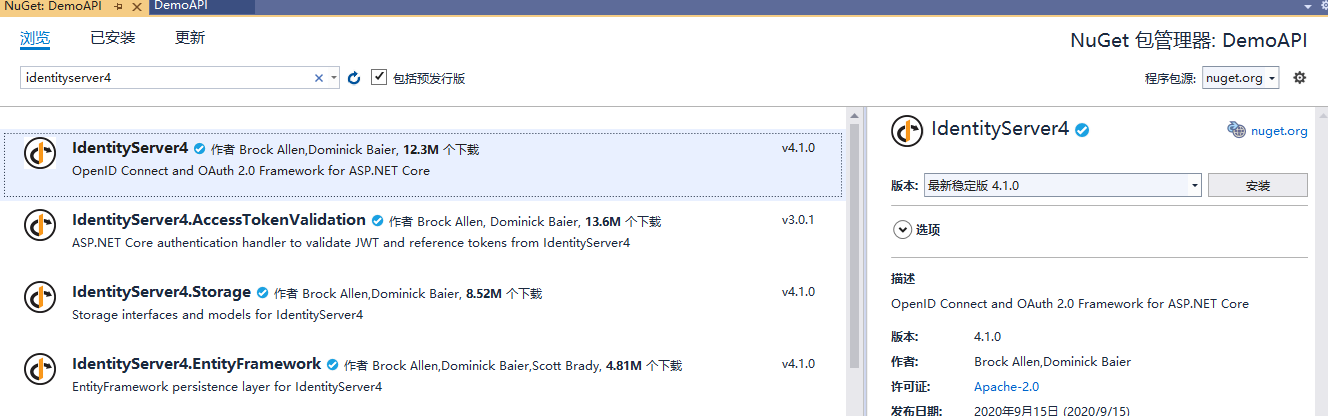
添加identityserver4的nuget包
配置config文件
public static IEnumerable<IdentityResource> GetIdentityResources()
        {
            return new IdentityResource[]
            {
                new IdentityResources.OpenId(),
                new IdentityResources.Profile(),
            };
        }
        /// <summary>
        /// API信息
        /// </summary>
        /// <returns></returns>
        public static IEnumerable<ApiResource> GetApis()
        {
            return new[]
            {
                new ApiResource(IdentityServerConstants.LocalApi.ScopeName),
                new ApiResource("manageApi", "Demo API with Swagger")
            };
        }
        /// <summary>
        /// 客服端信息
        /// </summary>
        /// <returns></returns>
        public static IEnumerable<Client> GetClients()
        {
            return new[]
            {
                new Client
                {
                    ClientId = "clientId",//客服端名称
                    ClientName = "Swagger UI for demo_api",//描述
                    AllowedGrantTypes = GrantTypes.ResourceOwnerPassword ,//指定允许的授权类型(AuthorizationCode,Implicit,Hybrid,ResourceOwner,ClientCredentials的合法组合)。
                    AllowAccessTokensViaBrowser = true,//是否通过浏览器为此客户端传输访问令牌
                    AccessTokenLifetime = 3600*24,
                    AuthorizationCodeLifetime=3600*24,
                    ClientSecrets ={new Secret("secret".Sha256())},
                    //RedirectUris =
                    //{
                    //    "http://localhost:59152/oauth2-redirect.html"
                    //},
                    AllowedCorsOrigins = new string[]{ "http://localhost:9012", "http://101.133.234.110:21004",  "http://115.159.83.179:21004" },
                    AllowedScopes = { "manageApi", IdentityServerConstants.LocalApi.ScopeName }//指定客户端请求的api作用域。 如果为空,则客户端无法访问
                }
            };
        }
在Startup.cs中注入IdentityServer服务并使用中间件
 //配置身份服务器与内存中的存储,密钥,客户端和资源
            services.AddIdentityServer()
                   .AddDeveloperSigningCredential()
                   .AddInMemoryApiResources(config.GetApis())//添加api资源
                   .AddInMemoryClients(config.GetClients())//添加客户端
                   .AddInMemoryIdentityResources(config.GetIdentityResources())//添加对OpenID Connect的支持
                     //使用自定义验证
                    .AddResourceOwnerValidator<CustomResourceOwnerPasswordValidator>()
                    .AddProfileService<ProfileService>();
//启用IdentityServer
            app.UseIdentityServer();
接下来,我们去实现CustomResourceOwnerPasswordValidator这个类
创建一个CustomResourceOwnerPasswordValidator类,继承IResourceOwnerPasswordValidator
 public class CustomResourceOwnerPasswordValidator : IResourceOwnerPasswordValidator
    {
        public Task ValidateAsync(ResourceOwnerPasswordValidationContext context)
        {
            throw new NotImplementedException();
        }
    }
接下来,我们就是些验证了
我们创建一个服务,去获取数据库里面的用户,验证是否有当前登录的用户
这里我们创建了一个userservice来验证我们的输入用户是否存在
  public class UserService : IUserService
    {
        public async Task<TestPhoneUser> ValidateCredentials(string nameorphone, string password)
        {
            var dto= TestUser.FirstOrDefault(c => c.Phone == nameorphone && password == c.PassWord);
            if (dto != null)
                return dto;
            else
                return null;
        }
        public class TestPhoneUser
        {
            /// <summary>
            /// 唯一标识
            /// </summary>
            public int Id { get; set; }
            /// <summary>
            /// 手机号
            /// </summary>
            public string Phone { get; set; }
            /// <summary>
            /// 密码
            /// </summary>
            public string PassWord { get; set; }
        }
        public List<TestPhoneUser> TestUser = new List<TestPhoneUser>
        {
            new TestPhoneUser
            {
                Id=1,
                Phone="12345678911",
                PassWord="123qwe"
            },new TestPhoneUser
            {
                Id=2,
                Phone="123",
                PassWord="123qwe"
            }
        };

    }
现在,我们去完善CustomResourceOwnerPasswordValidator
public class CustomResourceOwnerPasswordValidator : IResourceOwnerPasswordValidator
    {
        private readonly IUserService _userService;

        public CustomResourceOwnerPasswordValidator(IUserService userService)
        {
            _userService = userService;
        }
        public async Task ValidateAsync(ResourceOwnerPasswordValidationContext context)
        {
            var dto = await _userService.ValidateCredentials(context.UserName, context.Password);
            if (dto!=null)
            {
                context.Result = new GrantValidationResult(
                   dto.Id.ToString(),
                   "pwd",
                   DateTime.Now);
            }
            else
            {
                //验证失败
                context.Result = new GrantValidationResult(TokenRequestErrors.InvalidGrant, "用户名密码错误");
            }
        }
    }
再要配置profile
 public class ProfileService:IProfileService
    {
        public Task GetProfileDataAsync(ProfileDataRequestContext context)
        {
            context.IssuedClaims = context.Subject.Claims.ToList();
            return Task.CompletedTask;
        }

        public Task IsActiveAsync(IsActiveContext context)
        {
            context.IsActive = true;

            return Task.CompletedTask;
        }
    }
注入刚刚添加的服务
 services.AddScoped<IUserService, UserService>();
 services.AddScoped<IProfileService, ProfileService>();
在Startup.cs中加入identityServer验证
 //用户校验
            services.AddLocalApiAuthentication();

            services.AddAuthorization(options =>
            {
                options.AddPolicy(IdentityServerConstants.LocalApi.PolicyName, policy =>
                {
                    policy.AddAuthenticationSchemes(IdentityServerConstants.LocalApi.AuthenticationScheme);
                    policy.RequireAuthenticatedUser();
                });
            });
app.UseAuthentication();
postman测试
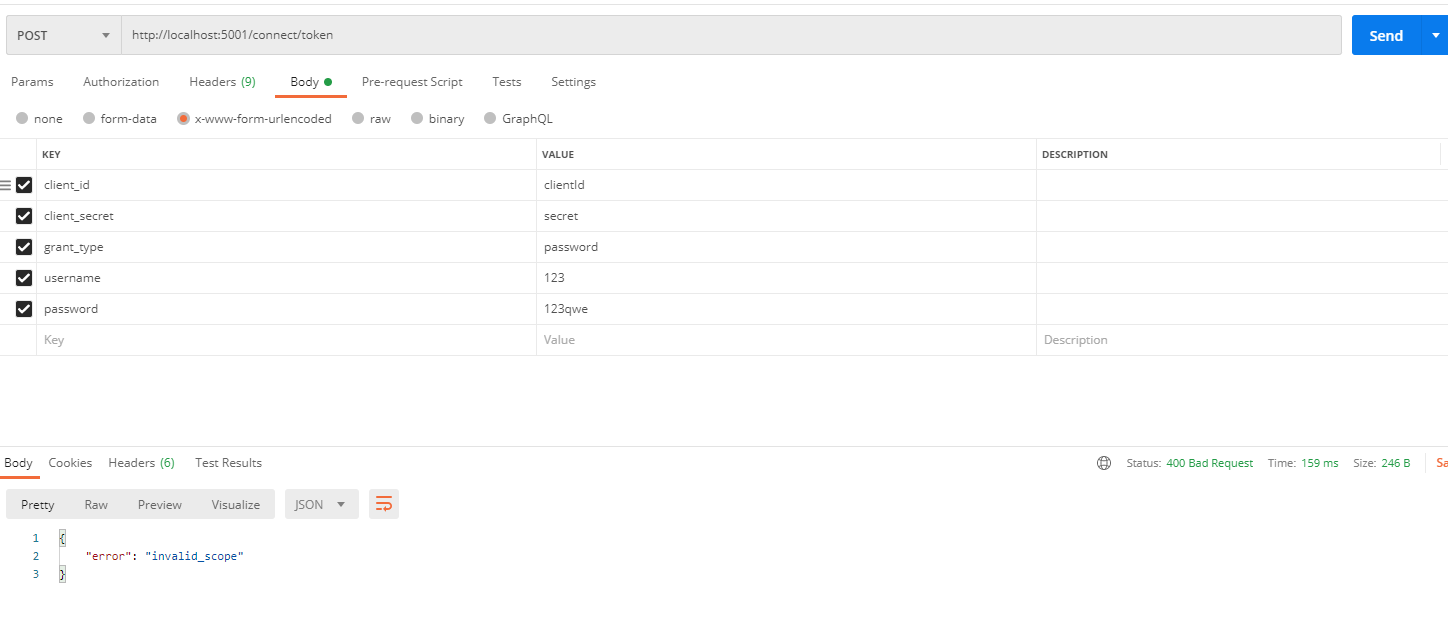
反复验证了很多遍,都没有问题(因为我之前core2.x的时候就是这样写的)
最后去identityserver官网,找到了问题所在
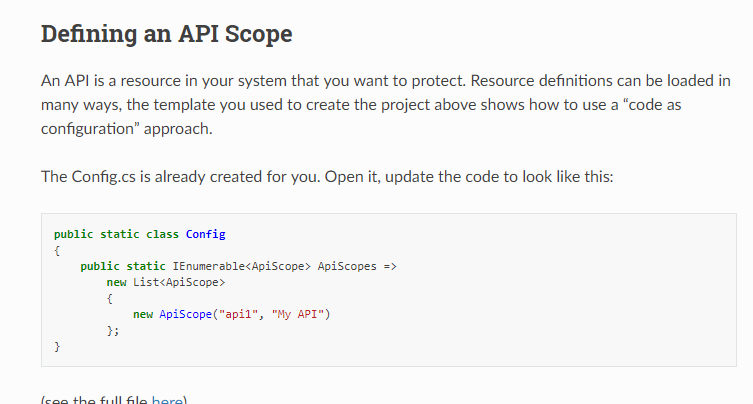
现在的资源都换成了apiscope
然后,我把ApiResource都换成了ApiScope然后再运行

ok,完美!!!(这个坑,坑了我一下午)
最后再给api添加验证就行了
[Authorize(LocalApi.PolicyName)]
访问api
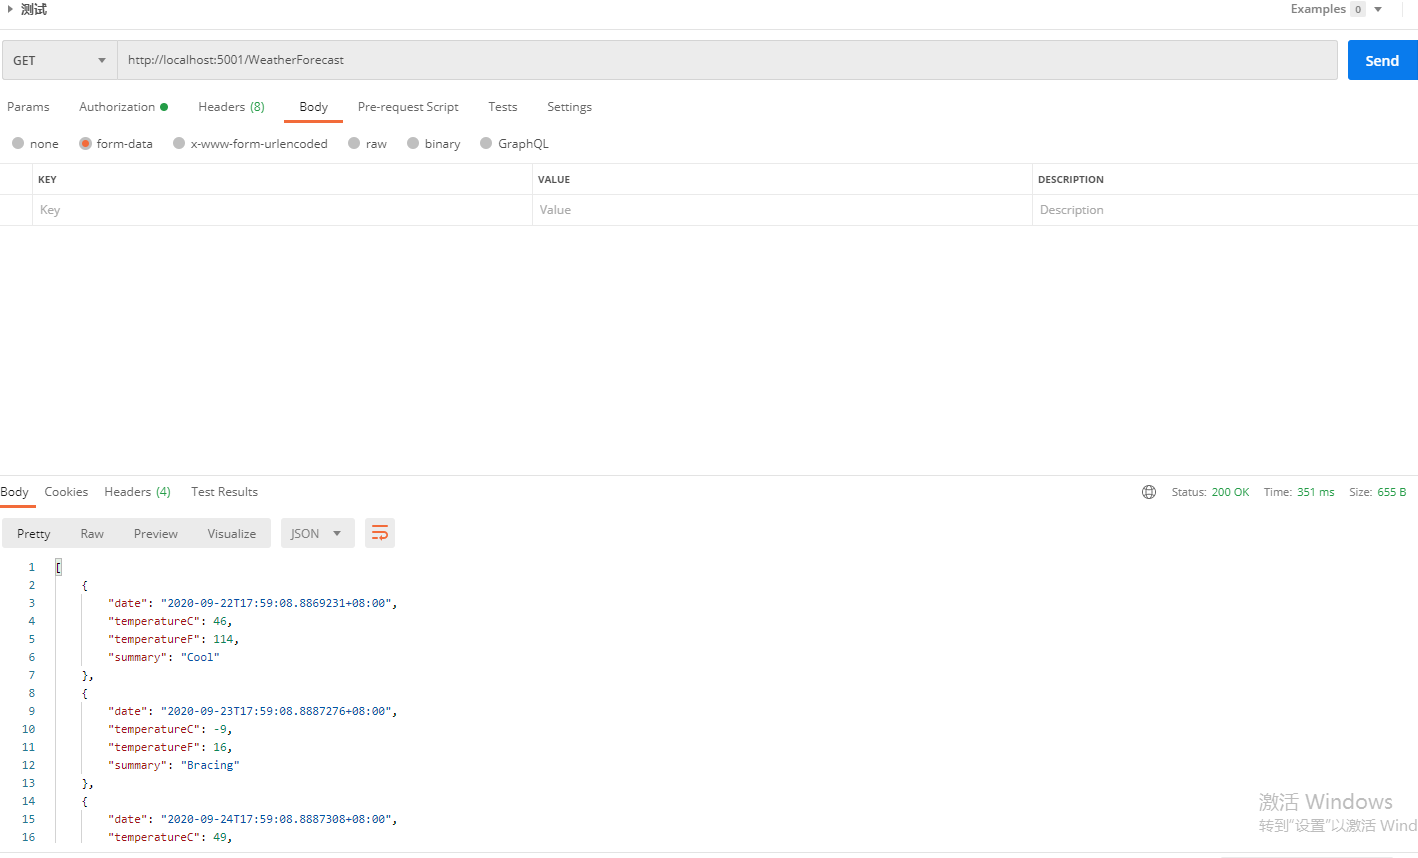
访问成功

 浙公网安备 33010602011771号