vue中使用ueditor
最近在做后台管理系统的时候遇到要使用富文本编辑器。最后选择了ueditor,我的项目使用 vue+vuex+vue-router+webpack+elementUI的方案完成框架的搭建,
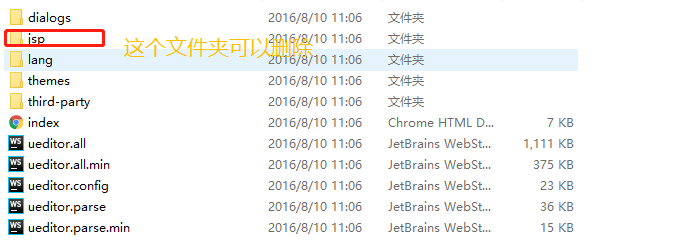
1、下载UEditor官网最新的jsp版本的包,下载完成解压之后得到一个utf8-jsp的文件夹,里面包含的内容如下:


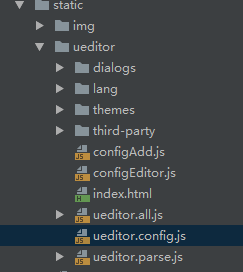
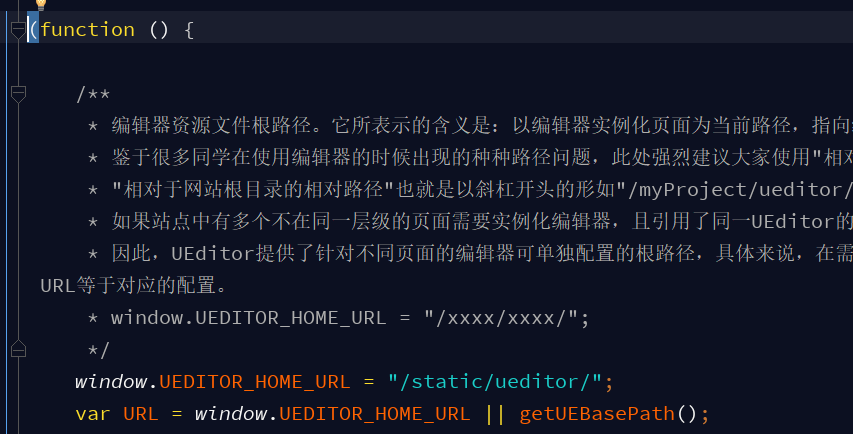
2、将这个文件夹改名为ueditor,并且移入自己项目中的static文件夹下,修改ueditor.config.js文件夹中的内容,如下图:


3、编写子组件
<template>
  <div :id="id" type="text/plain"></div>
</template>
<script>
  import '../../../static/ueditor/ueditor.config.js'
  import '../../../static/ueditor/ueditor.all.min.js'
  import '../../../static/ueditor/lang/zh-cn/zh-cn.js'
  import '../../../static/ueditor/ueditor.parse.min.js'

  export default {
    name: 'UE',
    data() {
      return {
        editor: null
      }
    },
    props: {
      defaultMsg: {
        type: String,
        default: '请输入内容'
      },
      config: {
        type: Object
      },
      id: {
        type: String,
        default: `ue${Math.random(0, 100)}`
      }
    },
    mounted() {
      this.$nextTick(() => {
        this.editor = UE.getEditor(this.id, this.config); // 初始化UE
        this.editor.addListener("ready", () => {
          this.editor.execCommand('insertHtml', this.defaultMsg);
          this.editor.focus() // 确保UE加载完成后,放入内容。
        })
      })
    },
    methods: {
      getUEContent() { // 获取内容方法
        return this.editor.getContent()
      },
      clearContent() { // 清空编辑器内容
        return this.editor.execCommand('cleardoc');
      },
    },
    beforeDestroy() {
      // 组件销毁的时候,要销毁 UEditor 实例
      if (this.editor !== null && this.editor.destroy) {
        this.editor.destroy();
      }
    }
  }
</script>
<style scoped></style>
4、在父组件中使用
<UE :config="configEditor" :id="ue1" ref="ue" :defaultMsg="val"></UE>
5、弄好之后,上传图片会提示后端配置项http错误,文件上传会提示上传错误。这里提别申明一点,ueditor在前端配置好后,需要与后端部分配合进行,然后将配置ueditor.config.js 里的serverUrl的前缀改陈你自己的后端访问的请求路径地址
serverUrl: "统一请求地址"


 浙公网安备 33010602011771号