【Android】Bitmap图像色彩模式:黑白、模糊、老照片、胶卷等(92/100)

图像转换封装工具类BitmapUtil:
/**
 * 图片位图转换工具
 *
 * @author lichong
 * 2022年07月26日15:35:16
 */
public class BitmapUtil {
    public static final String TAG = BitmapUtil.class.getSimpleName();

    // 把位图数据保存到指定路径的图片文件
    public static void saveImage(String path, Bitmap bitmap) {
        // 根据指定的文件路径构建文件输出流对象
        try (FileOutputStream fos = new FileOutputStream(path)) {
            // 把位图数据压缩到文件输出流中
            bitmap.compress(Bitmap.CompressFormat.JPEG, 80, fos);
        } catch (Exception e) {
            e.printStackTrace();
        }
    }

    // 图片黑白效果
    public static Bitmap convertBlack(Bitmap origin) {
        int width = origin.getWidth(); // 获取位图的宽
        int height = origin.getHeight(); // 获取位图的高
        Bitmap bitmap = Bitmap.createBitmap(width, height, Bitmap.Config.RGB_565);
        int[] pixels = new int[width * height]; // 通过位图的大小创建像素点数组
        origin.getPixels(pixels, 0, width, 0, 0, width, height);
        int alpha = 0xFF << 24;
        for (int i = 0; i < height; i++) {
            for (int j = 0; j < width; j++) {
                int grey = pixels[width * i + j];
                int red = ((grey & 0x00FF0000) >> 16);
                int green = ((grey & 0x0000FF00) >> 8);
                int blue = (grey & 0x000000FF);
                grey = (int) (red * 0.3 + green * 0.59 + blue * 0.11);
                grey = alpha | (grey << 16) | (grey << 8) | grey;
                pixels[width * i + j] = grey;
            }
        }
        bitmap.setPixels(pixels, 0, width, 0, 0, width, height);
        return bitmap;
    }

    // 图片怀旧效果
    public static Bitmap convertOld(Bitmap origin) {
        int width = origin.getWidth();
        int height = origin.getHeight();
        Bitmap bitmap = Bitmap.createBitmap(width, height, Bitmap.Config.RGB_565);
        int pixColor = 0;
        int pixR = 0, pixG = 0, pixB = 0, newR = 0, newG = 0, newB = 0;
        int[] pixels = new int[width * height];
        origin.getPixels(pixels, 0, width, 0, 0, width, height);
        for (int i = 0; i < height; i++) {
            for (int k = 0; k < width; k++) {
                pixColor = pixels[width * i + k];
                pixR = Color.red(pixColor);
                pixG = Color.green(pixColor);
                pixB = Color.blue(pixColor);
                newR = (int) (0.393 * pixR + 0.769 * pixG + 0.189 * pixB);
                newG = (int) (0.349 * pixR + 0.686 * pixG + 0.168 * pixB);
                newB = (int) (0.272 * pixR + 0.534 * pixG + 0.131 * pixB);
                int newColor = Color.argb(255, newR > 255 ? 255 : newR,
                        newG > 255 ? 255 : newG, newB > 255 ? 255 : newB);
                pixels[width * i + k] = newColor;
            }
        }
        bitmap.setPixels(pixels, 0, width, 0, 0, width, height);
        return bitmap;
    }

    // 图片底片效果
    public static Bitmap convertNegative(Bitmap origin) {
        int width = origin.getWidth();
        int height = origin.getHeight();
        Bitmap bitmap = Bitmap.createBitmap(width, height, Bitmap.Config.RGB_565);
        int[] oldPixels = new int[width * height];
        int[] newPixels = new int[width * height];
        int color, pixelsR, pixelsG, pixelsB, pixelsA;
        origin.getPixels(oldPixels, 0, width, 0, 0, width, height);
        for (int i = 1; i < height * width; i++) {
            color = oldPixels[i];
            // 获取RGB分量
            pixelsA = Color.alpha(color);
            pixelsR = Color.red(color);
            pixelsG = Color.green(color);
            pixelsB = Color.blue(color);
            // 转换
            pixelsR = (255 - pixelsR);
            pixelsG = (255 - pixelsG);
            pixelsB = (255 - pixelsB);
            // 均小于等于255大于等于0
            if (pixelsR > 255) {
                pixelsR = 255;
            } else if (pixelsR < 0) {
                pixelsR = 0;
            }
            if (pixelsG > 255) {
                pixelsG = 255;
            } else if (pixelsG < 0) {
                pixelsG = 0;
            }
            if (pixelsB > 255) {
                pixelsB = 255;
            } else if (pixelsB < 0) {
                pixelsB = 0;
            }
            // 根据新的RGB生成新像素
            newPixels[i] = Color.argb(pixelsA, pixelsR, pixelsG, pixelsB);
        }
        bitmap.setPixels(newPixels, 0, width, 0, 0, width, height);
        return bitmap;
    }

    // 图片模糊效果
    public static Bitmap convertBlur(Bitmap origin) {
        int width = origin.getWidth();
        int height = origin.getHeight();
        int hRadius = width > 150 ? width / 150 : 1; // 水平方向模糊度
        int vRadius = height > 150 ? height / 150 : 1; // 垂直方向模糊度
        int iterations = 7; // 模糊迭代度
        int[] inPixels = new int[width * height];
        int[] outPixels = new int[width * height];
        Bitmap bitmap = Bitmap.createBitmap(width, height, Bitmap.Config.ARGB_8888);
        origin.getPixels(inPixels, 0, width, 0, 0, width, height);
        for (int i = 0; i < iterations; i++) {
            blur(inPixels, outPixels, width, height, hRadius);
            blur(outPixels, inPixels, height, width, vRadius);
        }
        blurFractional(inPixels, outPixels, width, height, hRadius);
        blurFractional(outPixels, inPixels, height, width, vRadius);
        bitmap.setPixels(inPixels, 0, width, 0, 0, width, height);
        return bitmap;
    }

    private static void blur(int[] in, int[] out, int width, int height, int radius) {
        int widthMinus1 = width - 1;
        int tableSize = 2 * radius + 1;
        int[] divide = new int[256 * tableSize];
        for (int i = 0; i < 256 * tableSize; i++) {
            divide[i] = i / tableSize;
        }
        int inIndex = 0;
        for (int y = 0; y < height; y++) {
            int outIndex = y;
            int ta = 0, tr = 0, tg = 0, tb = 0;
            for (int i = -radius; i <= radius; i++) {
                int rgb = in[inIndex + clamp(i, 0, width - 1)];
                ta += (rgb >> 24) & 0x99; // 调整灰度。0x99表示半透明
                tr += (rgb >> 16) & 0xff; // 调整红色
                tg += (rgb >> 8) & 0xff; // 调整绿色
                tb += rgb & 0xff; // 调整蓝色
            }

            for (int x = 0; x < width; x++) {
                out[outIndex] = (divide[ta] << 24) | (divide[tr] << 16) | (divide[tg] << 8) | divide[tb];
                int i1 = x + radius + 1;
                if (i1 > widthMinus1) {
                    i1 = widthMinus1;
                }
                int i2 = x - radius;
                if (i2 < 0) {
                    i2 = 0;
                }
                int rgb1 = in[inIndex + i1];
                int rgb2 = in[inIndex + i2];
                ta += ((rgb1 >> 24) & 0xff) - ((rgb2 >> 24) & 0xff);
                tr += ((rgb1 & 0xff0000) - (rgb2 & 0xff0000)) >> 16;
                tg += ((rgb1 & 0xff00) - (rgb2 & 0xff00)) >> 8;
                tb += (rgb1 & 0xff) - (rgb2 & 0xff);
                outIndex += height;
            }
            inIndex += width;
        }
    }

    public static void blurFractional(int[] in, int[] out, int width, int height, float radius) {
        radius -= (int) radius;
        float f = 1.0f / (1 + 2 * radius);
        int inIndex = 0;
        for (int y = 0; y < height; y++) {
            int outIndex = y;
            out[outIndex] = in[0];
            outIndex += height;
            for (int x = 1; x < width - 1; x++) {
                int i = inIndex + x;
                int rgb1 = in[i - 1];
                int rgb2 = in[i];
                int rgb3 = in[i + 1];
                int a1 = (rgb1 >> 24) & 0xff;
                int r1 = (rgb1 >> 16) & 0xff;
                int g1 = (rgb1 >> 8) & 0xff;
                int b1 = rgb1 & 0xff;
                int a2 = (rgb2 >> 24) & 0xff;
                int r2 = (rgb2 >> 16) & 0xff;
                int g2 = (rgb2 >> 8) & 0xff;
                int b2 = rgb2 & 0xff;
                int a3 = (rgb3 >> 24) & 0xff;
                int r3 = (rgb3 >> 16) & 0xff;
                int g3 = (rgb3 >> 8) & 0xff;
                int b3 = rgb3 & 0xff;
                a1 = a2 + (int) ((a1 + a3) * radius);
                r1 = r2 + (int) ((r1 + r3) * radius);
                g1 = g2 + (int) ((g1 + g3) * radius);
                b1 = b2 + (int) ((b1 + b3) * radius);
                a1 *= f;
                r1 *= f;
                g1 *= f;
                b1 *= f;
                out[outIndex] = (a1 << 24) | (r1 << 16) | (g1 << 8) | b1;
                outIndex += height;
            }
            out[outIndex] = in[width - 1];
            inIndex += width;
        }
    }
应用:
package top.lc951.myandroid.activity;

import android.content.Context;
import android.content.Intent;
import android.graphics.Bitmap;
import android.graphics.BitmapFactory;
import android.support.v7.app.AppCompatActivity;
import android.os.Bundle;
import android.view.View;
import android.widget.AdapterView;
import android.widget.ArrayAdapter;
import android.widget.ImageView;
import android.widget.Spinner;

import top.lc951.myandroid.R;
import top.lc951.myandroid.utils.BitmapUtil;

/**
 * 图像色彩模式:黑白、模糊、老照片、胶卷等
 */
public class BitmapColorModeActivity extends AppCompatActivity {

    private ImageView pictureIv;
    private Bitmap mOriginBitmap;

    public static void actionActivity(Context context) {
        Intent intent = new Intent(context, BitmapColorModeActivity.class);
        context.startActivity(intent);
    }

    @Override
    protected void onCreate(Bundle savedInstanceState) {
        super.onCreate(savedInstanceState);
        setContentView(R.layout.activity_bitmap_color_mode);
        pictureIv = findViewById(R.id.iv_picture);

        initSpinner();
    }

    private String[] colorNameArray = {"原色", "黑白", "底片", "怀旧", "模糊"};
    private void initSpinner() {
        mOriginBitmap = BitmapFactory.decodeResource(getResources()
                , R.mipmap.ic_img06);
        ArrayAdapter<String> colorAdapter = new ArrayAdapter<>(this,
                android.R.layout.simple_list_item_1, colorNameArray);
        Spinner spinner = findViewById(R.id.spinner);
        spinner.setAdapter(colorAdapter);
        spinner.setSelection(0);
        spinner.setOnItemSelectedListener(new AdapterView.OnItemSelectedListener() {
            @Override
            public void onItemSelected(AdapterView<?> parent, View view, int position, long id) {
                Bitmap bitmap;
                switch (position) {
                    case 0:
                        bitmap=mOriginBitmap;
                        break;
                    case 1:
                         bitmap = BitmapUtil.convertBlack(mOriginBitmap); // 转换为黑白效果
                        break;
                    case 2:
                        bitmap = BitmapUtil.convertNegative(mOriginBitmap); // 转换为底片效果
                        break;
                    case 3:
                        bitmap = BitmapUtil.convertOld(mOriginBitmap); // 转换为怀旧效果
                        break;
                    case 4:
                        bitmap = BitmapUtil.convertBlur(mOriginBitmap); // 转换为模糊效果
                        break;
                    default:
                        bitmap=mOriginBitmap;

                }
                pictureIv.setImageBitmap(bitmap);
            }

            @Override
            public void onNothingSelected(AdapterView<?> parent) {

            }
        });
    }


}
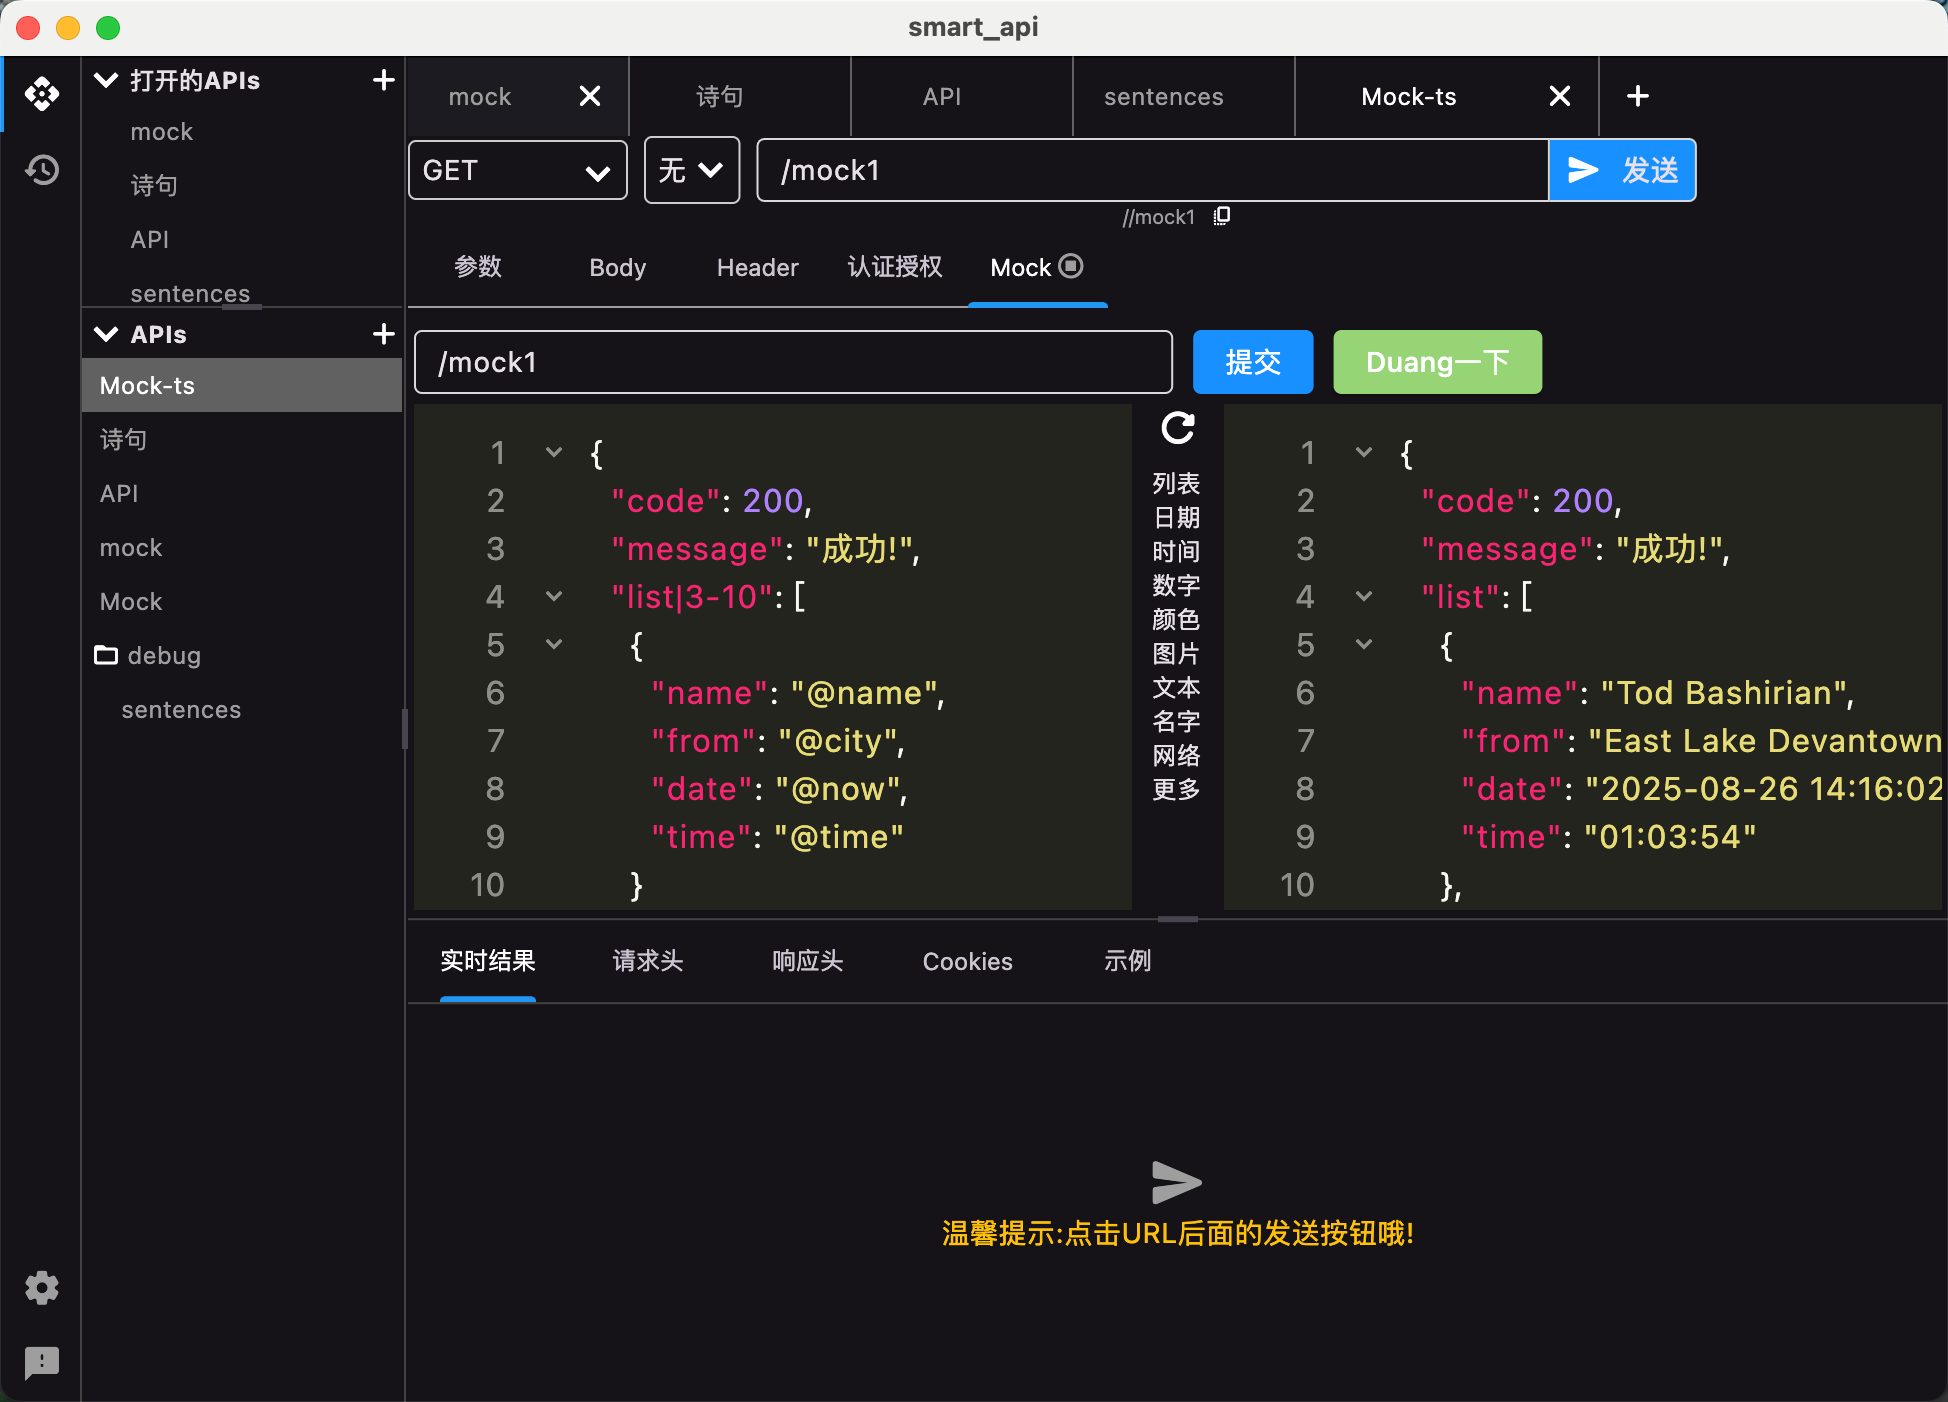
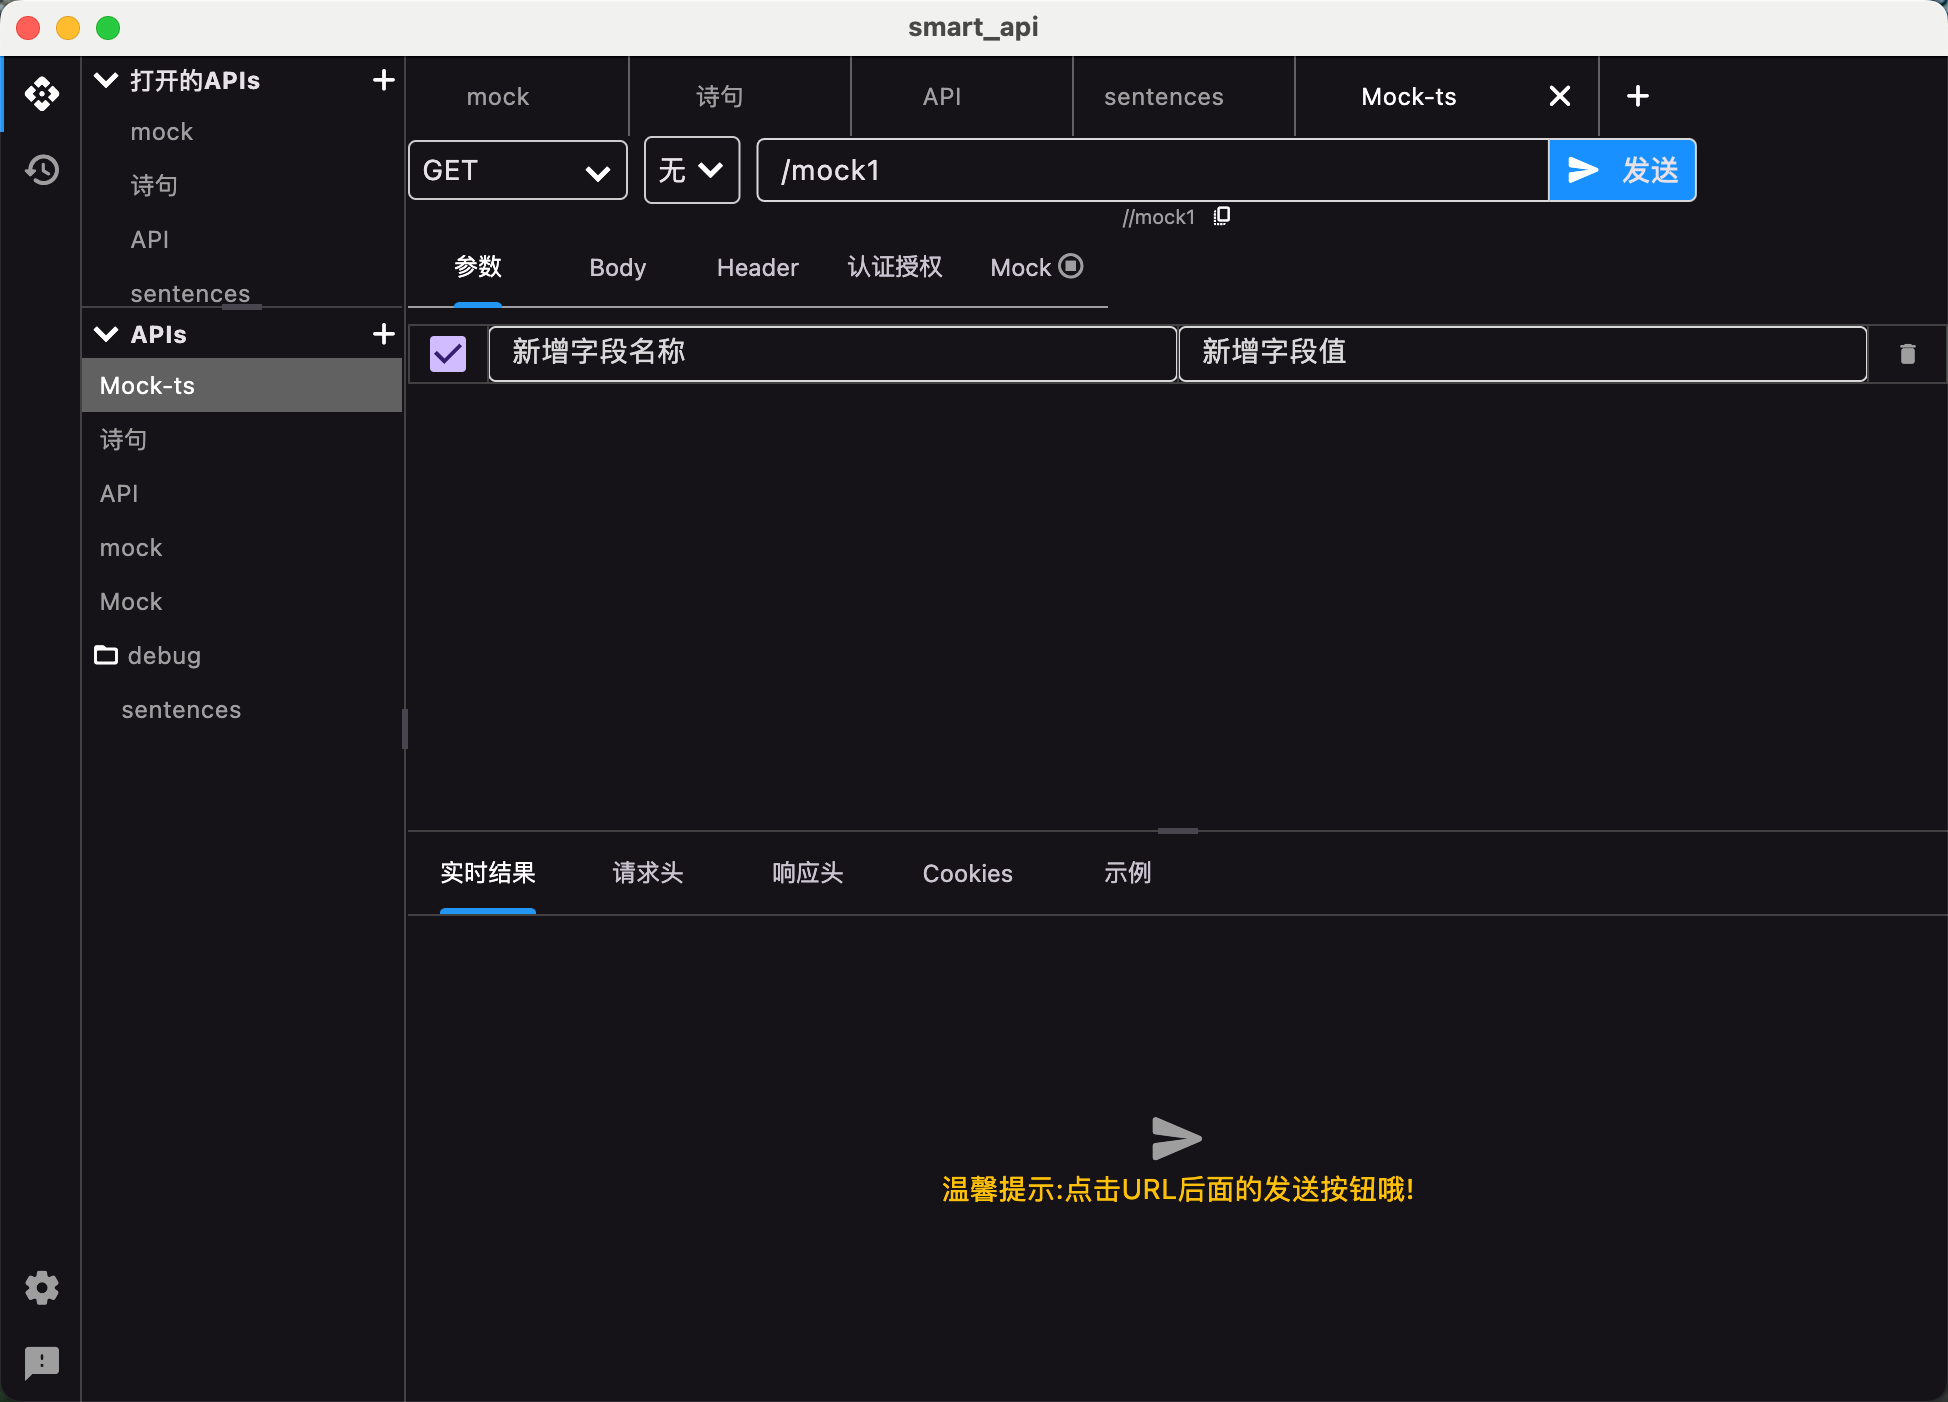
## SmartApi开发工具
全新版本
极小,极快,极限性能的开发调试工具
官网地址:[http://www.smartapi.site/](http://www.smartapi.site/)
## 旧版本不在维护更新

 浙公网安备 33010602011771号