【Android】Bitmap图片裁剪(91/100)

自定义裁剪类CropImageView:
package top.lc951.myandroid.views;

import android.content.Context;
import android.graphics.Bitmap;
import android.graphics.Canvas;
import android.graphics.Paint;
import android.graphics.Rect;
import android.support.annotation.Nullable;
import android.util.AttributeSet;
import android.view.View;

import top.lc951.myandroid.utils.BitmapUtil;

/**
 * @author lichong
 * 2022年07月26日19:48:17
 */
public class CropImageView extends View {
    private Paint mPaintShade;
    private Bitmap mOrigBitmap=null;
    private Bitmap mCropBitmap=null;

    private Rect mRect=new Rect(0,0,0,0);

    public CropImageView(Context context) {
        this(context,null);
    }

    public CropImageView(Context context, @Nullable AttributeSet attrs) {
        super(context, attrs);
        mPaintShade=new Paint();
        mPaintShade.setColor(0x99000000);
    }

    public void setOriginBitmap(Bitmap origin){
        mOrigBitmap=origin;
    }

    public Bitmap getCropBitmap(){
        return mCropBitmap;
    }

    public boolean setBitmapRect(Rect rect){
        if(null==mOrigBitmap){
            return false;
        }else if(rect.left<0 || rect.left>mOrigBitmap.getWidth()){
            return false;
        }else if(rect.top < 0 || rect.top > mOrigBitmap.getHeight()){
            return false;
        }else if (rect.right <= 0 || rect.left + rect.right > mOrigBitmap.getWidth()) { // 右侧边界非法
            return false;
        } else if (rect.bottom <= 0 || rect.top + rect.bottom > mOrigBitmap.getHeight()) { // 下方边界非法
            return false;
        }

        mRect = rect;
        // 根据指定的四周边界,裁剪相应尺寸的位图对象
        mCropBitmap = Bitmap.createBitmap(mOrigBitmap,
                mRect.left, mRect.top, mRect.right, mRect.bottom);
        postInvalidate(); // 立即刷新视图(线程安全方式)
        return true;
    }

    // 获取位图的矩形边界
    public Rect getBitmapRect() {
        return mRect;
    }
    // 左右翻转图像
    public void flip() {
        // 水平翻转图像,也就是把镜中像左右翻过来
        mCropBitmap = BitmapUtil.getFlipBitmap(mCropBitmap);
        postInvalidate(); // 立即刷新视图(线程安全方式)
    }
    // 在下级视图都绘制完成后触发
    @Override
    protected void dispatchDraw(Canvas canvas) {
        if (mOrigBitmap == null) {
            return;
        }
        // 画外圈阴影
        Rect rectShade = new Rect(0, 0, getMeasuredWidth(), getMeasuredHeight());
        canvas.drawRect(rectShade, mPaintShade);
        // 画高亮处的图像
        canvas.drawBitmap(mCropBitmap, mRect.left, mRect.top, new Paint());
    }

}
布局:
<?xml version="1.0" encoding="utf-8"?>
<android.support.constraint.ConstraintLayout xmlns:android="http://schemas.android.com/apk/res/android"
    xmlns:app="http://schemas.android.com/apk/res-auto"
    xmlns:tools="http://schemas.android.com/tools"
    android:layout_width="match_parent"
    android:layout_height="match_parent"
    tools:context=".activity.BitmapCutActivity">

    <TextView
        app:layout_constraintStart_toStartOf="parent"
        app:layout_constraintTop_toTopOf="parent"

        android:id="@+id/tv_label"
        android:layout_width="wrap_content"
        android:layout_height="wrap_content"
        android:paddingLeft="5dp"
        android:text="请选择剪裁方式:"
        android:textColor="@color/black"
        android:textSize="17sp"

        />

    <Spinner
        app:layout_constraintStart_toEndOf="@id/tv_label"
        app:layout_constraintTop_toTopOf="parent"
        app:layout_constraintEnd_toEndOf="parent"
        android:id="@+id/spinner"
        android:layout_width="0dp"
        android:layout_height="wrap_content"
        android:spinnerMode="dropdown" />

    <ImageView
        android:id="@+id/iv_origin"

        app:layout_constraintStart_toStartOf="parent"
        app:layout_constraintTop_toBottomOf="@id/tv_label"

        android:layout_width="match_parent"
        android:layout_height="300dp"
        android:src="@mipmap/ic_img06"
        android:scaleType="fitXY"
        android:layout_margin="10dp"
        />

    <top.lc951.myandroid.views.CropImageView
        android:id="@+id/iv_crop"
        android:layout_width="0dp"
        android:layout_height="0dp"

        app:layout_constraintTop_toTopOf="@id/iv_origin"
        app:layout_constraintStart_toStartOf="@id/iv_origin"
        app:layout_constraintEnd_toEndOf="@id/iv_origin"
        app:layout_constraintBottom_toBottomOf="@id/iv_origin"
        android:background="@color/transparent"
        />

    <Button
        android:id="@+id/btn_save_image"
        android:layout_width="match_parent"
        android:layout_height="wrap_content"
        android:text="保存图片"
        android:textColor="@color/black"
        android:textSize="17sp"
        app:layout_constraintTop_toBottomOf="@id/iv_origin"
        app:layout_constraintStart_toStartOf="parent"
        />

    <ImageView
        android:id="@+id/iv_new"
        android:layout_width="match_parent"
        android:layout_height="200dp"
        android:scaleType="centerInside"
        app:layout_constraintTop_toBottomOf="@id/btn_save_image"
        app:layout_constraintStart_toStartOf="parent"
        />

</android.support.constraint.ConstraintLayout>
应用:
package top.lc951.myandroid.activity;

import android.content.Context;
import android.content.Intent;
import android.graphics.Bitmap;
import android.graphics.BitmapFactory;
import android.graphics.Rect;
import android.os.Environment;
import android.os.Handler;
import android.os.Looper;
import android.support.v7.app.AppCompatActivity;
import android.os.Bundle;
import android.view.View;
import android.widget.AdapterView;
import android.widget.ArrayAdapter;
import android.widget.Button;
import android.widget.ImageView;
import android.widget.Spinner;
import android.widget.Toast;

import top.lc951.myandroid.R;
import top.lc951.myandroid.utils.BitmapUtil;
import top.lc951.myandroid.views.CropImageView;

/**
 * 图片裁剪
 */
public class BitmapCutActivity extends AppCompatActivity {
    private CropImageView cropImageView;
    private ImageView originIv;
    private ImageView newIv;

    public static void actionActivity(Context context) {
        Intent intent = new Intent(context, BitmapCutActivity.class);
        context.startActivity(intent);
    }

    @Override
    protected void onCreate(Bundle savedInstanceState) {
        super.onCreate(savedInstanceState);
        setContentView(R.layout.activity_bitmap_cut);
        bindViews();
        initSpinner();

    }

    private String[] array = {"不裁剪", "中间", "左上角", "右上角", "左下角", "右下角"};

    private void initSpinner() {
        ArrayAdapter<String> colorAdapter = new ArrayAdapter<>(this,
                android.R.layout.simple_list_item_1, array);
        Spinner spinner = findViewById(R.id.spinner);
        spinner.setAdapter(colorAdapter);
        spinner.setSelection(0);
        spinner.setPrompt("请选择裁剪区域");

        spinner.setOnItemSelectedListener(new AdapterView.OnItemSelectedListener() {
            @Override
            public void onItemSelected(AdapterView<?> parent, View view, int position, long id) {
                cropImageView.setVisibility(position == 0 ? View.GONE : View.VISIBLE);
                Bitmap bitmap = originIv.getDrawingCache();
                int width = bitmap.getWidth(), height = bitmap.getHeight();
                cropImageView.setOriginBitmap(bitmap);

                switch (position) {
                    case 1:
                        cropImageView.setBitmapRect(new Rect(width/4, height/4, width/2, height/2));
                        break;
                    case 2:
                        cropImageView.setBitmapRect(new Rect(0, 0, width/2, height/2));

                        break;
                    case 3:
                        cropImageView.setBitmapRect(new Rect(width/2, 0, width/2, height/2));

                        break;
                    case 4:
                        cropImageView.setBitmapRect(new Rect(0, height/2, width/2, height/2));

                        break;
                    case 5:
                        cropImageView.setBitmapRect(new Rect(width/2, height/2, width/2, height/2));
                        break;
                }
            }

            @Override
            public void onNothingSelected(AdapterView<?> parent) {

            }
        });
    }

    private void bindViews() {
        cropImageView = findViewById(R.id.iv_crop);
        originIv = findViewById(R.id.iv_origin);
        newIv = findViewById(R.id.iv_new);
        originIv.setDrawingCacheEnabled(true);// 开启位图视图的绘图缓存
        originIv.setImageResource(R.mipmap.ic_img06);
        new Handler(Looper.myLooper())
                .postDelayed(new Runnable() {
                    @Override
                    public void run() {
                        initSpinner();
                    }
                }, 200);

        Button saveBtn = findViewById(R.id.btn_save_image);
        saveBtn.setOnClickListener(new View.OnClickListener() {
            @Override
            public void onClick(View v) {
                cropImageView.setVisibility(View.GONE);
                Bitmap bitmap = cropImageView.getCropBitmap();
                newIv.setImageBitmap(bitmap);

                // 生成图片文件的保存路径
//                String path = String.format("%s/%s.jpg",
//                        getExternalFilesDir(Environment.DIRECTORY_DOWNLOADS).toString(),
//                        DateUtil.getNowDateTime());
//                BitmapUtil.saveImage(path, bitmap); // 把位图保存为图片文件
//                BitmapUtil.notifyPhotoAlbum(BitmapCutActivity.this, path); // 通知相册来了张新图片
//                Toast.makeText(BitmapCutActivity.this, "成功保存图片文件:" + path, Toast.LENGTH_SHORT).show();
            }
        });
    }
}
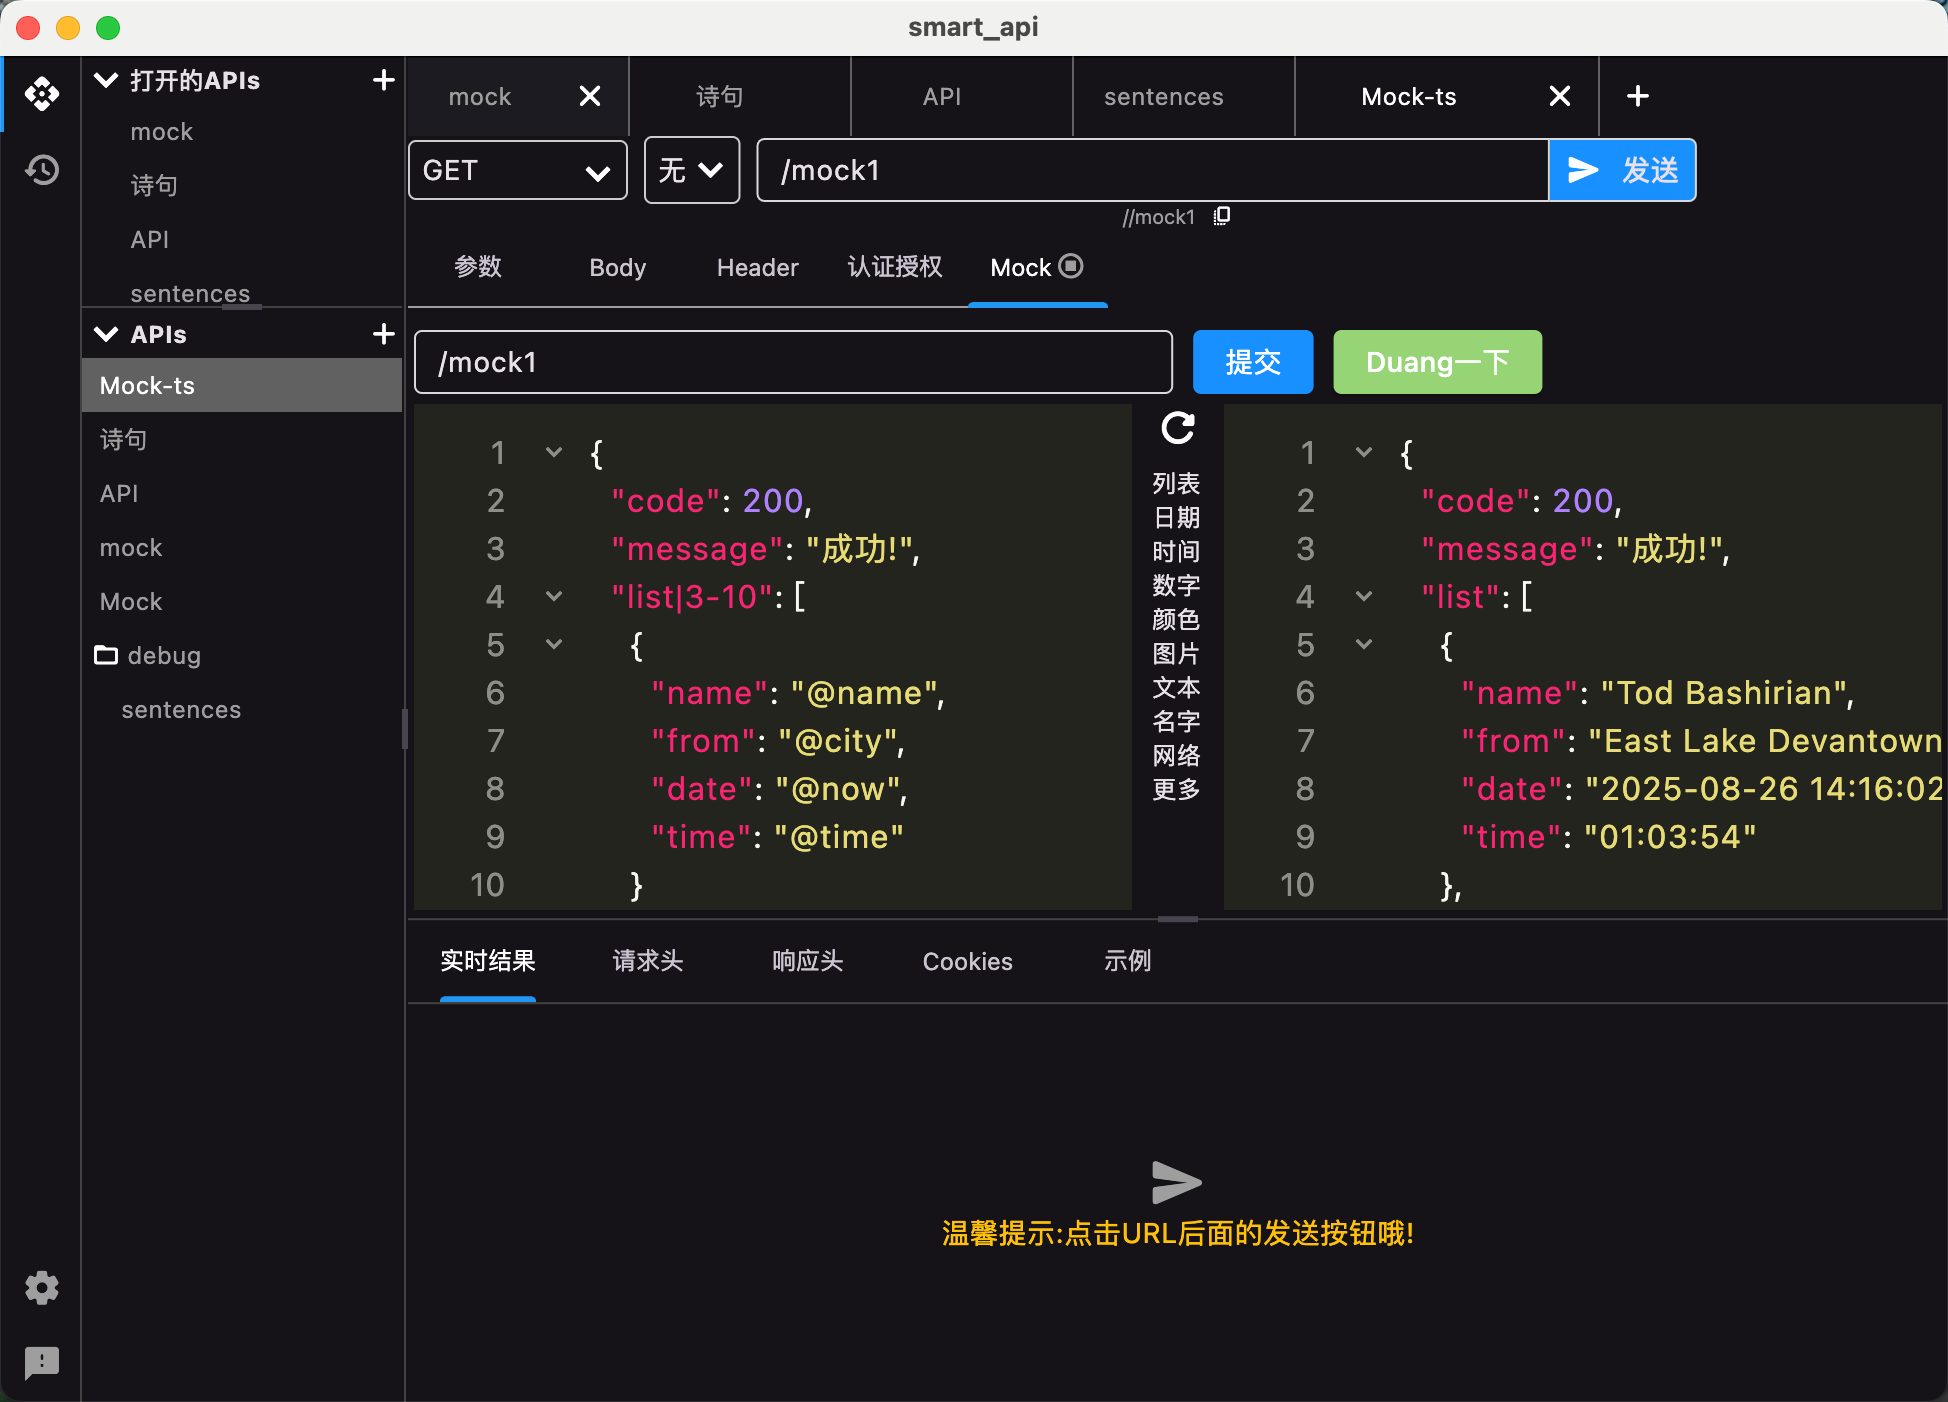
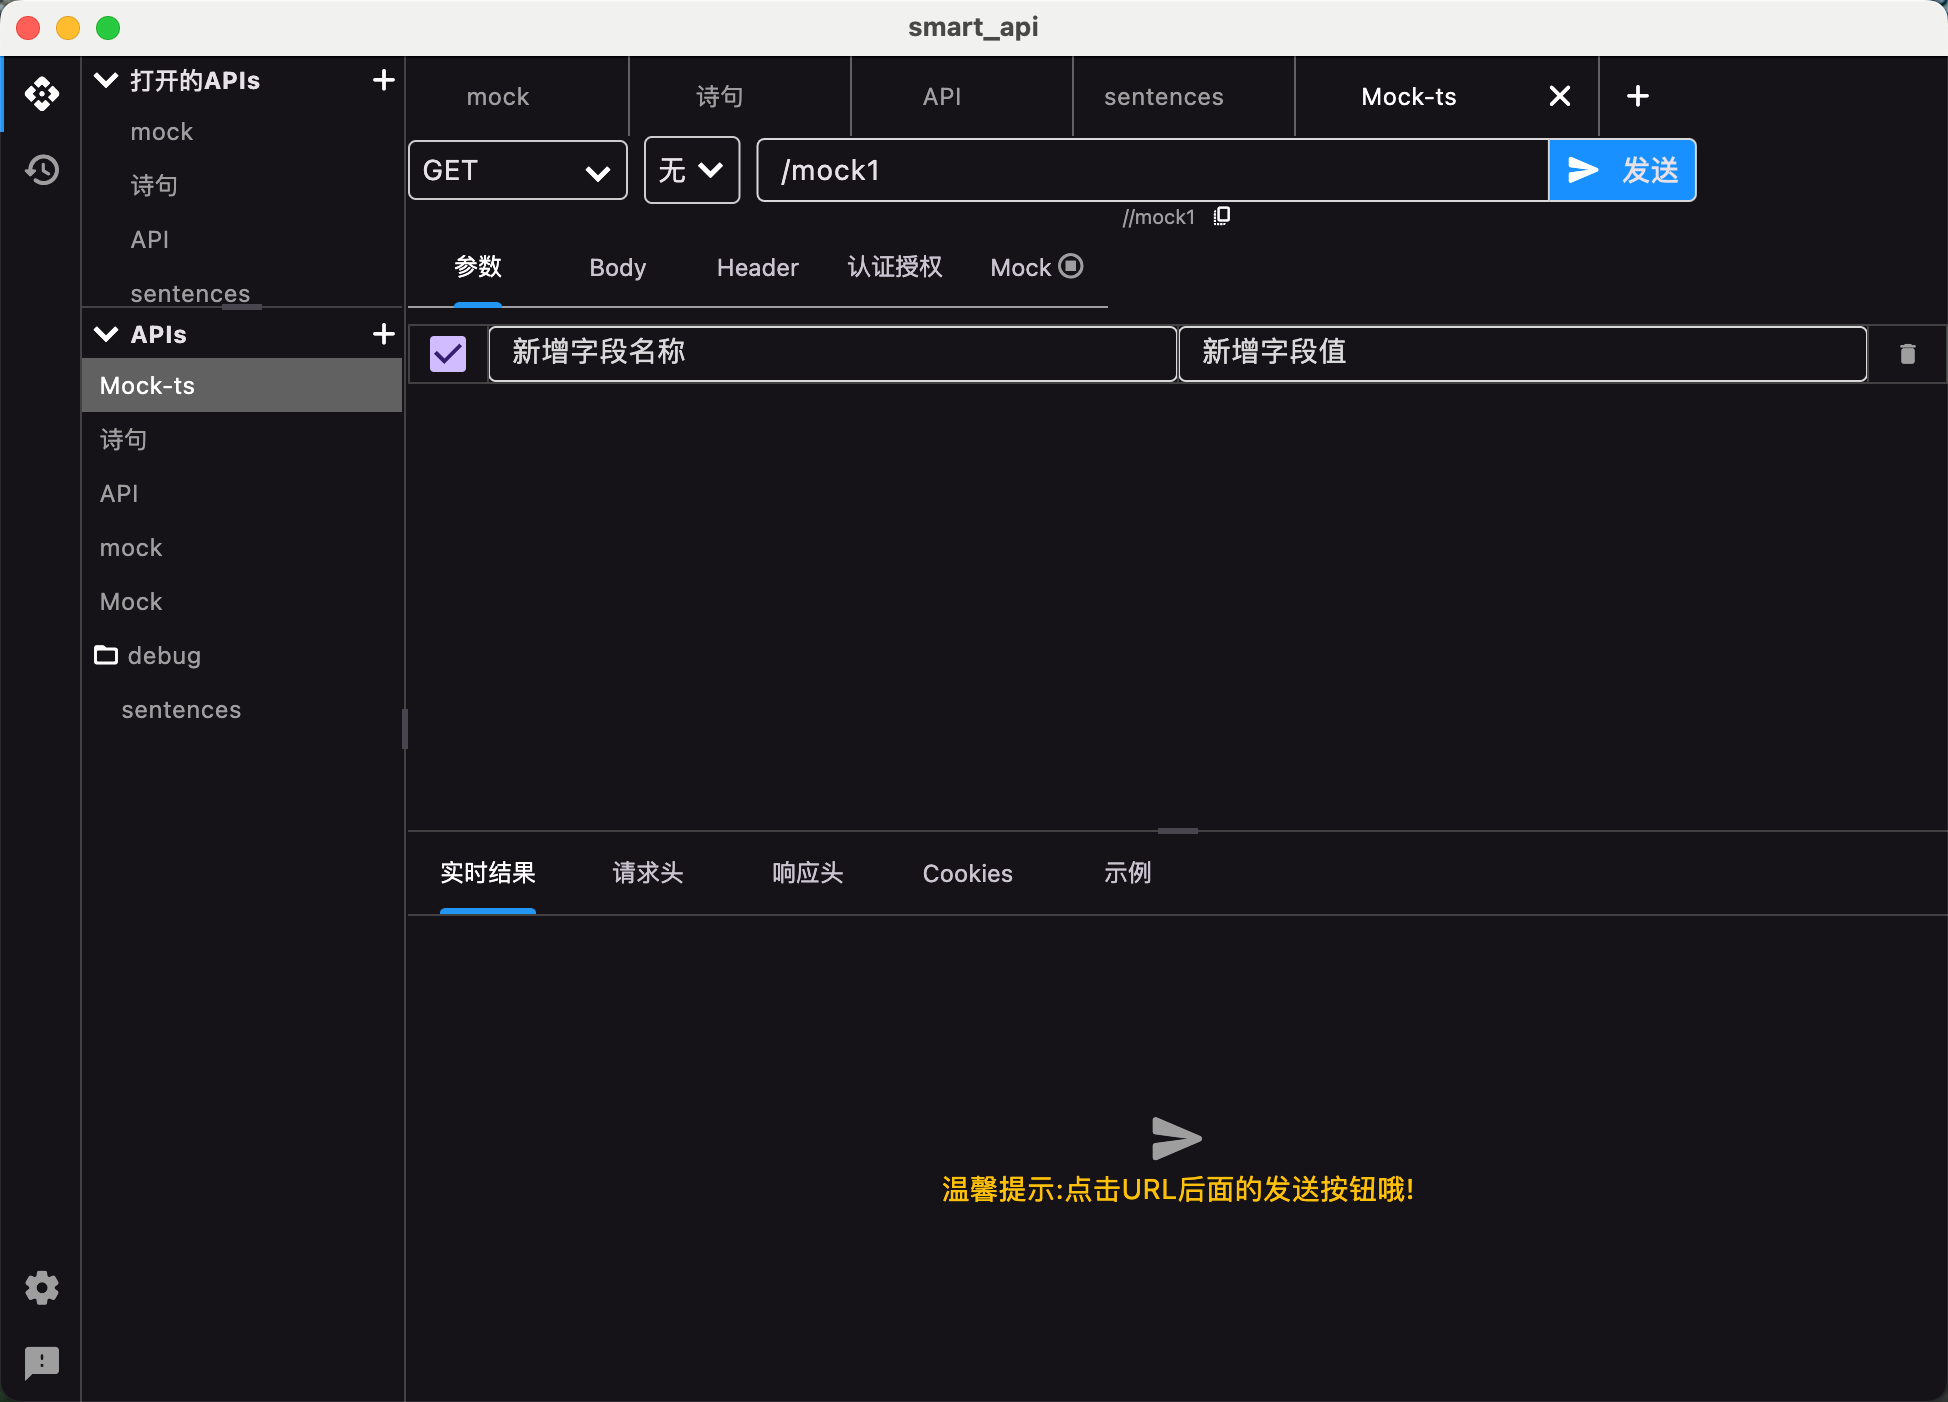
## SmartApi开发工具
全新版本
极小,极快,极限性能的开发调试工具
官网地址:[http://www.smartapi.site/](http://www.smartapi.site/)
## 旧版本不在维护更新

 浙公网安备 33010602011771号