Swagger配置详解
一、Swagger简介
1.1、前后端发展过程
-
后端时代:前端只管理静态页面 html ;后端则是主力,会使用模板引擎JSP
-
前后端分离时代:
-
后端负责:后端控制层,服务层,数据访问层
-
前端负责:前端控制层(vue),视图层
-
前端可以伪造后端数据,无需后端,前端页面依旧可以运行
-
-
前后端交互:API;前端页面调用API获取后台数据,后台提供接口,按需求提供数据
-
这样前后端相对独立。松耦合
-
前后端可以部署在不同的服务器上
-
1.2、前后端分离产生的问题及解决
前后端集成联调,前后端人员无法做到“及时协商,尽早解决”,最终导致问题集中爆发。
解决方案:
-
首先指定schema(计划提纲),实时更新API,降低集成风险
-
早年制定 word 计划文档
-
前后端分离:
-
前端测试后端接口:postman
-
后端提供接口,需要实时更新最新的消息及改动
-
1.3、世界上最流行的API框架:Swagger
Swagger的优势:
-
是 RestFul API 文档在线自动生成工具:API文档与API定义同步更新
-
直接运行,可以在线测试API接口
-
支持多种语言:(java、Php......)
Swagger官网:https://swagger.io/
Swagger依赖:
-
swagger2
-
UI
二、SpringBoot集成Swagger
2.1、新建SpringBoot-web项目
2.2、导入依赖
-
进入Maven依赖:https://mvnrepository.com
-
搜索:springfox-swag
-
前两个依赖分别为 swagger2 和 UI
-
-
导入依赖
<!-- swagger2依赖 -->
<dependency>
    <groupId>io.springfox</groupId>
    <artifactId>springfox-swagger2</artifactId>
    <version>2.9.2</version>
</dependency>
<!-- ui依赖 -->
<dependency>
    <groupId>io.springfox</groupId>
    <artifactId>springfox-swagger-ui</artifactId>
    <version>2.9.2</version>
</dependency>
2.3、编写一个接口
接口概念:这个接口和 interface 不同,是网络接口,前端通过此接口输入信息,获取数据。因此此接口都有对应的网络地址,有 @RequestMapping
2.4、配置Swagger
2.5、运行测试
-
运行项目
-
输入网址:http://localhost:8080/swagger-ui.html,显示页面
三、配置Swagger
3.1、swagger的bean实例为:Docket
public class Docket implements DocumentationPlugin {

    //Docket中有一个 ApiInfo 的属性,用来设置Info信息
    private ApiInfo apiInfo = ApiInfo.DEFAULT;

    //对应设置 ApiInfo 的方法
    public Docket apiInfo(ApiInfo apiInfo) {
    this.apiInfo = defaultIfAbsent(apiInfo, apiInfo);
    return this;
  }

}
3.2、接口信息设置:ApiInfo
public class ApiInfo {

    //ApiInfo设置了默认的 ApiInfo 值
    public static final ApiInfo DEFAULT = new ApiInfo(
        //title:标题
        "Api Documentation",
        //description:API描述
        "Api Documentation",
        //version:版本
        "1.0",
        "urn:tos",
        //作者信息,是个引用数据类型,要自己new
          DEFAULT_CONTACT,
        "Apache 2.0",
        "http://www.apache.org/licenses/LICENSE-2.0",
        new ArrayList<VendorExtension>());
}
3.2、配置swagger页面的信息
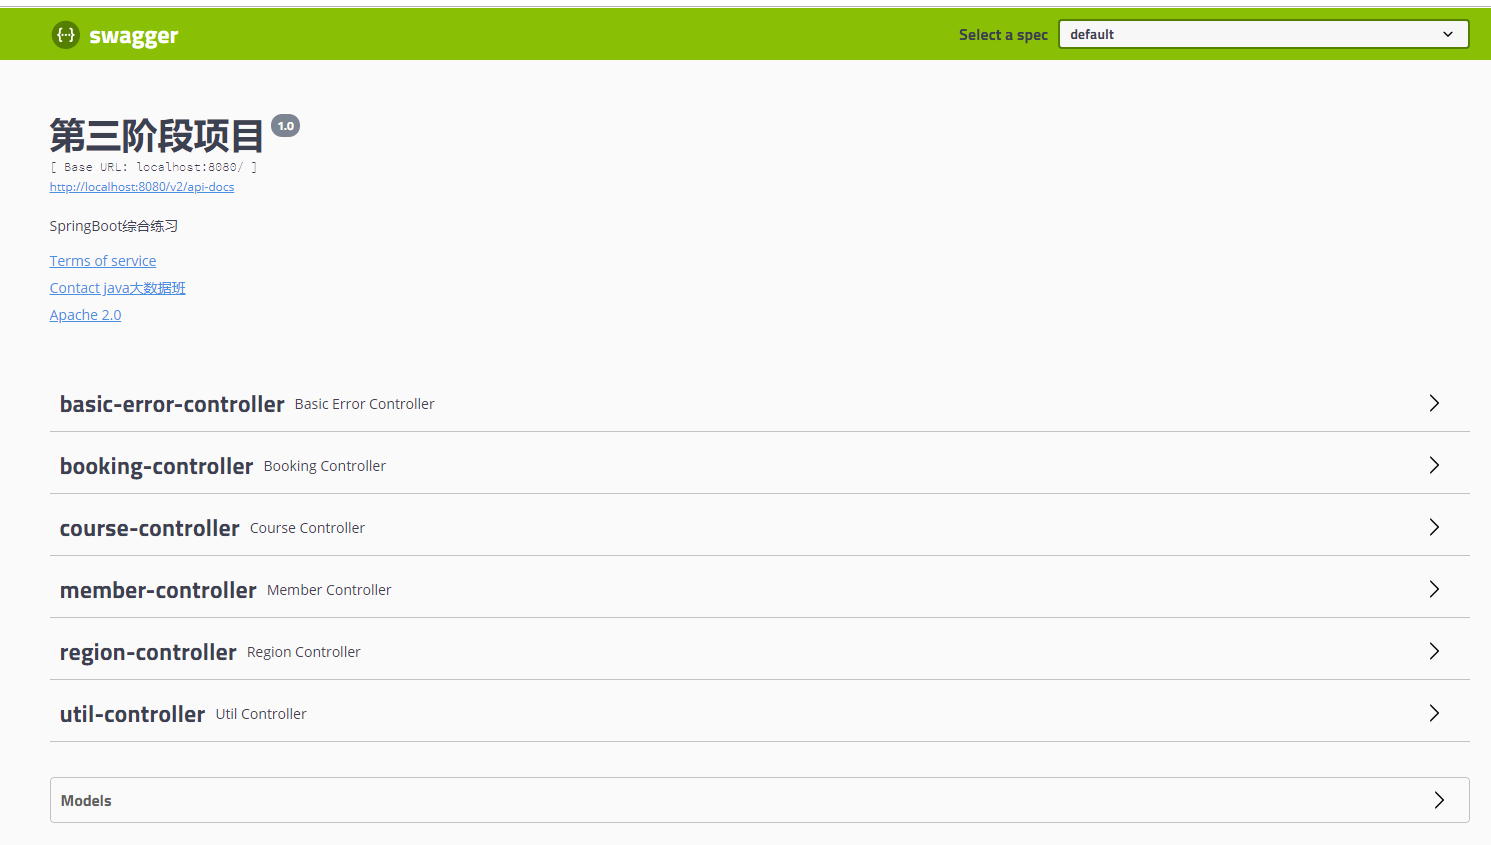
再次启动运行后,swagger页面的默认配置信息被我们自己写的替代

四、swagger配置扫描接口及分组
4.1、swagger配置扫描接口
生成Docket对象时,设置生成API,方法为:
-
.select() .apis(RequestHandlerselector.配置方式) .build()
-
apis()内部的 RequestHandlerselectors,配置要扫描接口的方式
-
basePackage("包名"):指定要扫描的包指定扫描方式
-
any():扫描全部
-
none( ):不扫描
-
withclassAnnotation:扫描类上的注解,参数是一个注解的反射对象
-
withMethodAnnotation:扫描方法上的注解
-
4.2、swagger配置分组
分组步骤:
-
创建不同的 Docket 对象
-
使用groupName(组名)方法为不同的Docket组别命名

4.3、swagger配置是否启动Docket
.enable():方法
-
.enable(true) 表示启动Docket,默认就是true
-
.enable(false)表示不启动Docket
public Docket docket1(){
        return new Docket(DocumentationType.SWAGGER_2)
                .enable(false)
                //为分组命名
                .groupName("梁鑫")
                .apiInfo(apiInfo1())
                //选择接口
                .select()
                //选择接口
                .apis(RequestHandlerSelectors.basePackage("com.hxzy.course.controller"))
                //build()一般表示工厂设计模式
                .build();
    }

