django创建项目及目录介绍
1、进入创建项目要放置的目录
通过命令行输入:django-admin startproject firstPro
注:firstPro 是创建的项目名
命令完成后没有报错就证明创建成功
我们可以通过 django-admin 查看相关命令语句

2、输入:django-admin startproject firstPro 创建叫做 firstPro 的项目

没有报错,说明已经创建成功
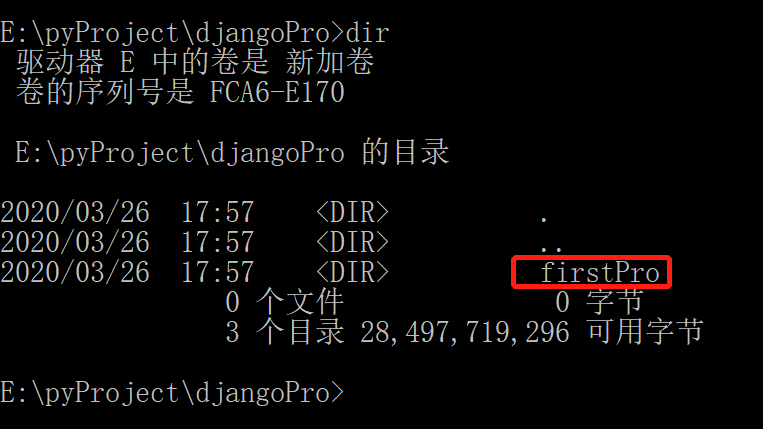
3、输入dir 查看目录:


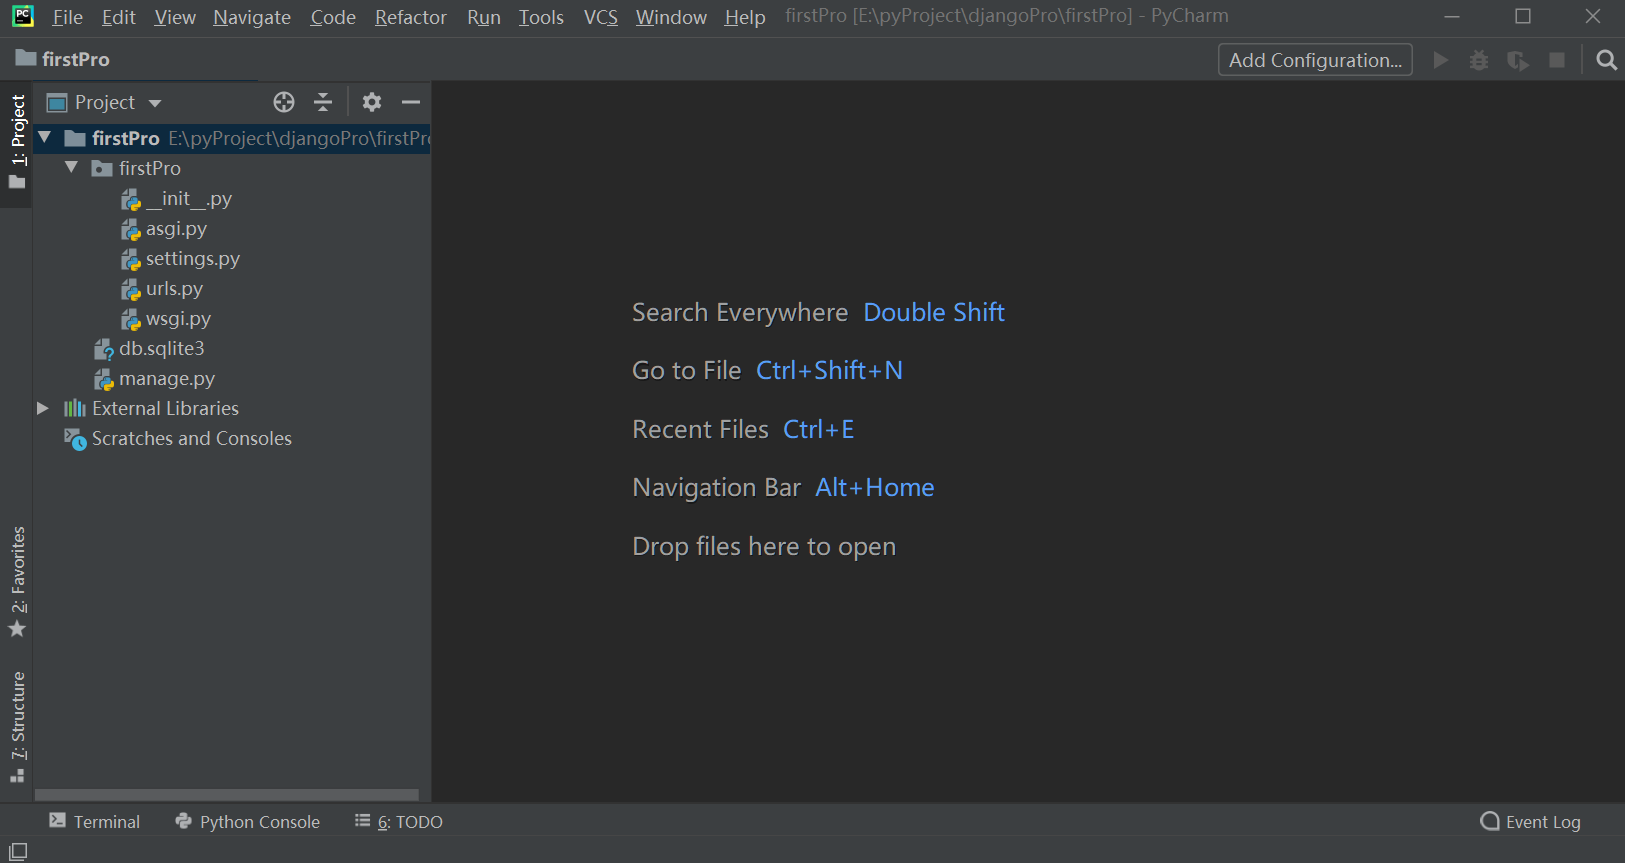
4、在pyCharm中打开项目

5、 目录文件解释:
1)、manage.py 项目管理器:与项目进行交互的命令行工具集的入口
执行python manage.py 查看所有命令

现在就可以启动服务器了
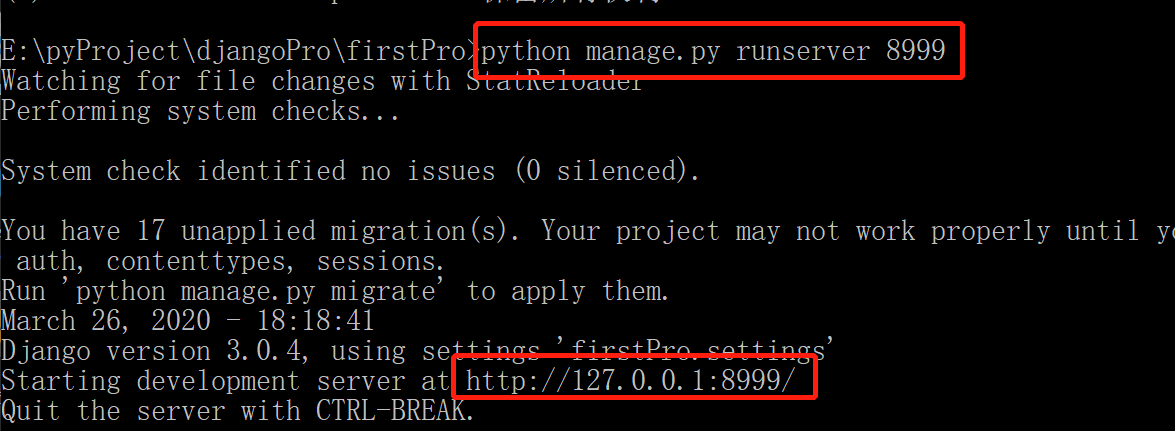
通过命令:python manage.py runserver

这样就启动成功了,http://127.0.0.1:8000就是我们的本地地址了
在浏览器中输入地址就能访问了(或者使用localhost:8000)

并且:要改变端口号只需输入命令后面加上端口号就行 如:python manage.py runserver 8999

2)、wsgi.py
WSGI(Python Web Server Dateway Interface):Python 服务器网关接口
Python应用与Web服务器之间通信的接口
3)、urls.py
url配置文件
Django项目中所有地址(页面)都需要我们自己去配置其URL
4)、settings.py
项目的总配置文件
里面包含了数据库、Web应用、时间等各种配置
# 项目根目录
# Build paths inside the project like this: os.path.join(BASE_DIR, ...)
BASE_DIR = os.path.dirname(os.path.dirname(os.path.abspath(__file__)))
# 安全码 (自动生成)
# SECURITY WARNING: keep the secret key used in production secret!
SECRET_KEY = '8h@sz%=ir))oiw^$y&jfbobvufhf8!18n9yzl7i3@j((ljj#!-'
# debug调试 生产模式时不用打开
# SECURITY WARNING: don't run with debug turned on in production!
DEBUG = True
# 只允许通过的访问形式
# 比如:ALLOWED_HOSTS = ['localhost'],就只能通过localhost,127.0.0.1就会报错
ALLOWED_HOSTS = []
# Application definition

# 已安装的应用
# django项目工程是由许多的应用组成的,这里是一些默认生成的django自带应用
# 如果创建了自己的应用,要在这里写入,使django识别
INSTALLED_APPS = [
    'django.contrib.admin',
    'django.contrib.auth',
    'django.contrib.contenttypes',
    'django.contrib.sessions',
    'django.contrib.messages',
    'django.contrib.staticfiles',
]
# 中间件
# django自带的工具集
MIDDLEWARE = [
    'django.middleware.security.SecurityMiddleware',
    'django.contrib.sessions.middleware.SessionMiddleware',
    'django.middleware.common.CommonMiddleware',
    'django.middleware.csrf.CsrfViewMiddleware',
    'django.contrib.auth.middleware.AuthenticationMiddleware',
    'django.contrib.messages.middleware.MessageMiddleware',
    'django.middleware.clickjacking.XFrameOptionsMiddleware',
]
# url根文件 指向:urls.py文件
ROOT_URLCONF = 'firstPro.urls'
# 模板的配置
TEMPLATES = [
    {
        'BACKEND': 'django.template.backends.django.DjangoTemplates',
        'DIRS': [],
        'APP_DIRS': True,
        'OPTIONS': {
            'context_processors': [
                'django.template.context_processors.debug',
                'django.template.context_processors.request',
                'django.contrib.auth.context_processors.auth',
                'django.contrib.messages.context_processors.messages',
            ],
        },
    },
]
# 数据库配置
# Database
# https://docs.djangoproject.com/en/3.0/ref/settings/#databases

DATABASES = {
    'default': {
        'ENGINE': 'django.db.backends.sqlite3',
        'NAME': os.path.join(BASE_DIR, 'db.sqlite3'),
    }
}
# 国际化
# Internationalization
# https://docs.djangoproject.com/en/3.0/topics/i18n/

# 语言:
LANGUAGE_CODE = 'en-us'
# 时区
TIME_ZONE = 'UTC'

USE_I18N = True

USE_L10N = True

USE_TZ = True
# 静态文件地址
# Static files (CSS, JavaScript, Images)
# https://docs.djangoproject.com/en/3.0/howto/static-files/

STATIC_URL = '/static/'
5)、_init_.py
Python中声明模块的文件
内容默认为空

