Kibana6安装使用(windows)
Kibana版本:6.3.0
前提:保证安装了JDK
前提:保证安装了Elasticsearch
安装Elasticsearch:
到官网下载elasticsearch:https://www.elastic.co/downloads/elasticsearch
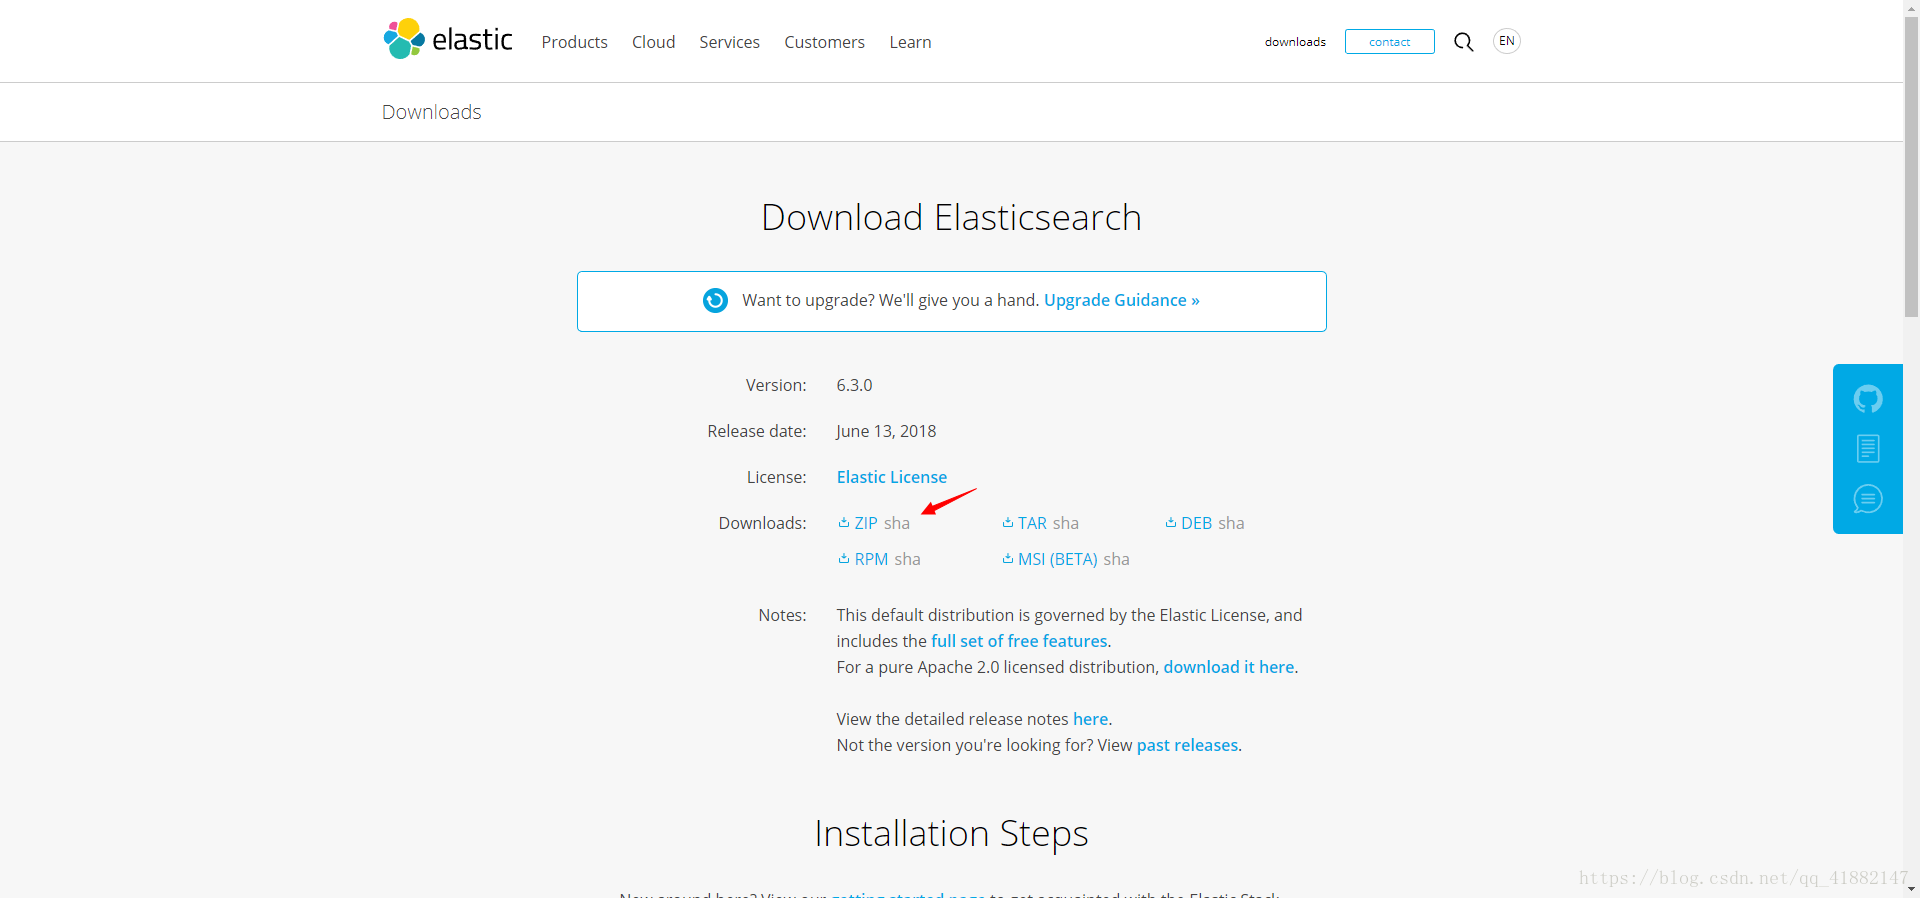
解压
进入bin目录,双击elasticsearch.bat
打开http://localhost:9200/,发现显示
{
name: "G89oFzi",
cluster_name: "elasticsearch",
cluster_uuid: "NFsGt2d0TG2lPeE6zvsaRw",
version: {
number: "6.3.0",
build_flavor: "default",
build_type: "zip",
build_hash: "424e937",
build_date: "2018-06-11T23:38:03.357887Z",
build_snapshot: false,
lucene_version: "7.3.1",
minimum_wire_compatibility_version: "5.6.0",
minimum_index_compatibility_version: "5.0.0"
},
tagline: "You Know, for Search"
}
1
2
3
4
5
6
7
8
9
10
11
12
13
14
15
16
17
即启动成功
安装Kibana
到官网下载kibana:https://www.elastic.co/downloads/kibana

下载好了解压就行了
修改配置:
修改文件config/kibana.yml
设置elasticsearch.url为启动的elasticsearch(http://localhost:9200/)实例(其实按照默认的话不用修改配置文件也可以)
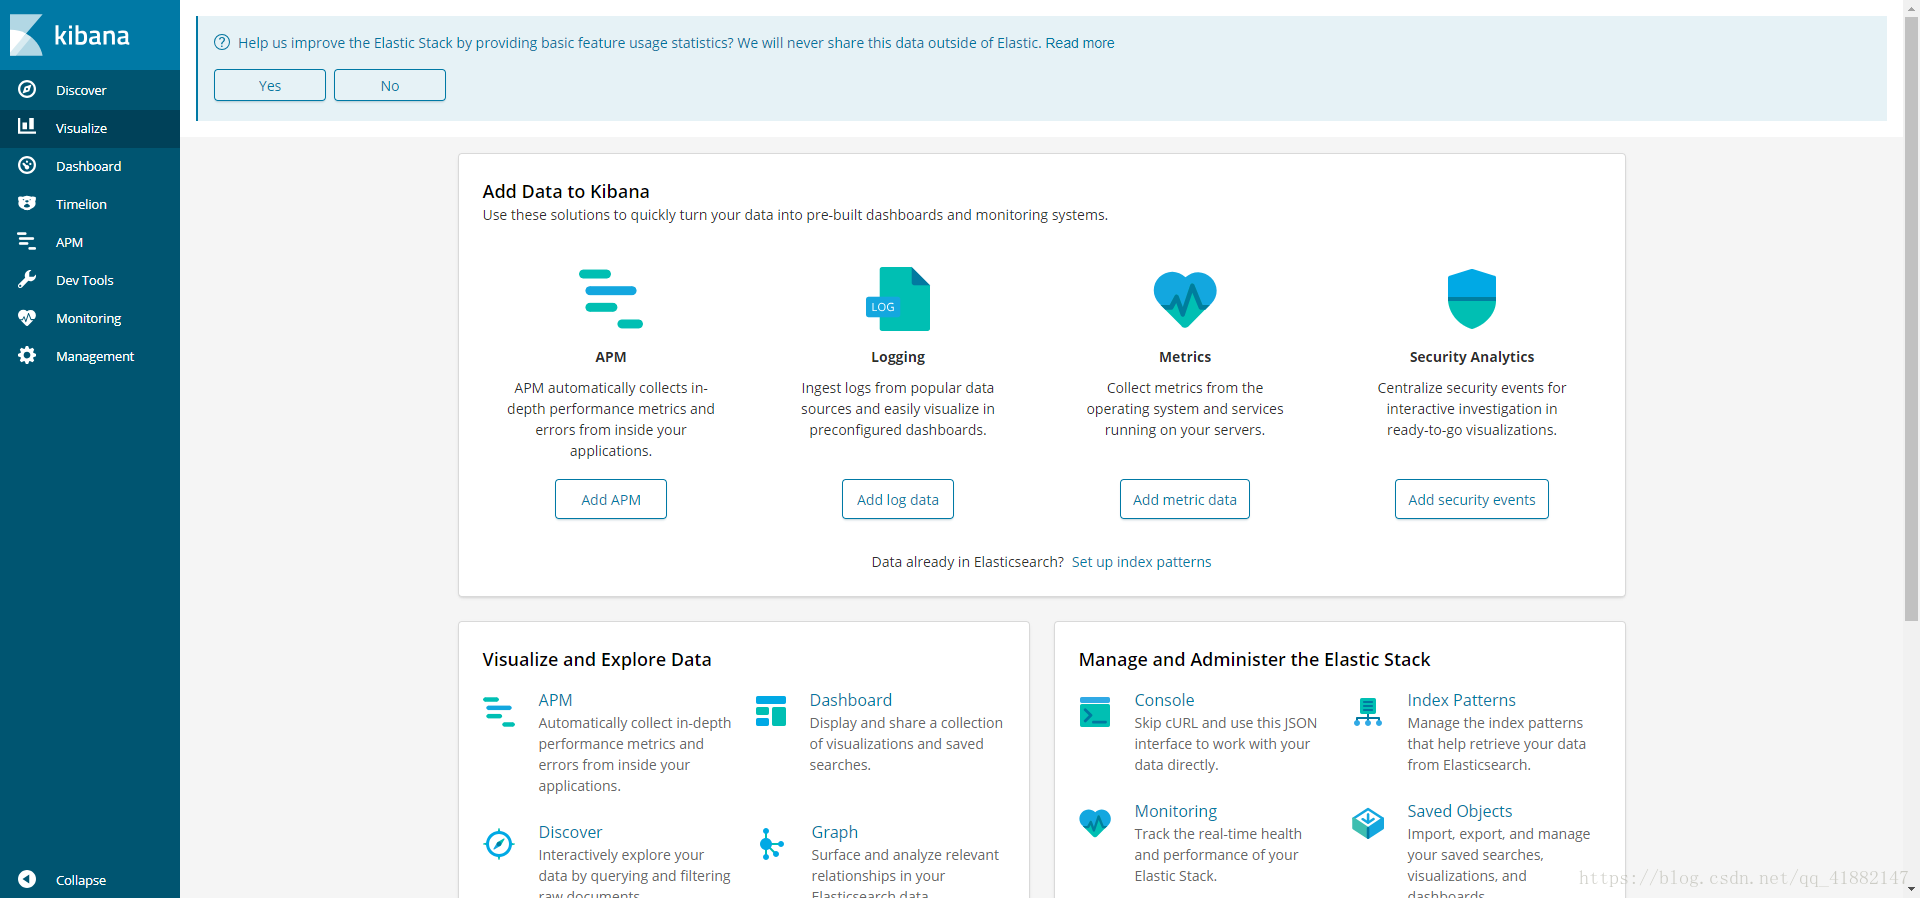
到kibana-6.3.0-windows-x86_64\bin目录,双击kibana.bat
访问:http://localhost:5601
注意:要是双击elasticsearch.bat闪退的话,可以在/bin目录下启动cmd,然后输入elasticsearch.bat可以看到报错的详情。(我安装JDK时自动配置的环境变量有问题,会报什么’common不可用’的错误,手动配置JDK的环境变量就可以了)
安装步驟
- 下载 Logstash 6.6.0 安装版本。
- 解压缩到本地,进入安装路径下
bin目录,新建文件logstash_default.conf。
input {
  stdin{
  }
}

output {
  stdout{
  }
}
- 继续在
bin目录下新建文件run_default.bat。
logstash -f logstash_default.conf
- 双击运行
run_default.bat,等待启动日志打印完成。
D:\Dev\ELK\logstash-6.6.0\bin>logstash -f logstash_default.conf
Sending Logstash logs to D:/Dev/ELK/logstash-6.6.0/logs which is now configured
via log4j2.properties
[2019-02-15T11:28:07,769][INFO ][logstash.setting.writabledirectory] Creating di
rectory {:setting=>"path.queue", :path=>"D:/Dev/ELK/logstash-6.6.0/data/queue"}
[2019-02-15T11:28:07,784][INFO ][logstash.setting.writabledirectory] Creating di
rectory {:setting=>"path.dead_letter_queue", :path=>"D:/Dev/ELK/logstash-6.6.0/d
ata/dead_letter_queue"}
[2019-02-15T11:28:07,928][WARN ][logstash.config.source.multilocal] Ignoring the
 'pipelines.yml' file because modules or command line options are specified
[2019-02-15T11:28:07,946][INFO ][logstash.runner          ] Starting Logstash {"
logstash.version"=>"6.6.0"}
[2019-02-15T11:28:07,981][INFO ][logstash.agent           ] No persistent UUID f
ile found. Generating new UUID {:uuid=>"0b82cf1c-e133-4407-8b8a-fad3f652d4cd", :
path=>"D:/Dev/ELK/logstash-6.6.0/data/uuid"}
[2019-02-15T11:28:19,097][INFO ][logstash.pipeline        ] Starting pipeline {:
pipeline_id=>"main", "pipeline.workers"=>4, "pipeline.batch.size"=>125, "pipelin
e.batch.delay"=>50}
[2019-02-15T11:28:19,302